
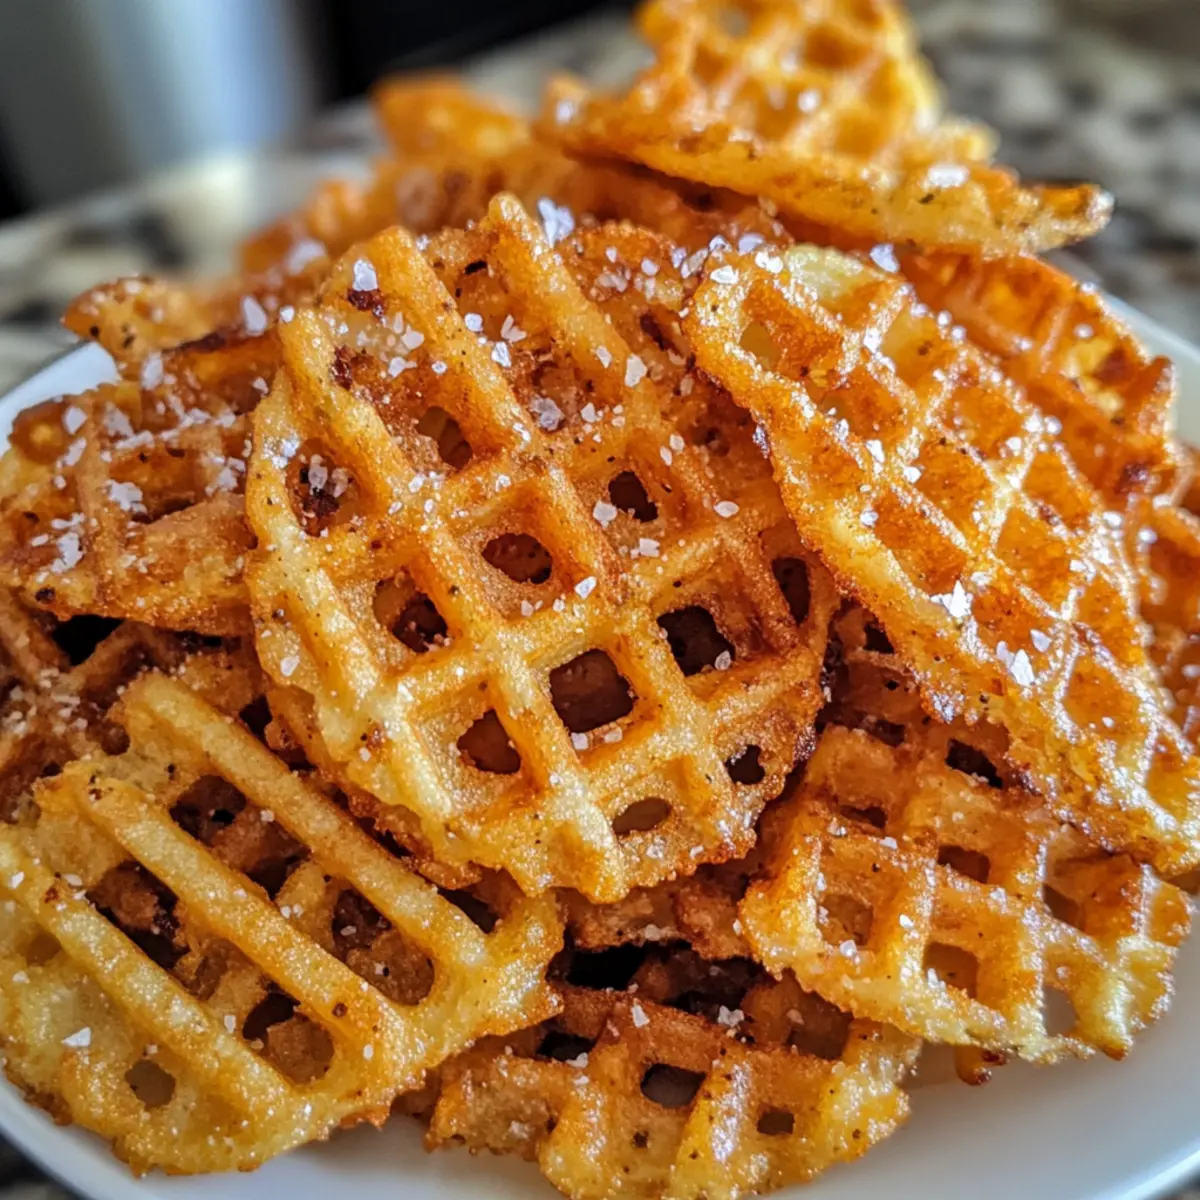
The moment that golden batch of waffle fries hits the hot oil, my kitchen fills with a symphony of sizzling and crackling sounds, instantly transporting me to my favorite fast-food joint—but this time, I’m the one in control. You’ll love making these homemade Chick-fil-A style waffle fries, a delightful treat that merges crispy exteriors with fluffy interiors, making them the perfect companion for any meal or gathering. Not only are they gluten-free, but you’ll whip them up in just over an hour, ensuring your cravings are satisfied without the guilt of takeout. And let’s be honest, there’s something incredibly rewarding about enjoying a fry that’s made with love and the exact flavors you adore. Ready to take your fry game up a notch? Let’s dive into this scrumptious recipe together!
Why Make Homemade Waffle Fries?
Irresistible crunch and fluffiness await you with these homemade waffle fries that bring the Chick-fil-A experience right to your kitchen. Quick preparation means you can satisfy your cravings in just over an hour. Gluten-free options are available, so everyone can enjoy them without worry! Perfect for gatherings or as a side dish, they pair deliciously with sauces like ranch or even a tangy homemade Chick-fil-A sauce. Once you try this addictive recipe, fast food will be a thing of the past!
Waffle Fries Ingredients
For the Fries
• Large russet potatoes – These are essential for creating the perfect texture and flavor in your waffle fries.
• Cold water – Soaking the potatoes in cold water helps remove excess starch, leading to crispy fries.
• White vinegar – Adds acidity during the soaking process, helping to keep your fries crispy.
For the Coating
• Rice flour – This light coating is key to achieving that desired crunch and is ideal for gluten-free diets.
• Modified food starch – This ingredient provides a light crust, and can be swapped with cornstarch if necessary.
• Dextrin/Dextrose (optional) – Enhances crunch; you can skip it if you don’t have it on hand.
• Xanthan gum – Ensures the batter adheres well to the fries, giving them a delicious crispy outer layer.
• Baking powder – Helps to create a lighter texture in the coating, contributing to that fluffy feel.
• Fine salt – Essential for enhancing the flavor of the batter.
For Frying
• Canola oil – Used for frying, canola oil mimics the flavor profile of Chick-fil-A’s fries for a familiar taste.
• Flaky sea salt – A finishing touch to sprinkle over hot fries before serving, adding that extra burst of flavor.
Now you’re all set to create your own homemade waffle fries! Enjoy the crunchy, crispy goodness with every bite.
Step‑by‑Step Instructions for Waffle Fries
Step 1: Slice Potatoes
Begin by thoroughly scrubbing and peeling your large russet potatoes, if desired. Using a waffle fry cutter or a mandoline, slice them into ¼-inch thick waffle shapes, ensuring each piece has that signature lattice pattern. This cut allows for maximum crispiness and uniform cooking, paving the way for delicious homemade waffle fries.
Step 2: Soak Fries
In a large bowl, immerse the sliced fries in cold water mixed with a splash of white vinegar. Allow them to soak for 30 minutes to 2 hours, depending on your schedule. This step helps to draw out excess starch, making way for those perfectly crispy waffle fries. Set a timer to ensure you’re not soaking too long!
Step 3: Prepare Coating Batters
While the fries are soaking, in a separate mixing bowl, combine rice flour, modified food starch, optional dextrin, xanthan gum, baking powder, and fine salt. Gradually whisk in cold water until you achieve a smooth, thin batter. This coating is crucial for the light, crispy texture of your homemade waffle fries, blending all the flavors beautifully.
Step 4: Dry Fries
After soaking, drain the potatoes and pat them thoroughly with paper towels to ensure they are completely dry. This is a crucial step; any moisture left will lead to soggy fries rather than the desired crunch. Aim for perfectly dry potato slices to achieve the best results in your waffle fries.
Step 5: Coat Fries
Take the dried fries and gently toss them in the prepared batter until they are evenly coated. Let any excess batter drip off back into the bowl. This light, crispy layer will help create the signature crunch that your homemade waffle fries crave. Be gentle, ensuring every slice gets the coating it deserves.
Step 6: Heat Oil
In a deep pot or fryer, heat canola oil to 325°F (165°C). Use a thermometer to confirm the temperature, as proper heat is essential for perfectly cooked fries. As the oil heats, the anticipation builds: soon you’ll be enjoying those golden, crispy waffle fries.
Step 7: First Fry
Carefully add the battered fries in small batches to the hot oil. Fry them for 3 to 4 minutes or until they are cooked through but not yet browned. As they cook, keep an eye on their progress, as you want them tender but still pale. Once done, use a slotted spoon to transfer them onto a wire rack to drain excess oil.
Step 8: Rest Fries
Let the fries rest for at least 10 minutes on the wire rack. This resting period allows moisture to escape and contributes to making them even crispier. This is the perfect time to tidy up your workspace or prepare your dipping sauces!
Step 9: Second Fry
Increase the oil temperature to 375°F (190°C). Once the oil is hot, carefully fry the rested, pre-cooked fries in small batches for 2 to 3 minutes. Keep a close eye on them until they achieve a glorious golden color and a crispy texture that is truly irresistible.
Step 10: Season and Serve
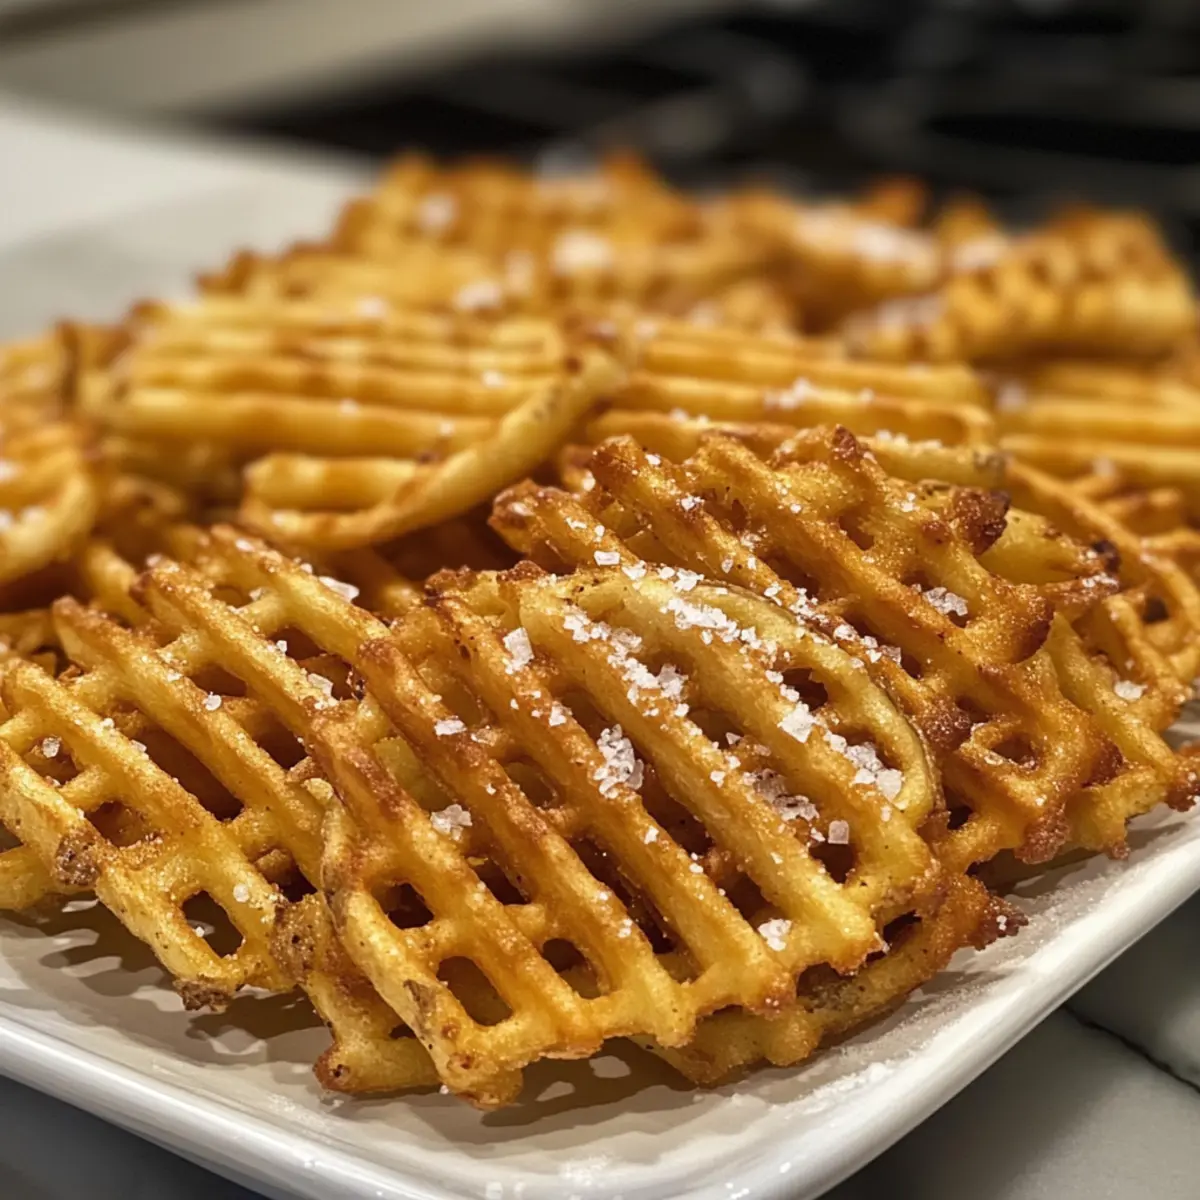
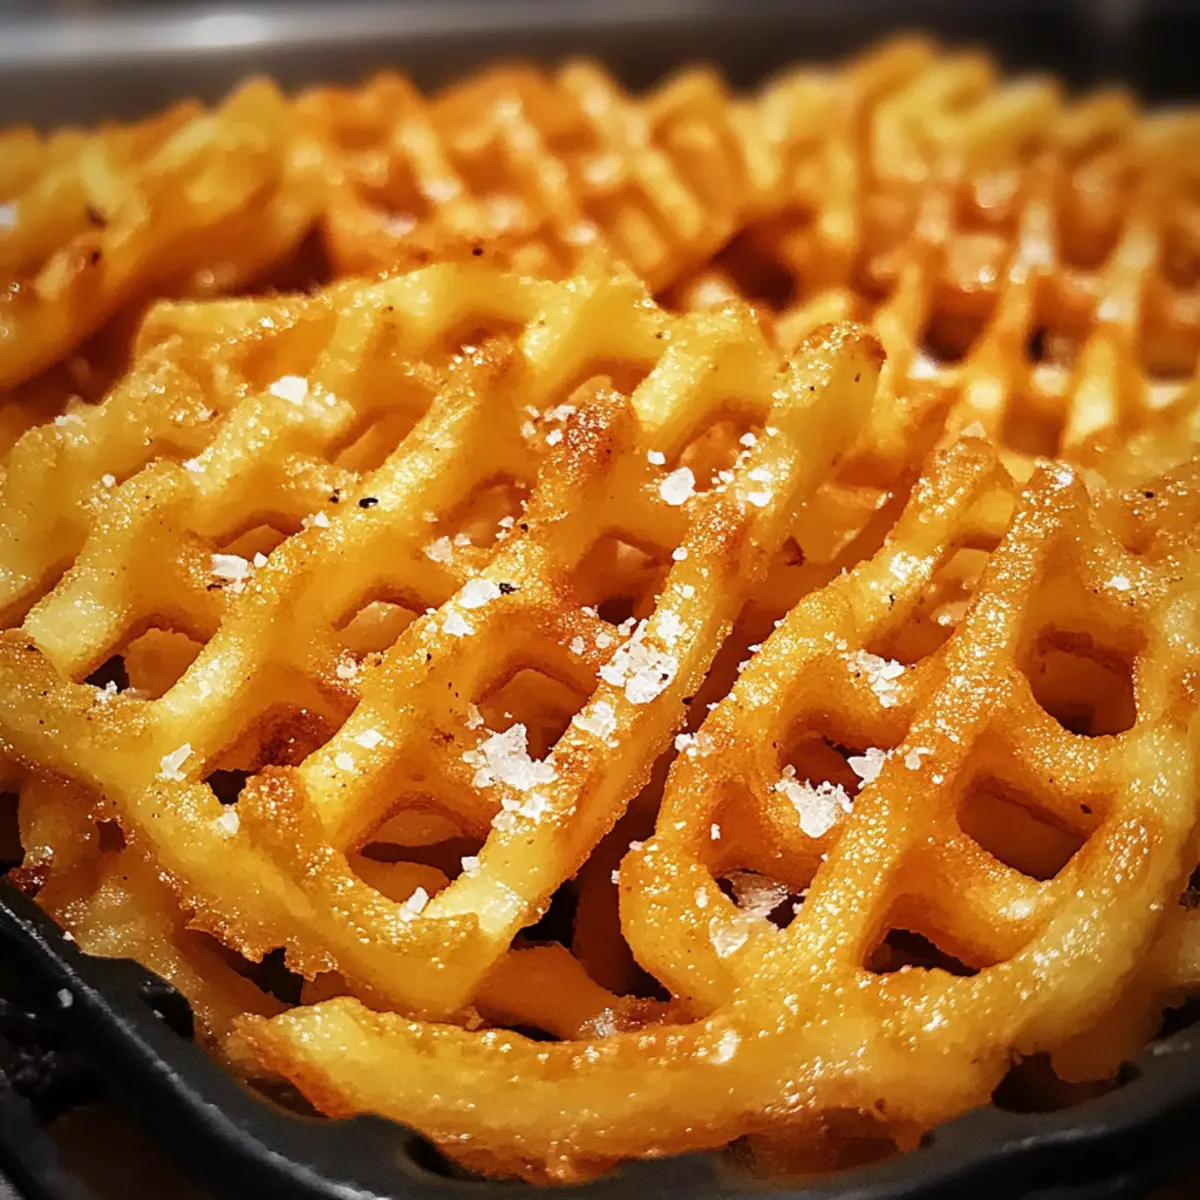
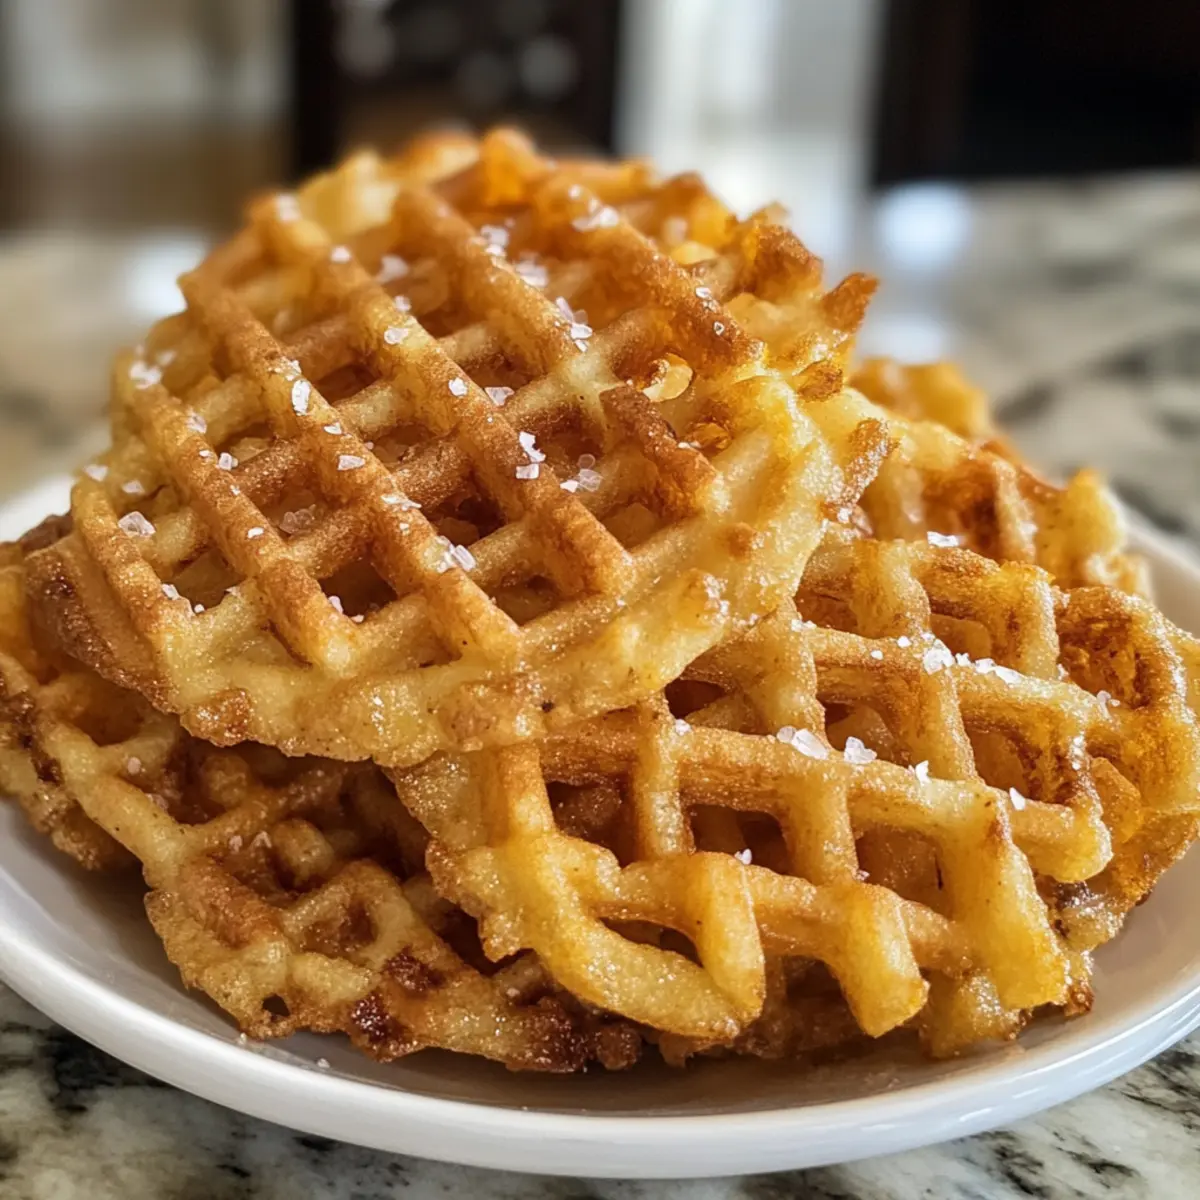
Transfer the perfectly fried waffle fries to a draining rack once cooked. Immediately sprinkle them with flaky sea salt while they are still hot, ensuring every bite is bursting with flavor. Serve your delicious homemade waffle fries piping hot alongside your favorite dipping sauces for the ultimate snack experience!
Expert Tips for Crispy Waffle Fries
-
Slice Thickness Matters: Ensure your potato slices are evenly cut to ¼ inch thick. This promotes uniform cooking and lets the fries crisp up perfectly.
-
Soak Long Enough: Aim for soaking the fries for at least 1 hour. A longer soak helps remove excess starch, leading to incredibly crispy waffle fries.
-
Thorough Drying: Always pat the fries dry after soaking. Excess moisture can result in soggy fries, taking away that delightful crunch you’re aiming for.
-
Monitor Oil Temperature: Use a kitchen thermometer to keep the oil at the precise temperatures of 325°F for the first fry and 375°F for the second. Accurate heat is crucial for achieving that irresistible crispy finish.
-
Double Fry Method: Don’t skip the first fry! This two-step frying process enhances the texture, ensuring your waffle fries are crispy on the outside and fluffy on the inside.
Make Ahead Options
These Crispy Homemade Chick-fil-A Style Waffle Fries are perfect for those busy weeknights when you need a delicious side ready at a moment’s notice! You can slice the potatoes and soak them in cold water mixed with white vinegar up to 24 hours in advance, ensuring they remain crispy when cooked. Additionally, prepare the batter ahead of time and refrigerate it for up to 3 days. When you’re ready to serve, simply dry the fries and coat them in the batter, then fry following the original instructions for a freshly made taste. This prep will save you time without compromising on that delightful crunch you love!
Waffle Fries Variations & Substitutions
Feel free to get creative with these waffle fries—each variation brings a new twist and an exciting flavor profile!
- Gluten-Free: Swap rice flour with a gluten-free flour blend for a delightful crispy texture.
- Baking Option: Try baking the fries at 425°F for a healthier, lower-fat alternative to frying.
- Spicy Kick: Add your favorite spices or a sprinkle of cayenne pepper to the batter for an extra burst of flavor. A little heat makes everything better!
- Cheesy Delight: Mix in some grated Parmesan cheese into the batter for a cheesy twist that pairs beautifully with your fries. The flavor profile becomes irresistible!
- Sweet Potatoes: Use sweet potatoes instead of russet potatoes for a slightly sweet taste and vibrant color. These fries can bring a truthfully unique, slightly sweet touch.
- Herb Infusion: Toss in dried herbs like rosemary or thyme into the coating for an aromatic finish, enhancing both aroma and taste. Fresh herbs elevate your fries to gourmet status!
- Dipping Sauce Ideas: Pair these fries with homemade dipping sauces like a spicy aioli or creamy ranch dressing to elevate your fry experience. Need some inspiration? Check out our tasty Jalapeno Fries Jalape.
- Loaded Waffle Fries: Top with bacon bits, cheese, and green onions for a loaded fry dish—perfect for parties!
Enjoy the wonderful world of waffle fries, tailored to your taste and preferences!
Storage Tips for Waffle Fries
Room Temperature: Enjoy your waffle fries fresh for the best flavor and texture; they are best consumed immediately after frying.
Fridge: If you have leftovers, store them in an airtight container for up to 3 days. Reheating can help revive their crispy texture.
Freezer: For longer storage, freeze cooled waffle fries in a single layer on a baking sheet, then transfer to a freezer bag for up to 2 months.
Reheating: To regain their crunch, reheat frozen waffle fries in an air fryer at 400°F for 3-4 minutes, ensuring every bite is as crispy as when freshly cooked.
What to Serve with Homemade Chick-fil-A Style Waffle Fries
Elevate your homemade waffle fries with these delightful pairings that will tantalize your taste buds and complete your meal experience.
-
Creamy Ranch Dip: A cool, tangy ranch dip complements the fries’ crunch, creating a perfect balance of flavors with every bite.
-
Spicy Ketchup: Add a kick to your waffle fries with spicy ketchup, enhancing their crispy goodness with a zesty twist.
-
Zesty Coleslaw: The refreshing crunch of coleslaw brings brightness and texture to the table, making it a delightful contrast to your crispy fries.
-
Savory Grilled Chicken: Serve alongside succulent grilled chicken for a wholesome meal. The flavors meld perfectly, creating a satisfying family feast.
-
Crispy Onion Rings: Add a fabulous crunch with onion rings. Their sweet and savory profile pairs beautifully with waffle fries for a delightful combo.
-
Cherry Limeade: A chilled cherry limeade provides a refreshing burst of flavor that complements the salty fries, enhancing your snacking experience in style.
-
Homemade Chick-fil-A Sauce: Dipping your fries in this sweet and tangy sauce is a must! It mirrors the iconic flavor you love while enhancing the waffle fries’ taste.
-
Roasted Veggie Medley: For a healthier option, roast seasonal veggies with olive oil and herbs. Their earthy flavors beautifully balance the richness of the fries.
Every bite will remind you why homemade waffle fries are truly the star of any meal!
Homemade Crispy Chick-fil-A Style Waffle Fries Recipe FAQs
How do I choose the right potatoes for making waffle fries?
Absolutely! For the best texture and flavor, select large russet potatoes. They have a perfect starch content needed for crispy fries. Look for ones that are firm and free of dark spots or soft areas.
How can I store leftover waffle fries?
If you have leftovers, it’s best to store them in an airtight container in the fridge for up to 3 days. To regain their crispy integrity when reheating, use an air fryer at 400°F for about 3-4 minutes. This will refresh their delightful crunch!
Can I freeze homemade waffle fries?
Yes, you can! First, let the fried fries cool completely. Then, spread them in a single layer on a baking sheet and freeze until solid. After that, transfer them to a freezer bag and store for up to 3 months. When you’re ready to enjoy, air fry at 400°F for 4-5 minutes from frozen for that fresh-out-of-the-oil taste.
What should I do if my fries don’t become crispy?
Very often, fries might turn out soggy due to excess moisture. Make sure to soak them long enough, ideally 1-2 hours, and then dry them thoroughly before frying. Additionally, ensure your oil is hot enough (325°F for the first fry and 375°F for the second) as this significantly impacts the final crispiness.
Are these waffle fries gluten-free?
Yes! This recipe uses rice flour and modified food starch, both of which are gluten-free. If you’re concerned about other dietary restrictions, always double-check your ingredient labels to avoid any hidden gluten in processed products.
Can I use other types of flour for the coating?
Certainly! If rice flour is unavailable, feel free to substitute it with a gluten-free blend or even standard all-purpose flour if gluten isn’t an issue. Keep in mind that each flour will bring its unique texture, but experimentation can lead to delightful variations!
Crispy Homemade Waffle Fries for the Perfect Snack
Ingredients
Equipment
Method
- Thoroughly scrub and peel the russet potatoes. Slice them into ¼-inch thick waffle shapes using a waffle fry cutter.
- Soak the sliced fries in cold water mixed with white vinegar for 30 minutes to 2 hours.
- In a mixing bowl, combine rice flour, modified food starch, optional dextrin, xanthan gum, baking powder, and fine salt. Gradually whisk in cold water to achieve a thin batter.
- After soaking, drain and pat the fries dry with paper towels.
- Gently toss the dried fries in the prepared batter until evenly coated.
- Heat canola oil to 325°F (165°C) in a deep pot or fryer.
- Fry the battered fries in small batches for 3 to 4 minutes until tender but not browned. Transfer them to a wire rack to drain.
- Let the fries rest on the wire rack for at least 10 minutes.
- Increase the oil temperature to 375°F (190°C). Fry the rested fries in small batches for 2 to 3 minutes until golden and crispy.
- Transfer cooked fries to a draining rack and sprinkle with flaky sea salt while hot. Serve with your favorite dipping sauces.
Leave a Reply