
As I shuffled through my fridge one afternoon, the allure of fresh veggies and some leftover sushi rice sparked a delightful idea: sushi cups! These colorful bites combine the love of sushi with the convenience of a finger food. Before my eyes, each cup transformed into a masterpiece of soft rice cradling vibrant veggies, all topped with a zesty spicy mayo drizzle. What I adore most about these sushi cups is their adaptability—they can cater to any palate with endless filling options and no baking required. They make for a healthy appetizer or snack that’s simply perfect for parties or quick lunches. Are you ready to dive into this fun culinary adventure? Let’s roll!
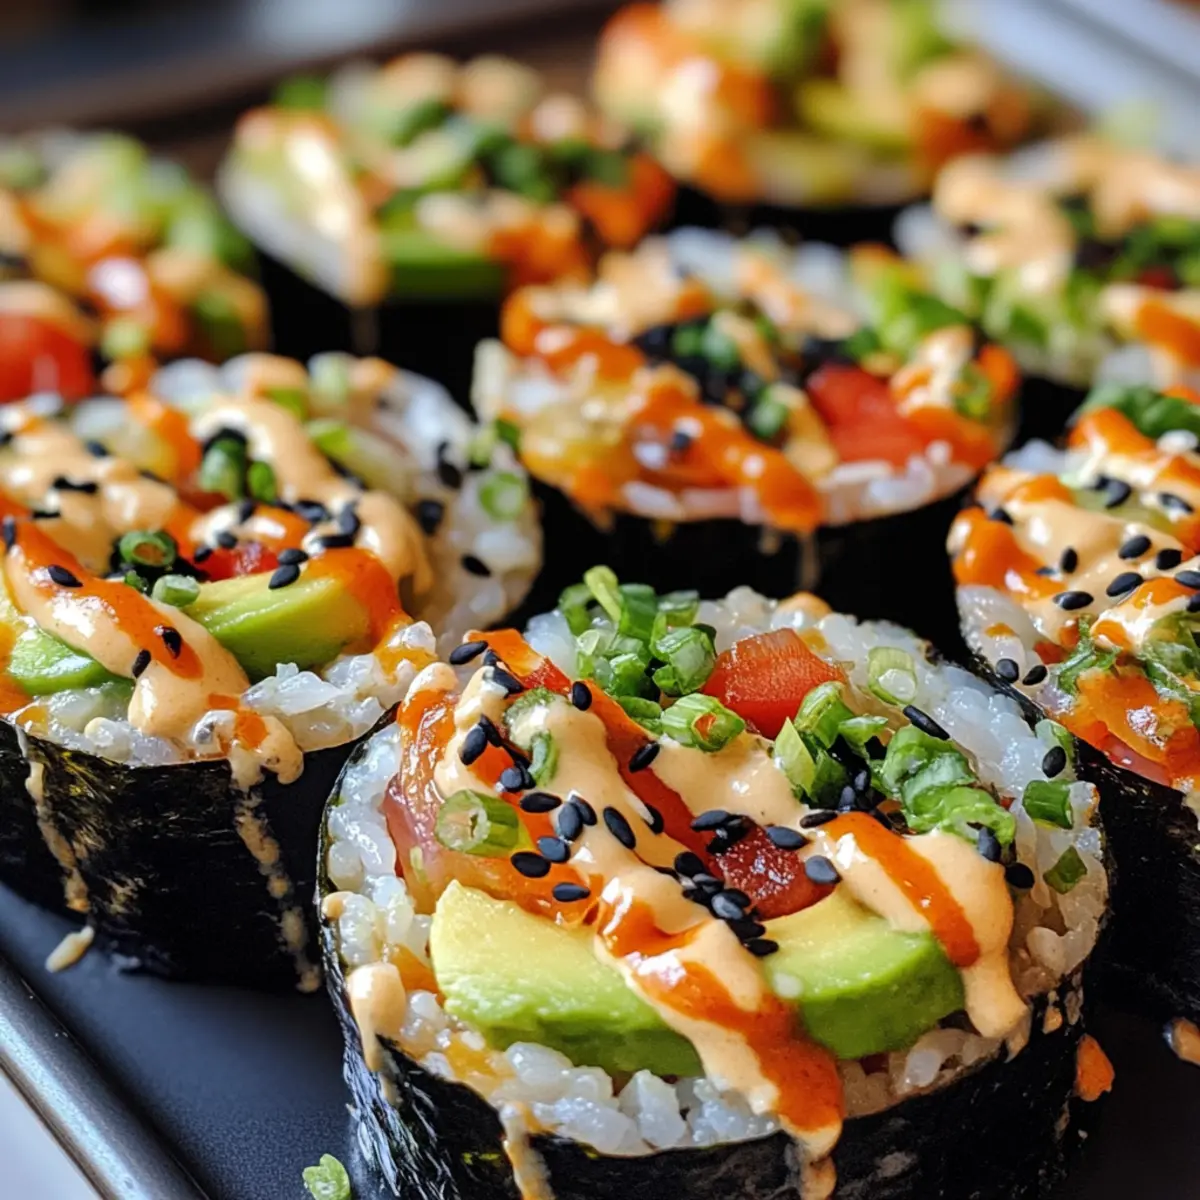
Why Are Sushi Cups So Irresistible?
Endless Customization: Each sushi cup can be tailored to your taste—swap out veggies and sauces to create a unique masterpiece every time. No-Bake Delight: Enjoy the ease of a recipe that requires zero baking, making these cups a stress-free addition to your meal prep. Packed with Freshness: A vibrant mix of colorful, crunchy veggies delivers a burst of nutrients and flavor in every bite. Perfect for Any Occasion: Whether it’s a casual lunch at home or an elegant appetizer at a gathering, these cups are guaranteed crowd-pleasers. Quick & Convenient: With a prep time of just minutes, they are perfect for spontaneous snacking or fast meals—no time wasted! If you love adaptable recipes, be sure to check out my Italian Sushi Rolls or Peanut Butter Oat Cups for more tasty inspirations.
Sushi Cups Ingredients
• Get ready to create a sushi sensation!
For the Rice Base
- Sushi Rice – The foundation that creates the perfect structure; always rinse before cooking to remove excess starch.
- Water – Essential for cooking the sushi rice; no substitutions here!
For the Filling
- Finely Chopped Veggies – Adds freshness and crunch; opt for raw options like carrots, cucumber, or bell peppers for vibrant colors.
- Steamed Mukimame – Offers protein and texture; substitute with regular edamame for a different twist.
- Diced Avocado – Brings creaminess and healthy fats; ideal to use fresh, but in a pinch, you could use mashed avocado or guacamole.
- Sauce of Choice (Soy Sauce, Tamari, or Coconut Aminos) – Infuses flavor; choose based on your dietary preferences.
For the Spicy Mayo Drizzle
- Mayonnaise – Adds creaminess to the mix; can be swapped for vegan mayo for a dairy-free version.
- Sriracha Sauce – Adds a kick of heat; adjust according to your spice preference.
- Honey – Balances the heat with a touch of sweetness; agave syrup can be a vegan substitute.
- Sesame Oil – Enhances the overall flavor; optional, but highly recommended for an authentic taste.
For Garnishing
- Black Sesame Seeds – Perfect for garnish; optional but adds a lovely visual appeal to your sushi cups.
Enjoy preparing your sushi cups, where every bite is a wonderful blend of flavors, and don’t forget: the key to irresistible Sushi Cups lies in your personal touch!
Step‑by‑Step Instructions for Sushi Cups
Step 1: Prepare the Rice
In a medium pot, combine 1 cup of rinsed sushi rice and 1 ¼ cups of water. Bring the mixture to a boil over medium-high heat, then reduce the heat to low, cover, and simmer for 20 minutes. Once the water is fully absorbed, remove from heat and let it sit, covered, for another 10 minutes. The rice should be tender and slightly sticky, making it perfect for forming sushi cups.
Step 2: Cool the Rice
After the resting period, transfer the cooked sushi rice into a large bowl to cool slightly. Gently fluff the rice with a fork to help release steam and stop the cooking process. Aim for a warm, but not hot, temperature to make it easier to mold into cups later on. A light, slightly sticky texture is what you want for your sushi cups.
Step 3: Mold Rice Cups
Using a muffin tin, press 2 heaping tablespoons of the cooled sushi rice into each cup, ensuring they are compact and molded well. Use the back of a spoon or your fingers to create a slight indentation in the center. Place the muffin tin in the refrigerator and chill for at least 20 minutes to allow the rice cups to firm up, making them easier to fill later.
Step 4: Mix the Filling
While the rice cups are chilling, prepare the filling. In a mixing bowl, combine finely chopped veggies like carrots, cucumber, and bell peppers with steamed mukimame and diced avocado. Pour in your sauce of choice—soy sauce, tamari, or coconut aminos—stirring gently to coat all the ingredients evenly. The filling should be colorful and fresh, perfect for your sushi cups.
Step 5: Prepare the Spicy Mayo
In a separate bowl, whisk together ¼ cup of mayonnaise, 1 tablespoon of Sriracha sauce, 1 teaspoon of honey, 1 teaspoon of coconut aminos, and ½ teaspoon of sesame oil. Taste and adjust the heat level according to your preference. This creamy, spicy mayo will add an exciting kick to your sushi cups, enhancing the overall flavor profile.
Step 6: Assemble the Cups
Retrieve the chilled rice cups from the refrigerator and carefully fill each one with the veggie mixture, pressing it down gently, so it holds well. Once filled, drizzle the spicy mayo on top of each sushi cup for a delicious finishing touch. Optionally, sprinkle black sesame seeds over the mayo for added visual appeal and crunch.
Step 7: Serve and Enjoy
Your delightful sushi cups are now ready to impress! Arrange them on a serving platter and enjoy them as a unique appetizer or a quick lunch. These sushi cups are not only beautiful but also versatile; feel free to make them ahead of time for gatherings and wow your friends and family with this healthy, no-bake treat!
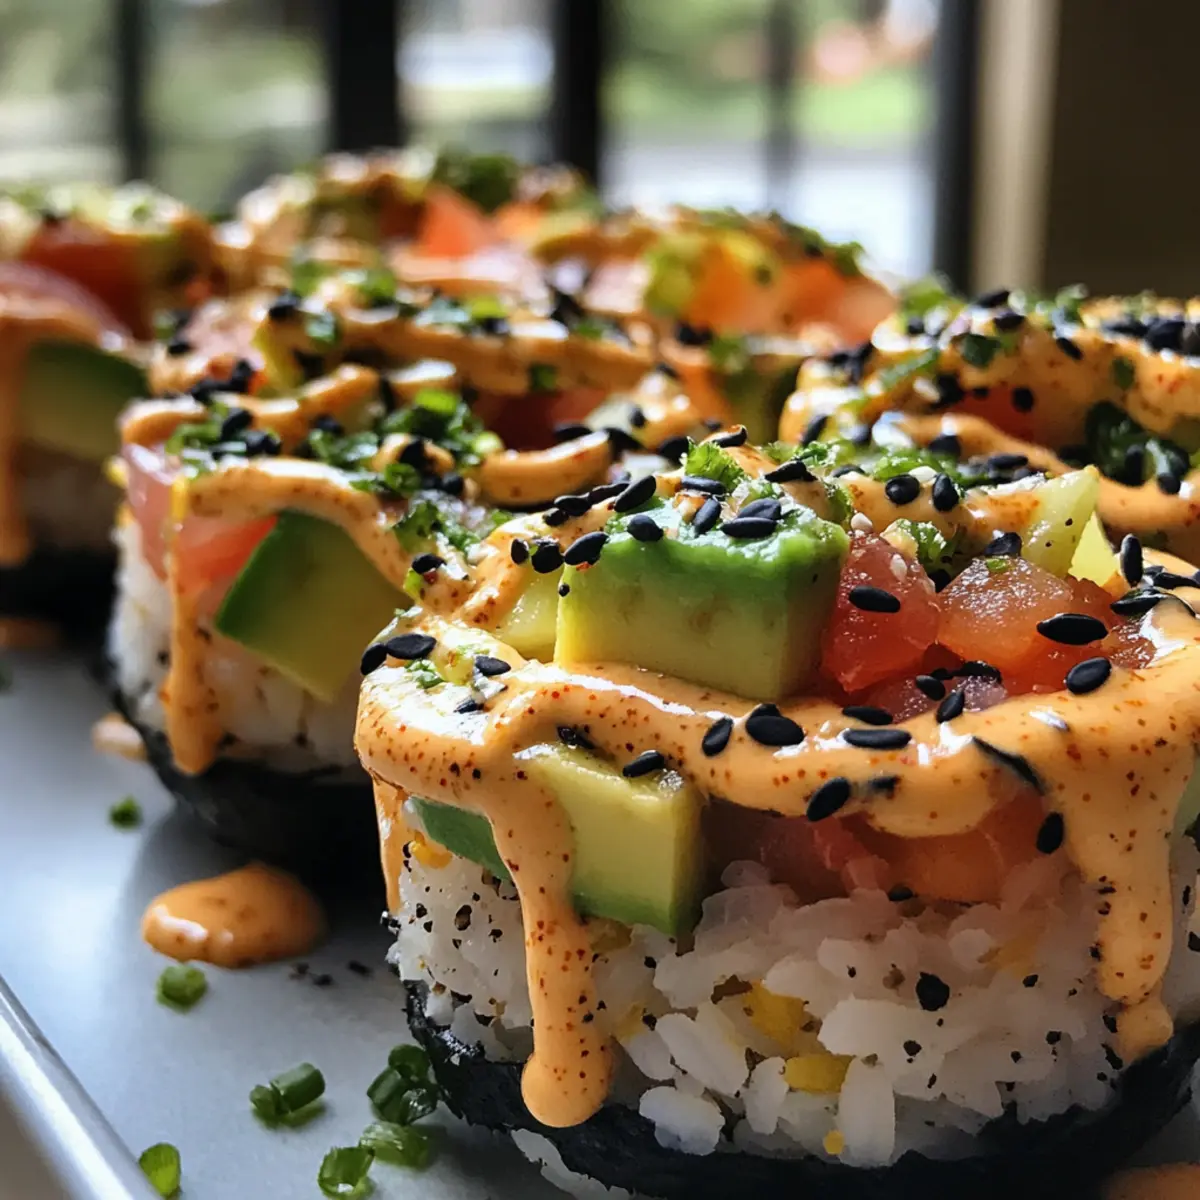
Sushi Cups Variations & Substitutions
Feel free to unleash your creativity and make these sushi cups your own with delightful swaps and twists!
-
Veggie Boost: Add fresh herbs like cilantro or basil for an aromatic twist. They’ll brighten the flavors and add an exciting zing!
-
Protein-Packed: Swap the mukimame for cooked shrimp or crab to transform these cups into a heartier meal. Think of the added ocean-fresh taste that will dance on your palate.
-
Colorful Crunch: Replace cucumbers with radishes or jicama for a different texture and a crunch that’ll keep you reaching for more. Each bite will be a delightful surprise!
-
Saucy Variety: Experiment with different sauces such as a peanut dressing or teriyaki glaze for a sweet-savory combo. You might discover a new favorite flavor profile!
-
Gluten-Free Twist: Use gluten-free soy sauce or tamari for any gluten sensitivities. This small change ensures everyone can enjoy these delicious cups!
-
Spicy Alternatives: For extra heat, try adding diced jalapeños or a sprinkle of chili flakes to the filling for a fiery kick. It’ll surely spice up the party!
-
Vegan Sensation: Replace mayonnaise with a silken tofu blend for an equally creamy but entirely plant-based version of your spicy drizzle. Creaminess without the dairy!
-
Chilled Delight: Serve these cups on a bed of mixed greens or over rice noodles for a more filling meal. It adds a refreshing crunch, making your dish even more satisfying.
With these variations, every batch of sushi cups can become a new adventure! If you’re eager for more tasty ideas, explore my Italian Sushi Rolls or try out the scrumptious Peanut Butter Oat Cups for further inspiration. Enjoy your culinary journey!
Make Ahead Options
These Sushi Cups are perfect for meal prep enthusiasts looking to save time during busy weeknights! You can prepare the sushi rice and mold the rice cups up to 24 hours in advance; just keep them covered in the fridge to prevent drying out. The filling can also be mixed and stored in an airtight container for up to 3 days, ensuring the veggies stay fresh and crunchy. When ready to serve, assemble the cups by filling each rice base with the vegetable mixture and drizzling with spicy mayo right before enjoying. These prep-ahead steps guarantee your Sushi Cups will be just as delicious and make serving a breeze!
How to Store and Freeze Sushi Cups
- Fridge: Store assembled sushi cups in an airtight container to maintain freshness; they are best consumed within 2 days for optimal flavor and texture.
- Make-Ahead: You can prepare the rice cups and filling separately a day in advance. Keep the rice cups and filling stored in separate containers in the fridge.
- Freezer: For longer storage, freeze the rice cups (without filling) in a single layer, then transfer them to a freezer-safe bag. They can last for up to 2 months.
- Reheating: If using frozen rice cups, allow them to thaw in the refrigerator overnight and then reheat in the microwave for about 30 seconds to 1 minute before filling with fresh veggies.
Expert Tips for Sushi Cups
-
Rice Consistency: Make sure your sushi rice is slightly sticky but not too wet. This helps the cups hold their shape while eating.
-
Veggie Variety: Feel free to mix and match vegetables based on what you have on hand. Avoid using overly watery veggies like tomatoes, which can make the cups soggy.
-
Chilling Time: Allow the rice cups to chill for at least 20 minutes. This step is crucial for them to set properly and maintain their form.
-
Adjust the Spice: When mixing your spicy mayo, start with less Sriracha and gradually add more to suit your heat preference—this prevents overpowering spice levels.
-
Make-Ahead Magic: You can prepare these sushi cups a day in advance. Just keep them covered in the fridge, and enjoy them fresh within two days for optimal flavor.
-
Serving Suggestions: Pair these sushi cups with a light soy dipping sauce for an added touch of flavor. Your guests will love this delightful twist on traditional sushi cups!
What to Serve with Customizable Sushi Cups?
Transform your sushi cups into a full culinary experience with these delightful pairings that bring out the flavors of your vibrant creation.
-
Steamed Edamame: Lightly salted edamame complements the sushi cups’ texture, offering a fun, nutritious snack with each bite.
-
Crispy Seaweed Snacks: These crunchy, salty bites add a satisfying contrast to the creamy and fresh elements of the sushi cups. A perfect crunchy companion!
-
Japanese Pickles (Tsukemono): Their tangy, slightly sweet flavors cut through the richness of the spicy mayo, bringing extra brightness to your meal.
-
Fresh Mango Slices: The sweetness of ripe mango adds a refreshing touch that enhances the overall flavor profile while providing a tropical twist.
-
Cucumber Salad: A light and tangy cucumber salad with rice vinegar adds a delightful crunch, making for a balanced, refreshing side that complements your sushi cups.
-
Chilled Green Tea: Serve with a glass of chilled green tea, which provides a soothing, herbal contrast and helps cleanse the palate between each delicious sushi cup.
-
Miso Soup: This warm, savory soup can be a comforting accompaniment, creating a well-rounded meal experience alongside the sushi cups.
-
Fruit Sorbet: For dessert, a scoop of fruit sorbet offers a sweet, cool finish to your meal, making it a perfect light end after savoring the sushi cups.
Each of these pairings not only elevates your sushi cups but also creates a harmonious meal that’s bursting with flavors and textures!
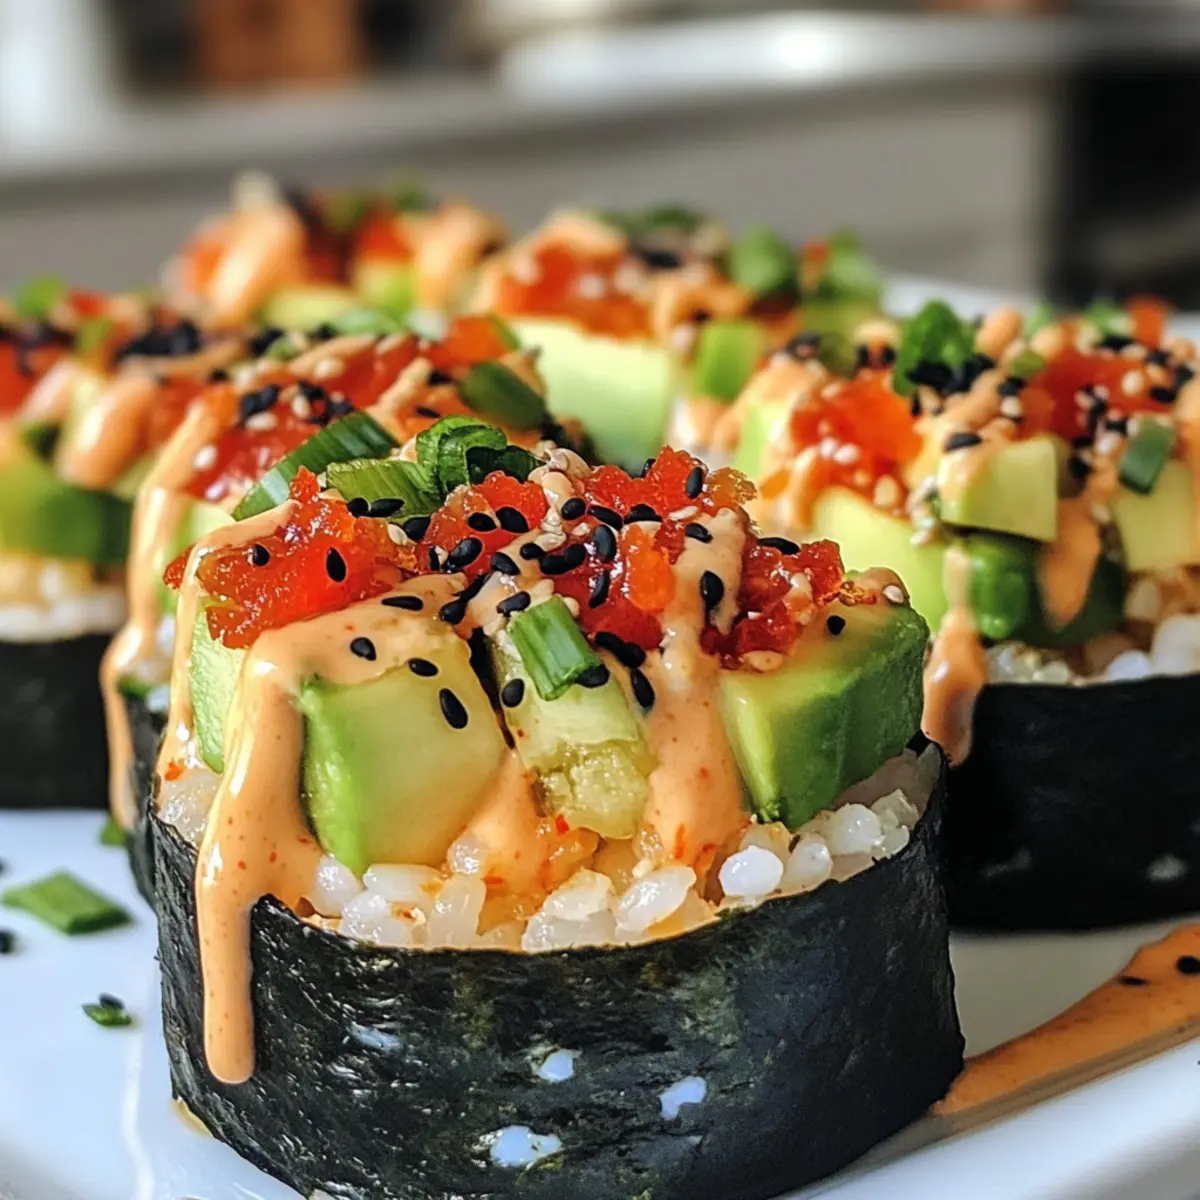
Sushi Cups Recipe FAQs
What kind of sushi rice should I use?
Absolutely! For making sushi cups, I recommend using short-grain sushi rice. This type of rice is stickier and holds together better, which is essential for shaping your rice cups. Be sure to rinse the rice thoroughly before cooking to remove excess starch for the perfect texture.
How should I store leftover sushi cups?
Very! It’s best to store your assembled sushi cups in an airtight container in the fridge. They stay fresh for up to 2 days. Just remember, the sooner you eat them, the better the flavor and texture!
Can I freeze sushi cups for later use?
Certainly! To freeze, mold the rice cups without any filling and place them on a baking sheet in a single layer. Freeze them until solid, then transfer to a freezer-safe bag. They can last up to 2 months. To use, thaw them overnight in the fridge and fill with fresh veggies and spicy mayo before serving.
What should I do if my rice is too sticky or too dry?
No worries! If your rice is too sticky, it may have been overcooked or too much water was added. For the next batch, try reducing the water slightly or cooking for a shorter time. If it’s too dry, you can add a little water while reheating or mix in a tiny splash of rice vinegar to get the right sticky consistency.
Are there any dietary considerations for these sushi cups?
Absolutely! These sushi cups are vegetarian-friendly and can easily be adapted for vegan diets by using vegan mayo and swapping honey for agave syrup. Just be cautious if you’re serving them to guests with allergies—always check for soy allergies if using soy sauce.
Can I use different vegetables or proteins in my sushi cups?
Of course! The beauty of sushi cups lies in their customization. Feel free to substitute mukimame with shredded carrots, bell peppers, or even cooked shrimp or crab for a non-vegetarian version. Just ensure the veggies maintain crunch to keep the cups delicious and satisfying.
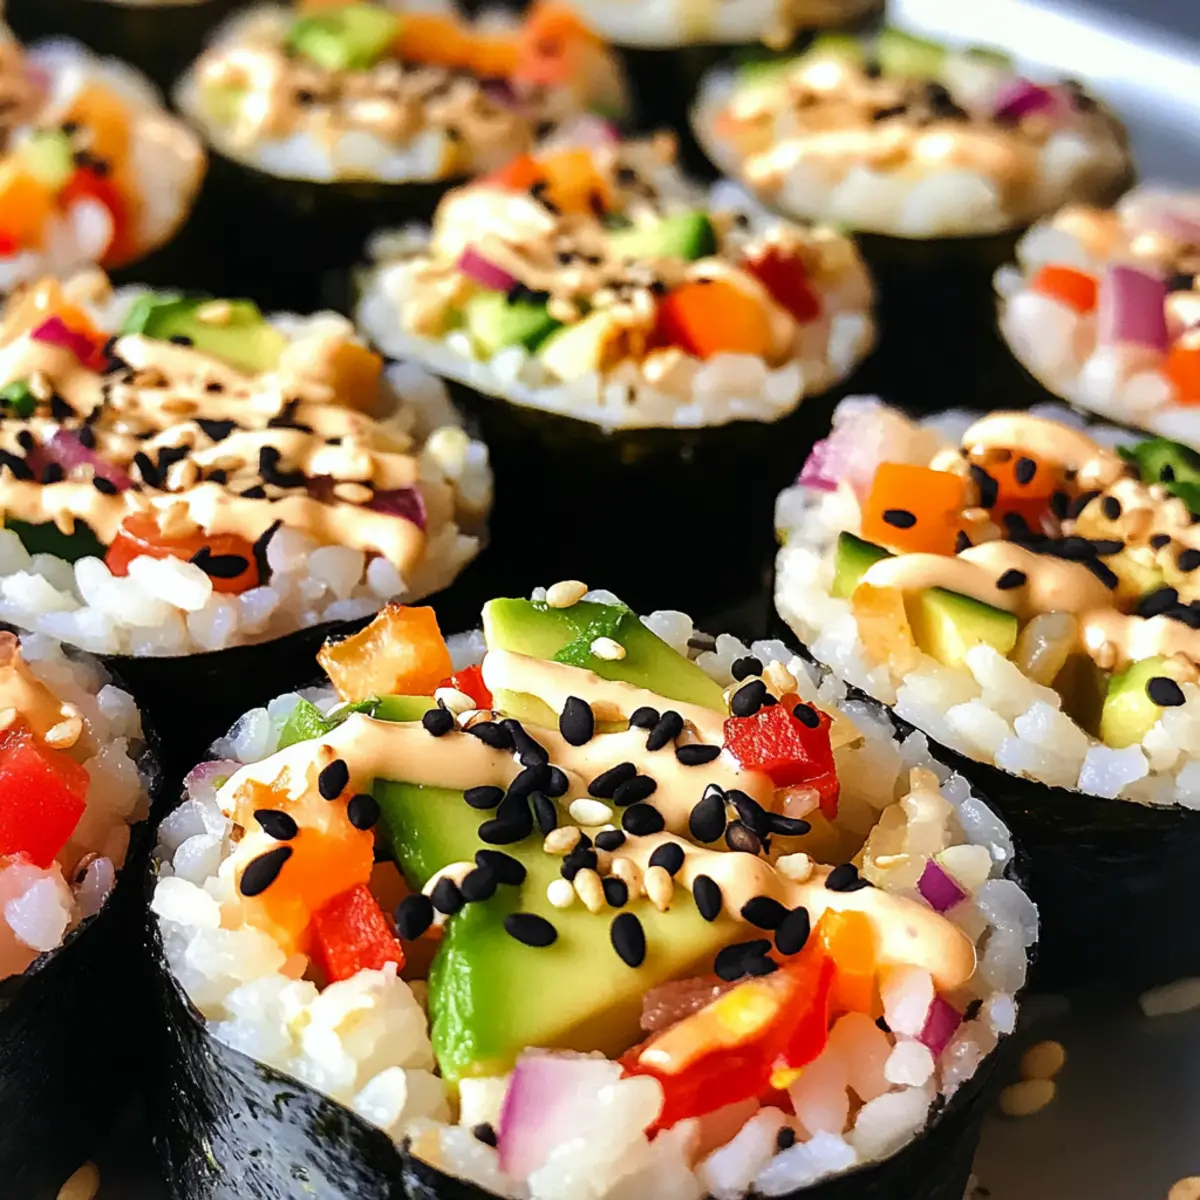
Delicious Sushi Cups: No-Bake, Veggie-Packed Perfection
Ingredients
Equipment
Method
- In a medium pot, combine 1 cup of rinsed sushi rice and 1 ¼ cups of water. Bring to a boil over medium-high heat, then reduce to low, cover, and simmer for 20 minutes. Remove from heat and let sit, covered, for 10 minutes.
- Transfer the cooked sushi rice into a large bowl to cool slightly. Gently fluff with a fork to release steam and stop the cooking process.
- Using a muffin tin, press 2 heaping tablespoons of the cooled sushi rice into each cup, compacting them well. Create a slight indentation in the center and chill for at least 20 minutes.
- In a mixing bowl, combine finely chopped veggies with steamed mukimame and diced avocado. Add your sauce of choice, stirring gently to coat.
- In a separate bowl, whisk together ¼ cup of mayonnaise, 1 tablespoon of Sriracha, 1 teaspoon of honey, 1 teaspoon of coconut aminos, and ½ teaspoon of sesame oil. Adjust heat level if necessary.
- Fill each chilled rice cup with the veggie mixture, pressing down gently. Drizzle spicy mayo on top and optionally sprinkle with black sesame seeds.
- Arrange on a serving platter and enjoy these sushi cups as a unique appetizer or quick lunch.
Leave a Reply