
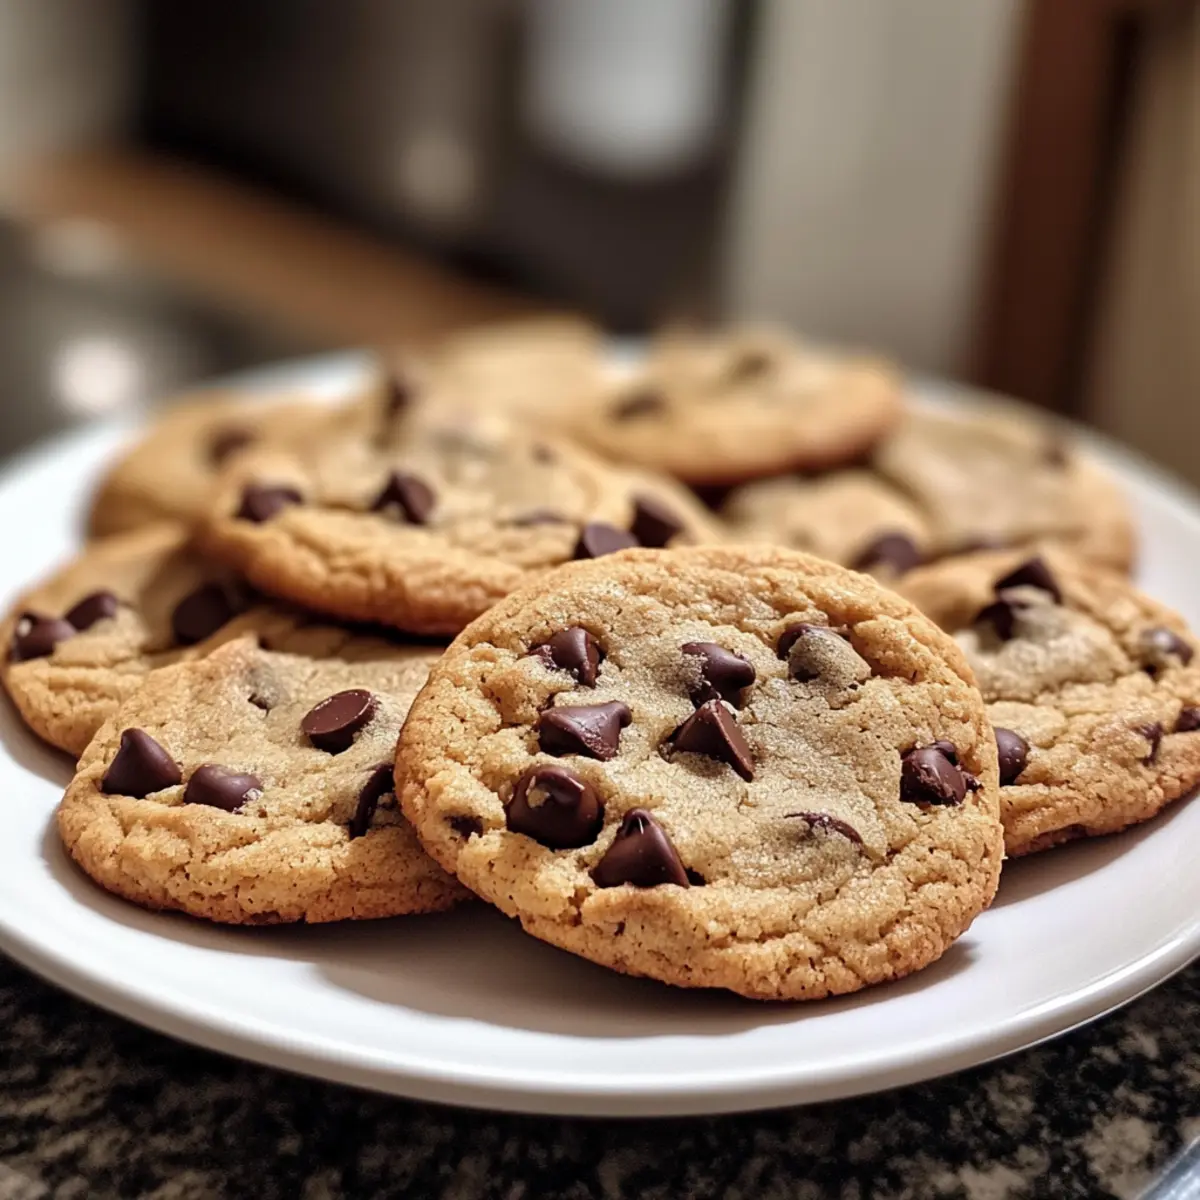
As I stood in my kitchen, the enticing aroma of freshly baked chocolate chip cookies danced through the air, instantly transporting me back to my childhood. There’s something magical about the classic chewy chocolate chip cookies that never fails to warm the heart. This recipe not only captures that nostalgia but also caters to everyone—offering both gluten-free and vegan options. The beauty of these cookies lies in their simplicity; with just a handful of ingredients, you can whip up a batch that’s both a crowd-pleaser and perfectly indulgent. Whether you’re looking for a delightful treat to share or a cozy snack for yourself, this recipe ticks every box. Curious to see how you can create your own cookie masterpiece? Let’s dive in!
Why are these cookies a must-try?
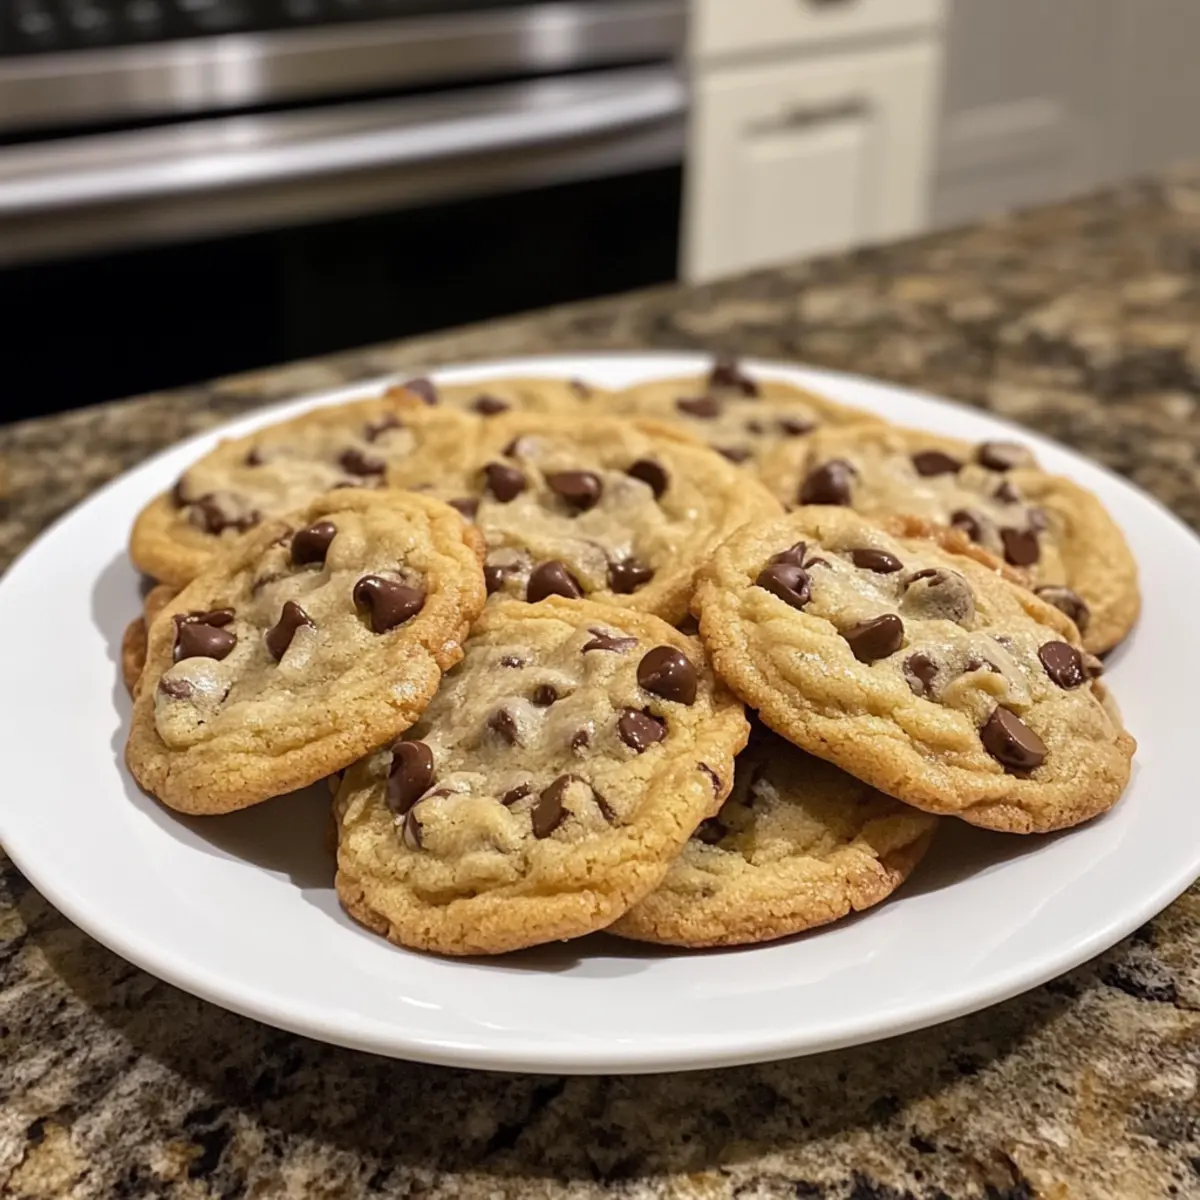
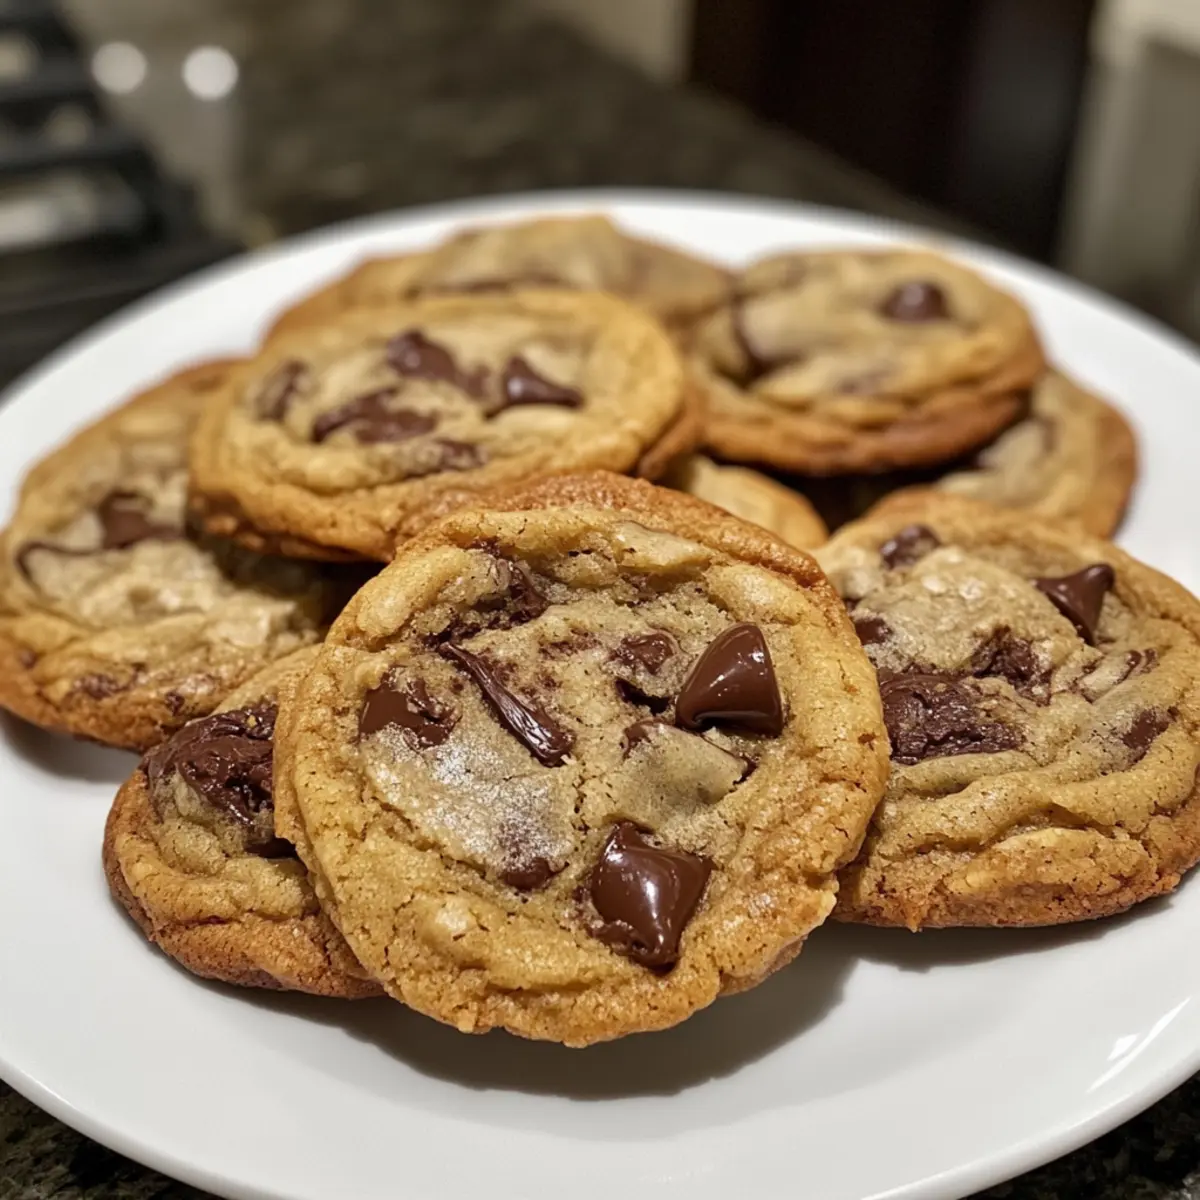
Chewy Perfection: Each bite offers a perfect balance of chewiness and gooey chocolate goodness, making these cookies truly irresistible!
Inclusive Options: With gluten-free and vegan variations, there’s a treat for everyone—no one will be left out, whether you’re hosting friends or baking for family.
Quick & Easy: You only need basic ingredients and a few simple steps, making this recipe perfect for busy weeknights or spontaneous cravings.
Nostalgic Aroma: The delightful smell wafting from your oven will transport you back to your childhood, creating memories with every batch, just like your favorite Savory Chicken Wraps.
Versatile Variations: Feel free to get playful—add nuts for crunch or swap chocolate chips for dried fruit to mix things up!
Perfect for Sharing: Whether you’re bringing them to a potluck or enjoying them at home, these cookies are guaranteed to impress everyone and leave them wanting more!
Chocolate Chip Cookie Ingredients
• Wondering what makes these cookies so special? Here’s what you’ll need!
For the Batter
- All-purpose flour – Provides structure to the cookies; substitute with gluten-free flour blend for a gluten-free option.
- Brown sugar – Adds moisture and a deep, caramel-like flavor; no substitutions needed for the best taste.
- Granulated sugar – Enhances sweetness and texture contrast; reduce the quantity for less sweetness if preferred.
- Baking soda – Acts as a leavening agent to help the cookies rise; ensure freshness for optimal results.
- Salt – Balances sweetness and enhances overall flavor; use kosher or table salt for best results.
- Vegan butter (or dairy butter) – Gives richness and moisture to the cookies; substitute with coconut oil for a vegan option.
For the Chocolate Chips
- Chocolate chips – The star ingredient for a chocolatey experience; feel free to use dark, milk, or dairy-free chips as needed.
For the Vegan Version
- Non-dairy milk – Replaces eggs and adds moisture; any plant-based milk works wonderfully in this recipe.
Create your delicious batch of Chocolate Chip Cookies that everyone will love!
Step‑by‑Step Instructions for Classic Chewy Chocolate Chip Cookies
Step 1: Preheat Oven
Start by preheating your oven to 350°F (175°C), allowing it to reach the right temperature for perfect baking. While the oven heats up, line a baking sheet with parchment paper to prevent sticking and ensure easy cleanup.
Step 2: Cream Sugars and Butter
In a large mixing bowl, combine the brown sugar, granulated sugar, and vegan butter. Using a hand mixer or stand mixer, cream these ingredients together on medium speed until the mixture is smooth and fluffy, approximately 2-3 minutes. This step is crucial for achieving the perfect chewy texture in your chocolate chip cookies.
Step 3: Incorporate Non-Dairy Milk
Once the sugar and butter mixture is fluffy, stir in the non-dairy milk until fully incorporated. Make sure there are no lumps remaining, as this will ensure a uniform batter. This addition keeps the cookies moist and helps to achieve the desired consistency in your classic chewy chocolate chip cookies.
Step 4: Prepare Dry Ingredients
In a separate bowl, whisk together the all-purpose flour, baking soda, and salt until well combined. This step helps to evenly distribute the leavening agent and salt throughout the flour, ensuring an even rise. Set this mixture aside as you get ready to combine it with the wet ingredients.
Step 5: Combine Wet and Dry Mixtures
Gradually add the dry mixture to the wet mixture, mixing on low speed until just combined. Be careful not to overmix; it’s okay if some flour streaks remain, as this helps create soft, chewy cookies. The dough should be thick and slightly sticky, indicating it’s ready for the next step.
Step 6: Fold in Chocolate Chips
Gently fold in the chocolate chips using a spatula or wooden spoon until they are evenly distributed throughout the dough. This is where the magic happens, as the rich chocolate chips will melt during baking, creating gooey pockets of chocolate in your classic chewy chocolate chip cookies.
Step 7: Scoop and Shape Dough
Using a cookie scoop or tablespoon, scoop the dough onto the prepared baking sheet, spacing them about two inches apart. This spacing allows the cookies to spread without merging into one another as they bake—aim for a rounded shape to enhance their bakery-style appearance.
Step 8: Bake Cookies
Place the baking sheet in the preheated oven and bake for 10-12 minutes, or until the edges turn golden brown while the centers remain soft. As the cookies bake, the tantalizing aroma will fill your kitchen, making it hard to wait for them to cool down.
Step 9: Cool on Rack
Remove the baking sheet from the oven and let the cookies cool for 5 minutes before transferring them to a wire rack. This resting period allows the cookies to firm up, making them easier to handle. Once on the wire rack, they can cool completely while reaching their ultimate chewy consistency.

Make Ahead Options
These Classic Chewy Chocolate Chip Cookies are perfect for busy home cooks looking to save time! To prep in advance, you can prepare the cookie dough and refrigerate it for up to 3 days. Simply scoop the dough onto a baking sheet lined with parchment paper and freeze the individual cookies for about 1-2 hours until solid, then transfer them to an airtight container or freezer bag for long-term storage. When you’re ready to enjoy a fresh batch, bake them directly from the freezer, adding an extra minute or two to the baking time. This way, you’ll always have warm, gooey chocolate chip cookies just when you need that sweet comfort!
Expert Tips for Perfect Chocolate Chip Cookies
Don’t Overmix: Avoid tough cookies by mixing the flour in just until incorporated. A few lumps are completely fine!
Chill the Dough: Refrigerating the dough for at least 30 minutes enhances flavor and reduces spread, resulting in chewier cookies.
Check Baking Soda Freshness: Ensure your baking soda is fresh for the best rise. Expired baking soda will leave cookies flat!
Adjust Sweetness: If you prefer less sweetness, try reducing the granulated sugar. It won’t sacrifice the chewy texture!
Cookie Size Matters: For uniform baking, use a cookie scoop to ensure even sizes, preventing some cookies from baking faster than others.
Storage Tips: Keep cookies in an airtight container to maintain softness. For longevity, freeze them for up to three months—perfect for spontaneous cravings!
How to Store and Freeze Chocolate Chip Cookies
Room Temperature: Keep your cookies in an airtight container at room temperature for up to 1 week to maintain their delightful chewiness and flavor.
Fridge: You can store cookies in the fridge for up to 2 weeks, although this may slightly alter their texture, making them a bit firmer.
Freezer: Freeze chocolate chip cookies in a single layer on a baking sheet for 1-2 hours, then transfer to a freezer-safe bag. They’ll stay fresh for up to 3 months.
Reheating: To enjoy warm cookies, reheat them in the oven at 350°F (175°C) for about 5 minutes. This will restore their gooey centers, making every bite irresistible!
What to Serve with Classic Chewy Chocolate Chip Cookies?
Serving up these nostalgic delights is half the fun! Pair them with delightful complements that amplify their warm, gooey goodness.
- Cold Plant-Based Milk: The perfect refreshing sip to balance the sweetness of the cookies, enhancing the chocolatey experience with every bite.
- Vanilla Ice Cream: Serve warm cookies with a scoop of ice cream for an indulgent treat, creating a delightful contrast of temperatures and textures.
- Fresh Berries: The tartness of strawberries or raspberries offers a refreshing balance that cuts through the richness of chocolate.
- Espresso or Coffee: A rich, bold coffee lifts the flavors of chocolate, creating a delightful pairing for late-night snacking or brunch treats.
- Nutty Granola: Sprinkle some granola on top of your cookie or yogurt for delightful crunch and added flavor—a great breakfast twist!
- Chocolate Dipping Sauce: Take indulgence up a notch by serving with a side of warm chocolate sauce for extra chocolate lovers.
- Chilled Lemonade: A cool, tangy lemonade provides a refreshing contrast and brightens the overall flavor profile.
- Caramel Sauce: Drizzle over cookies for an ultra decadent treat that adds a luscious touch of sweetness.
- Cheese Plate: Pair with a selection of mild cheeses for an unexpected but delightful sweet-savory contrast that intrigues the palate!
- Brownie Sundae: Layer cookies with brownies and ice cream for a dessert extravaganza that will make any gathering unforgettable!
BBQ Chicken Flatbread Variations
Feel free to let your culinary creativity soar by customizing this delightful BBQ chicken flatbread recipe!
- Gluten-Free: Use a gluten-free flatbread or wrap to cater to dietary needs while still enjoying all the delicious flavors.
- Spicy Twist: Add sliced jalapeños or sprinkle red pepper flakes on top for an extra kick of heat that will tantalize your taste buds.
- Vegetarian Delight: Substitute the chicken with roasted veggies or chickpeas and a drizzle of BBQ sauce for a hearty yet meatless option.
- Cheesy Goodness: Sprinkle extra cheese such as mozzarella or pepper jack before baking to create a melty, indulgent layer that complements the BBQ flavor.
- Pickled Onions: Add tangy pickled red onions as a topping after baking for a refreshing crunch that contrasts beautifully with the warm flatbread.
- Fresh Herbs: Top with fresh cilantro or green onions before serving for a burst of color and herby freshness that brightens each bite.
- Smoky Flavor: Swap in smoked chicken for a barbecue experience that adds depth and richness, amplifying the classic flavor profile of the dish.
- Serve with Dips: Pair with ranch or a vegan sour cream for a creamy finish that enhances each bite, reminiscent of your favorite Chicken Bacon Ranch or Hot Honey Feta Chicken.
No matter how you choose to vary this recipe, each version is sure to bring deliciousness to your table!
Chocolate Chip Cookies Recipe FAQs
How do I select the right flour for this recipe?
Absolutely! For classic chewy chocolate chip cookies, all-purpose flour is ideal as it gives the right structure and texture. If you need a gluten-free option, I recommend using a gluten-free flour blend specifically designed for baking, which can provide similar results without losing that delightful chewiness.
What is the best way to store leftover cookies?
Keep your cookies in an airtight container at room temperature for up to 1 week. This helps maintain their freshness and soft texture. For longer storage, place them in the fridge, where they last for up to 2 weeks. Just remember, the fridge may make them a bit firmer!
Can I freeze chocolate chip cookies?
Yes! To freeze your cookies, first place them in a single layer on a baking sheet and freeze for 1-2 hours. Once firm, transfer them to a freezer-safe bag or container. They can be stored for up to 3 months. When you’re ready to enjoy, just reheat in the oven at 350°F (175°C) for about 5 minutes to bring back that soft, gooey bliss.
What can I do if my cookies come out too dry?
If your cookies are too dry, it might be due to overmixing or utilizing too much flour. Always measure flour using the spoon-and-level method, and remember not to overmix once you’ve added the dry ingredients. If you notice the dough is really dry, you can add a splash more of non-dairy milk to help remedy the consistency before baking.
Are there any allergy considerations for this recipe?
Of course! This recipe can easily be made to accommodate various dietary needs. For a vegan version, ensure you’re using plant-based butter and non-dairy milk. If anyone has a nut allergy, double-check the chocolate chips for potential cross-contamination, opting for nut-free brands if necessary. Always be attentive to labels and ingredient lists to ensure a safe treat for all!
BBQ Chicken Flatbread: Quick, Flavor-Packed Delight!
Ingredients
Equipment
Method
- Preheat your oven to 400°F (200°C) and line a baking sheet with parchment paper.
- In a mixing bowl, combine the shredded BBQ chicken with BBQ sauce until fully coated.
- Place the flatbreads on the prepared baking sheet and brush with olive oil.
- Spread the BBQ chicken evenly over each flatbread, then top with mozzarella cheese.
- Bake in the preheated oven for 10-12 minutes, or until the cheese is bubbly and golden.
- Remove from the oven and let cool for 5 minutes.
- Garnish with fresh cilantro, slice, and serve warm.
Leave a Reply