
As I stood in my kitchen, the aroma of sizzling butter wafting through the air transported me straight to a cozy Japanese café. That’s when I decided to elevate my breakfast game with Silky Miso Scrambled Eggs. This delightful twist on a classic is not only a feast for the senses but also incredibly quick to whip up, taking just 10 minutes from start to finish. Beyond its creamy, umami-rich flavor, it’s an adaptable recipe that caters to both dairy lovers and those seeking a dairy-free option. Imagine transforming your morning routine with these irresistibly silky curds topped with fresh green onions—it’s like having a luxurious brunch without leaving home. Ready to indulge? Let’s dive into the recipe!
Why Are Silky Miso Scrambled Eggs Irresistible?
Unbeatable Flavor: The rich umami from white miso elevates traditional scrambled eggs into a luxurious experience.
Quick and Easy: Ready in just 10 minutes, this recipe is perfect for busy mornings or last-minute brunch gatherings.
Versatile Options: Easily adapt it to suit dietary needs with dairy-free alternatives like unsweetened soy milk or your favorite plant-based butter.
Crowd-Pleaser: Whether you’re cooking for yourself or hosting friends, everyone will love the fluffy texture and enticing flavors. You can even pair these eggs with sides like Coconut Cream Pie for a delightful brunch.
Simple Ingredients: With pantry staples, you’re likely already equipped to make this delicious dish without a special shopping trip.
Melt-in-Your-Mouth Experience: The combination of cooking methods creates a creamy, custard-like texture that makes every bite heavenly!
Silky Miso Scrambled Eggs Ingredients
For the Eggs
• Large Eggs – Fresh eggs are the key to achieving that perfect, fluffy texture.
• White Miso Paste – This ingredient offers a creamy umami flavor; you can use yellow or red miso for more depth.
• Milk – Adds creaminess; swap with unsweetened soy/oat milk for a dairy-free option.
For Cooking
• Unsalted Butter – Essential for richness; its flavor is simply unmatched.
• Vegetable Oil – Keeps the eggs from sticking and tolerates higher heat.
For Garnishing
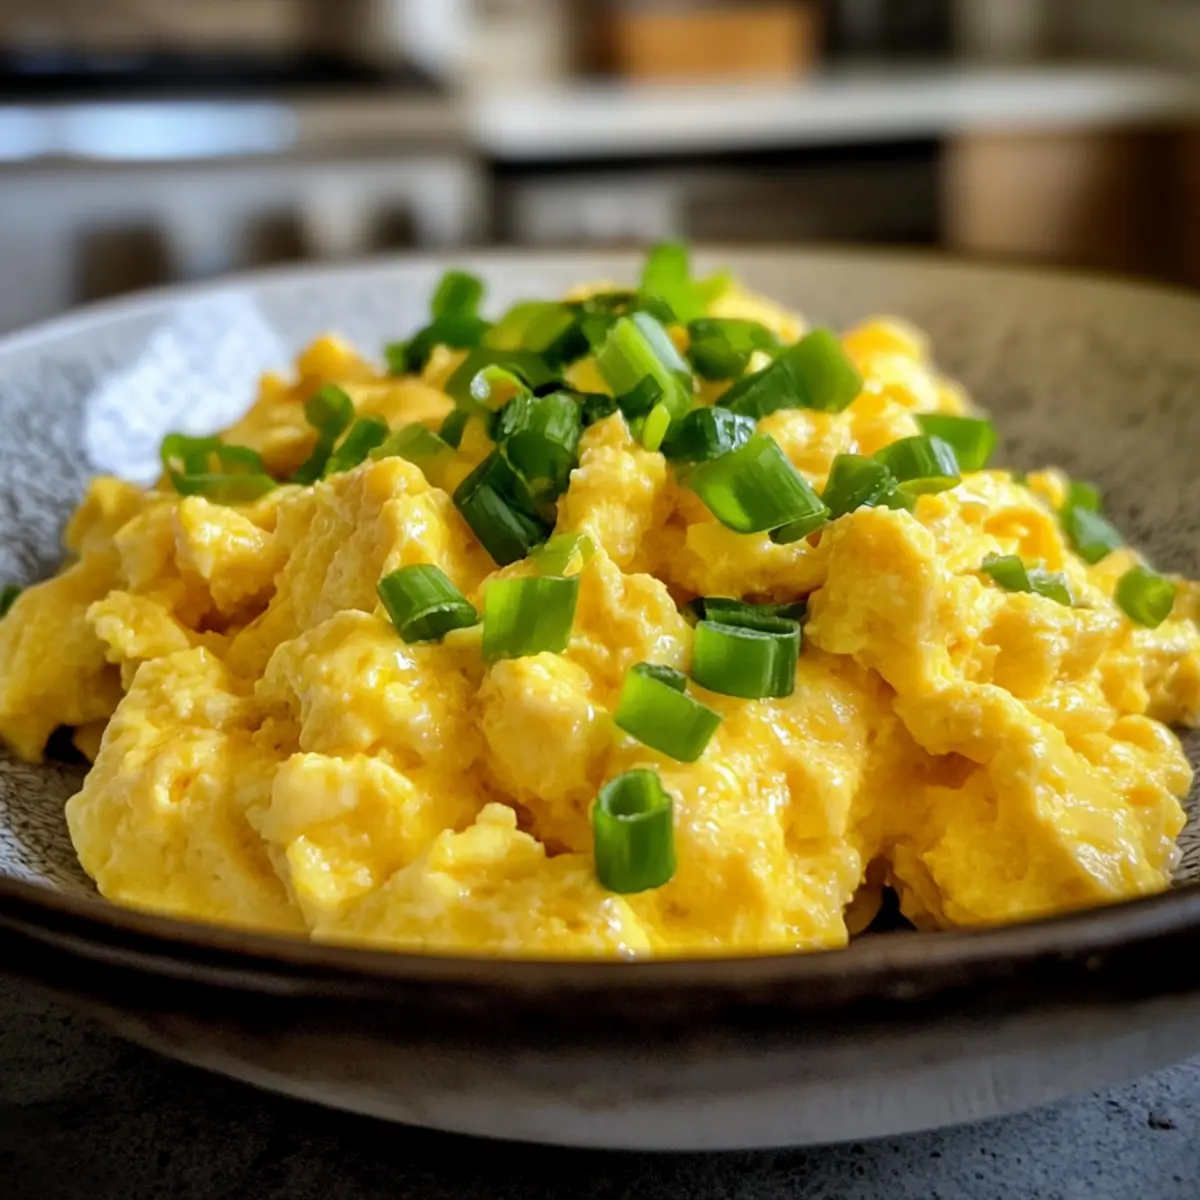
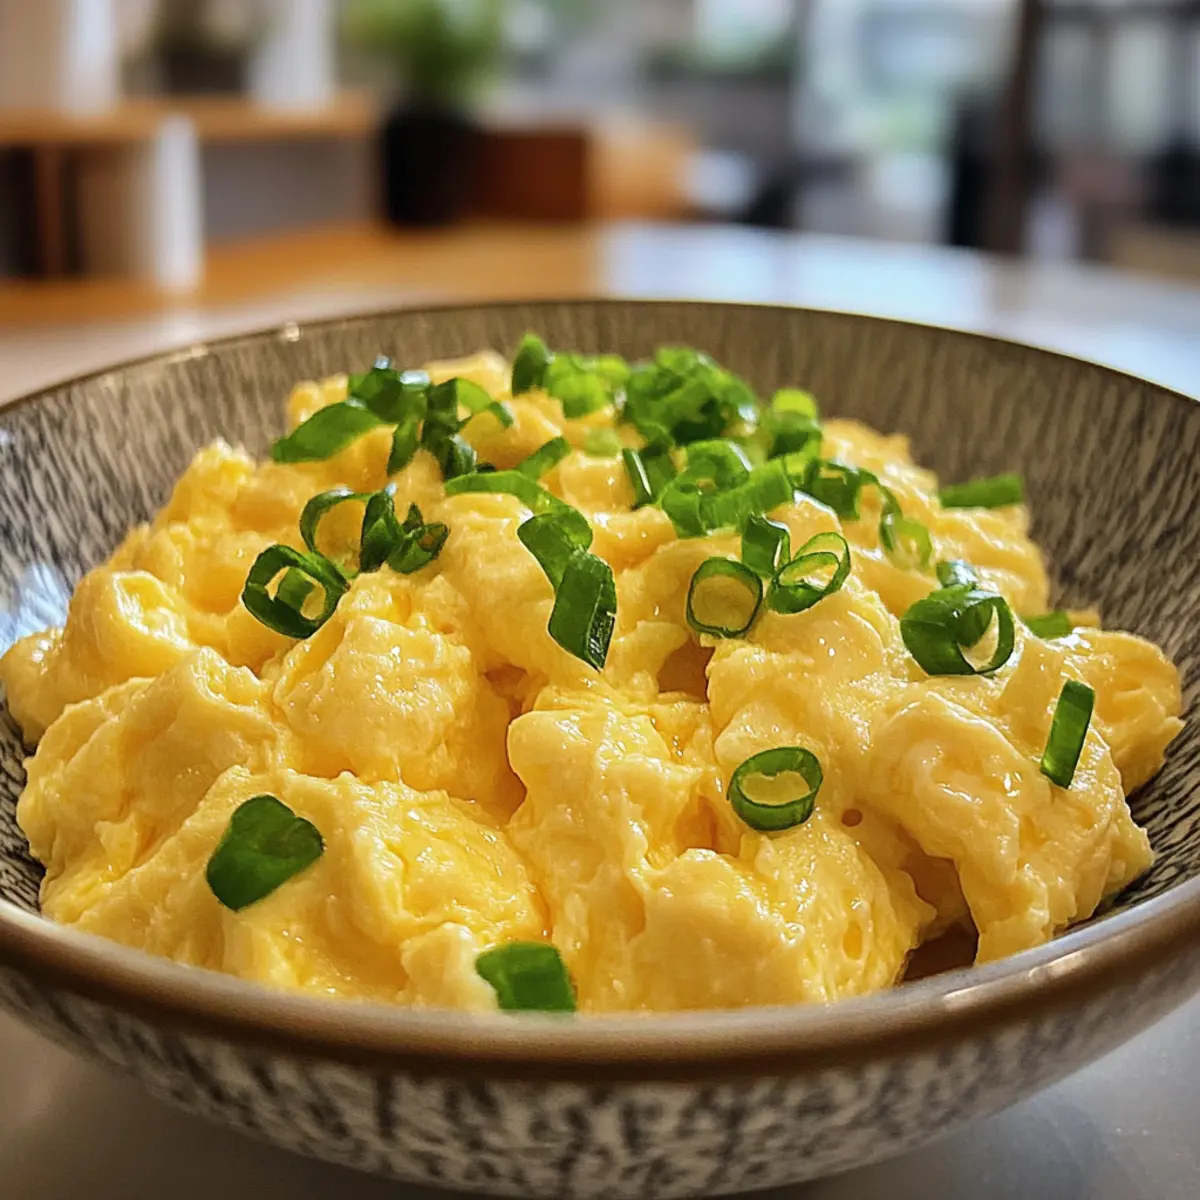
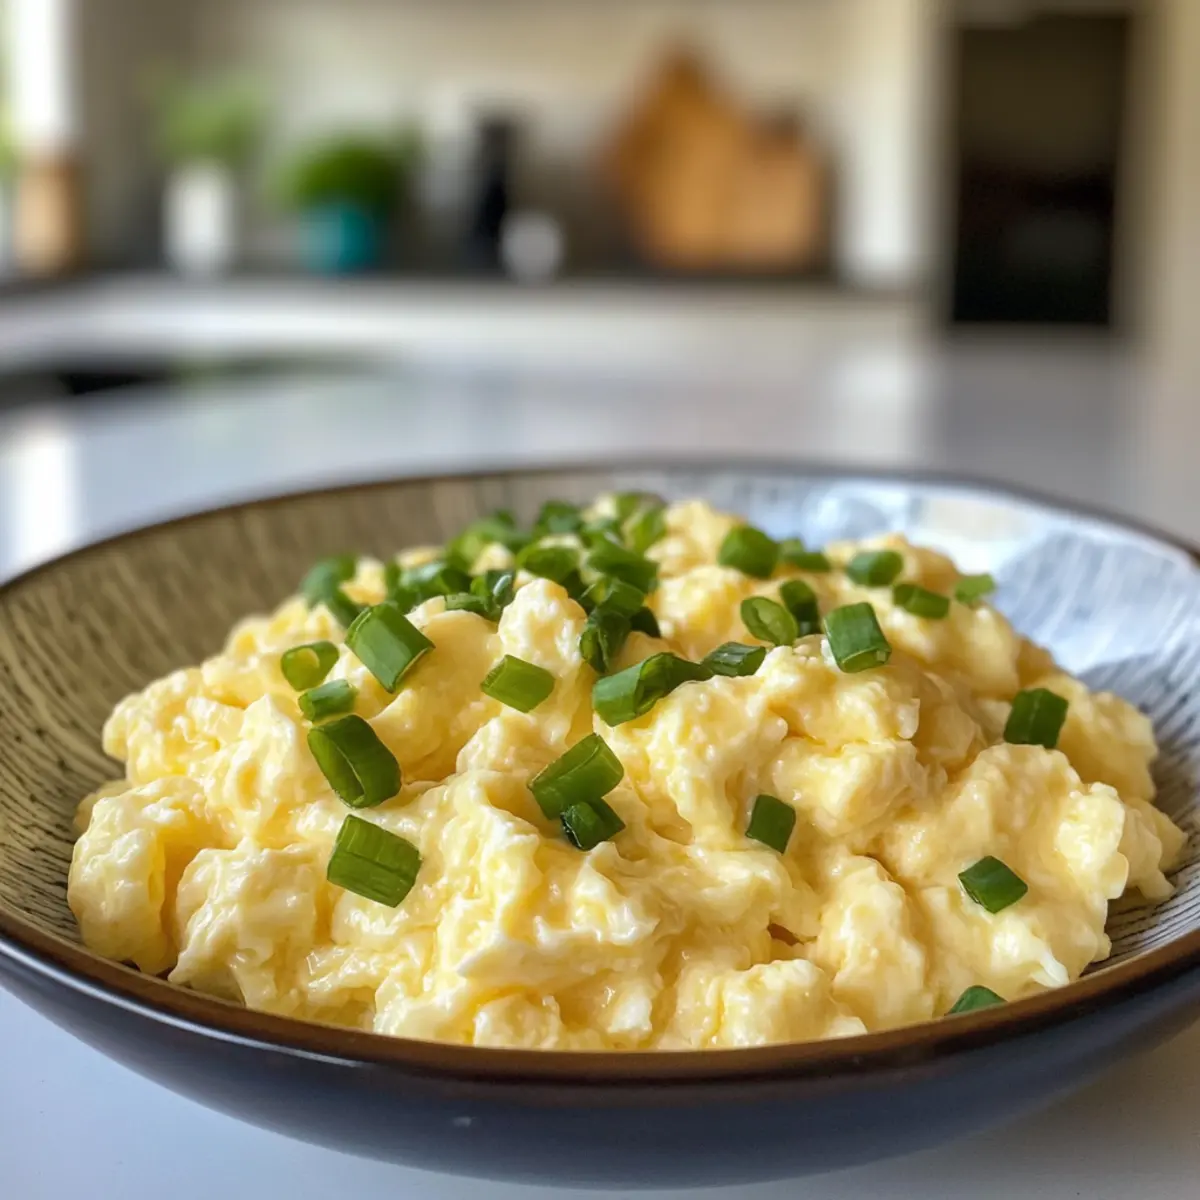
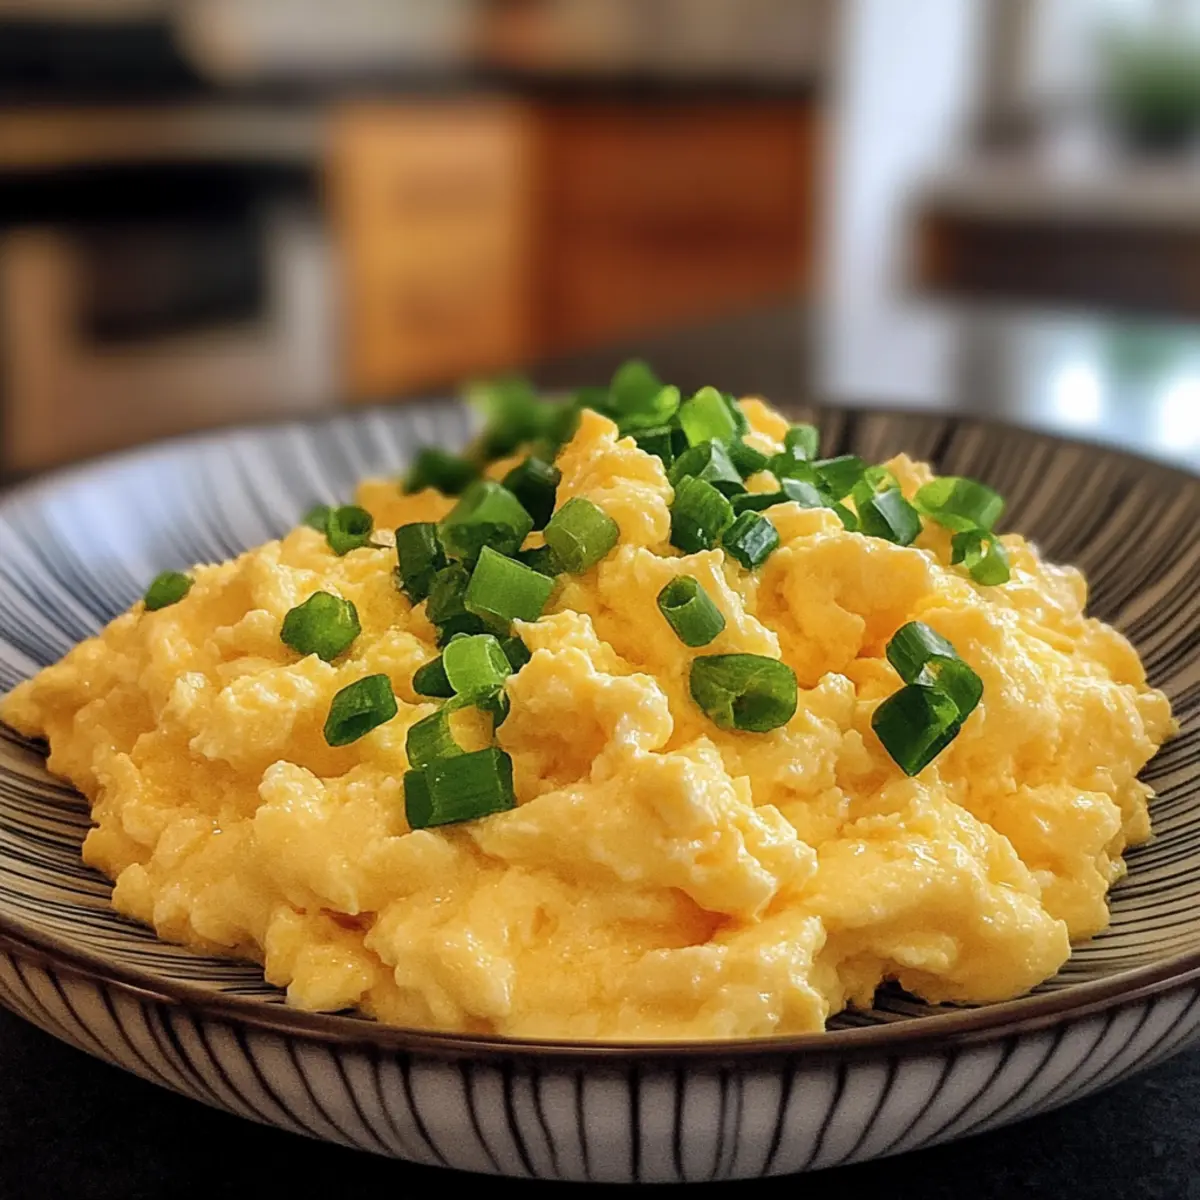
• Chopped Green Onions – These add a fresh, bright note; feel free to use chives or your favorite herbs for a twist!
For Seasoning
• Salt and Black Pepper – Crucial for enhancing flavors; adjust to your personal taste.
Each ingredient plays a critical role in creating the luxurious texture and rich taste of Silky Miso Scrambled Eggs, making this dish a satisfying addition to your breakfast rotation!
Step‑by‑Step Instructions for Silky Miso Scrambled Eggs
Step 1: Whisking the Mixture
In a medium bowl, crack open four large eggs and add two tablespoons of white miso paste along with two tablespoons of milk. Using a whisk, mix these ingredients until they’re completely blended and smooth, ensuring there are no lumps of miso. The color should be a vibrant yellow; this will ensure that your Silky Miso Scrambled Eggs are rich and creamy.
Step 2: Heating the Skillet
In a nonstick skillet, combine one teaspoon of vegetable oil and one tablespoon of unsalted butter over low heat. Allow the butter to melt gently, bubbling softly without browning, which should take about 1-2 minutes. This careful heating creates the perfect base for your scrambled eggs, preventing them from sticking while infusing a rich, buttery flavor.
Step 3: Pouring the Egg Mixture
Once the butter is foamy, carefully pour the whisked egg mixture into the skillet. Allow the eggs to sit, undisturbed, for about 10 seconds. This initial setting is crucial for forming those soft, silky curds that make these scrambled eggs uniquely delightful.
Step 4: Gently Stirring the Eggs
Using a silicone spatula, gently stir the edges of the eggs inward toward the center. Be sure to do this slowly and carefully, allowing the uncooked egg to flow to the edges. Continue this process for about 1-2 minutes, being cautious not to over-stir; you want to maintain large, luscious curds for your Silky Miso Scrambled Eggs.
Step 5: Finishing the Cooking
Keep cooking while stirring gently until the eggs are softly set, with a custardy texture, which should take an additional 1-2 minutes. The eggs should look glossy and slightly undercooked in areas, as they will continue to cook off the heat. Remove the skillet from the burner to prevent overcooking, ensuring that your scrambled eggs remain tender.
Step 6: Seasoning to Taste
Before serving, sprinkle the eggs with a pinch of salt and freshly cracked black pepper to taste. This seasoning enhances the umami flavors of the white miso. Stir gently to incorporate the seasonings throughout the Silky Miso Scrambled Eggs, simply transforming them into a deliciously flavored dish.
Step 7: Garnishing and Serving
Transfer the soft scrambled eggs onto a warm plate and garnish generously with chopped green onions for added freshness and color. Serve your Silky Miso Scrambled Eggs immediately, pairing them with toast, avocado, or even smoked salmon for a truly splendid breakfast experience.
How to Store and Freeze Silky Miso Scrambled Eggs
Fridge: Store any leftovers in an airtight container for up to 2 days. To prevent drying out, you can add a splash of milk before sealing.
Freezer: It’s best to avoid freezing Silky Miso Scrambled Eggs, as they may become watery and lose texture when thawed.
Reheating: When ready to enjoy again, gently reheat in a skillet over low heat, adding a bit of milk to restore creaminess for that luxurious taste.
Silky Miso Scrambled Eggs Variations
Feel free to get creative with your Silky Miso Scrambled Eggs and make them your own!
-
Dairy-Free: Swap regular milk for unsweetened soy or oat milk to cater to dairy sensitivities. This way, everyone can enjoy the creamy goodness without compromise.
-
Different Miso Flavors: Experiment with yellow or red miso paste for a bolder umami kick. Each type brings its distinct flavor and depth, turning your breakfast into a flavor exploration.
-
Cheesy Delight: Add a sprinkle of grated cheese, like feta or cheddar, right after cooking. It not only creates a delightful flavor contrast but also adds an irresistible creaminess to every bite.
-
Vegetable Medley: Incorporate sautéed spinach, mushrooms, or bell peppers for a nutritious boost. These veggies not only enhance the texture but also introduce vibrant colors and additional flavors.
-
Spicy Kick: For those who love heat, sprinkle a dash of sriracha or red pepper flakes before serving. It will awaken your taste buds and give your eggs an exciting twist perfect for adventurous eaters.
-
Herbal Infusion: Try fresh herbs like cilantro, dill, or basil instead of green onions for a completely different herbaceous flavor. Each herb adds its unique brightness, elevating the overall dish.
-
Umami Explosion: Top with a drizzle of soy sauce or Worcestershire sauce just before serving. It enhances the umami profile and adds a deliciously savory depth that contrasts perfectly with the eggs.
These variations can easily be enjoyed alongside a refreshing side like Coconut Cream Pie for a brunch that everyone will be talking about!
What to Serve with Silky Miso Scrambled Eggs
Imagine a breakfast spread that’s as vibrant as it is delicious. Your Silky Miso Scrambled Eggs deserve some delightful companions to complete this culinary experience.
- Crusty Sourdough Toast: Perfect for scooping up those creamy eggs, this tangy bread adds a delightful crunch.
- Avocado Slices: The buttery richness of avocado beautifully balances the umami flavor of the eggs, making each bite a dream.
- Smoked Salmon: Elevate your dish with smoky, tender fish that complements the soft texture of the scrambled eggs.
- Fresh Tomato Salad: A refreshing mix of juicy tomatoes and herbs adds brightness and a burst of flavor, enhancing the meal’s freshness.
For a heartier brunch, consider incorporating a vibrant green salad with a zesty vinaigrette. The crunch of fresh greens will contrast nicely with the silky texture of the eggs.
Additionally, serve your Silky Miso Scrambled Eggs with a cup of warm green tea or a refreshing mimosa for a delightful morning twist.
Expert Tips for Silky Miso Scrambled Eggs
- Heat Matters: Keep your skillet on low heat throughout cooking to prevent overcooking – this will guarantee those soft, silky curds you crave.
- Gentle Stirring: Use a silicone spatula to carefully fold the eggs instead of stirring aggressively. This preserves their delicate texture.
- Egg Freshness: Always choose the freshest eggs you can find; they significantly improve the texture and flavor of your Silky Miso Scrambled Eggs.
- Ingredient Adjustments: If you prefer a stronger flavor, feel free to experiment with yellow or red miso; each adds its unique twist to the dish.
- Perfect Serving: For an exquisite touch, serve with toasted bread or sprinkle with sesame seeds for added elegance alongside your eggs.
Make Ahead Options
These Silky Miso Scrambled Eggs are perfect for meal prep enthusiasts who want to simplify busy mornings! You can whisk together the egg mixture (four large eggs, two tablespoons of white miso, and two tablespoons of milk) and refrigerate it for up to 24 hours. Just store it in an airtight container to prevent any odor absorption. When you’re ready to cook, simply heat the skillet with oil and butter as instructed, pour in the prepped mixture, and follow the cooking steps. This way, you can enjoy fluffy, umami-rich eggs in a snap, making breakfast feel luxurious without the hassle!
Silky Miso Scrambled Eggs Recipe FAQs
How do I select the best eggs for this recipe?
Absolutely! Opt for the freshest large eggs you can find. Look for eggs that have a clean shell and no cracks. The fresher the eggs, the better the texture and flavor will be in your Silky Miso Scrambled Eggs. If you’re uncertain, check the sell-by date and pick those that are closest to that date for the best quality.
What’s the best way to store leftover Silky Miso Scrambled Eggs?
Store any leftover Silky Miso Scrambled Eggs in an airtight container in the fridge. They will keep fresh for up to 2 days. To maintain their creamy texture, consider adding a splash of milk before sealing the container. This little trick helps prevent the eggs from drying out!
Can I freeze Silky Miso Scrambled Eggs?
I recommend against freezing Silky Miso Scrambled Eggs. When frozen and thawed, the texture can become watery and lose that delightful creaminess. Instead, enjoy them fresh and consider making smaller batches if you’re serving just one or two.
What should I do if my scrambled eggs turn out rubbery?
Very! If your Silky Miso Scrambled Eggs are rubbery, it’s likely because they were cooked on too high of heat or for too long. Always use low heat and gently fold the eggs rather than stirring aggressively. If the eggs start to look set, immediately remove them from heat to retain a soft, custardy texture.
Are there any dietary considerations for this recipe?
Absolutely! If you or someone at your table has dietary restrictions, this recipe is adaptable for dairy-free options. Simply swap out the milk for unsweetened soy or oat milk, and use a dairy-free butter alternative. Additionally, be mindful of the miso paste if there are soy allergies; you could explore chickpea miso as an alternative.
How can I make my Silky Miso Scrambled Eggs even more flavorful?
To elevate the flavor, consider adding ingredients like cheese, sautéed vegetables, or even a sprinkle of sesame seeds. Experimenting with different miso types, such as yellow or red, can also add an exciting twist to the dish—creating a new favorite for your breakfast rotation!
Silky Miso Scrambled Eggs for a Fluffy, Flavorful Breakfast
Ingredients
Equipment
Method
- In a medium bowl, crack open the eggs and add miso paste and milk. Whisk until smooth.
- In a nonstick skillet, combine vegetable oil and butter over low heat until butter is melted and foamy.
- Carefully pour the egg mixture into the skillet and let sit for about 10 seconds.
- Gently stir the edges of the eggs toward the center with a spatula for 1-2 minutes.
- Continue to cook, stirring gently, until the eggs are softly set and glossy, for another 1-2 minutes.
- Sprinkle with salt and black pepper to taste, stirring gently to combine.
- Transfer to a warm plate and garnish with chopped green onions before serving.
Leave a Reply