
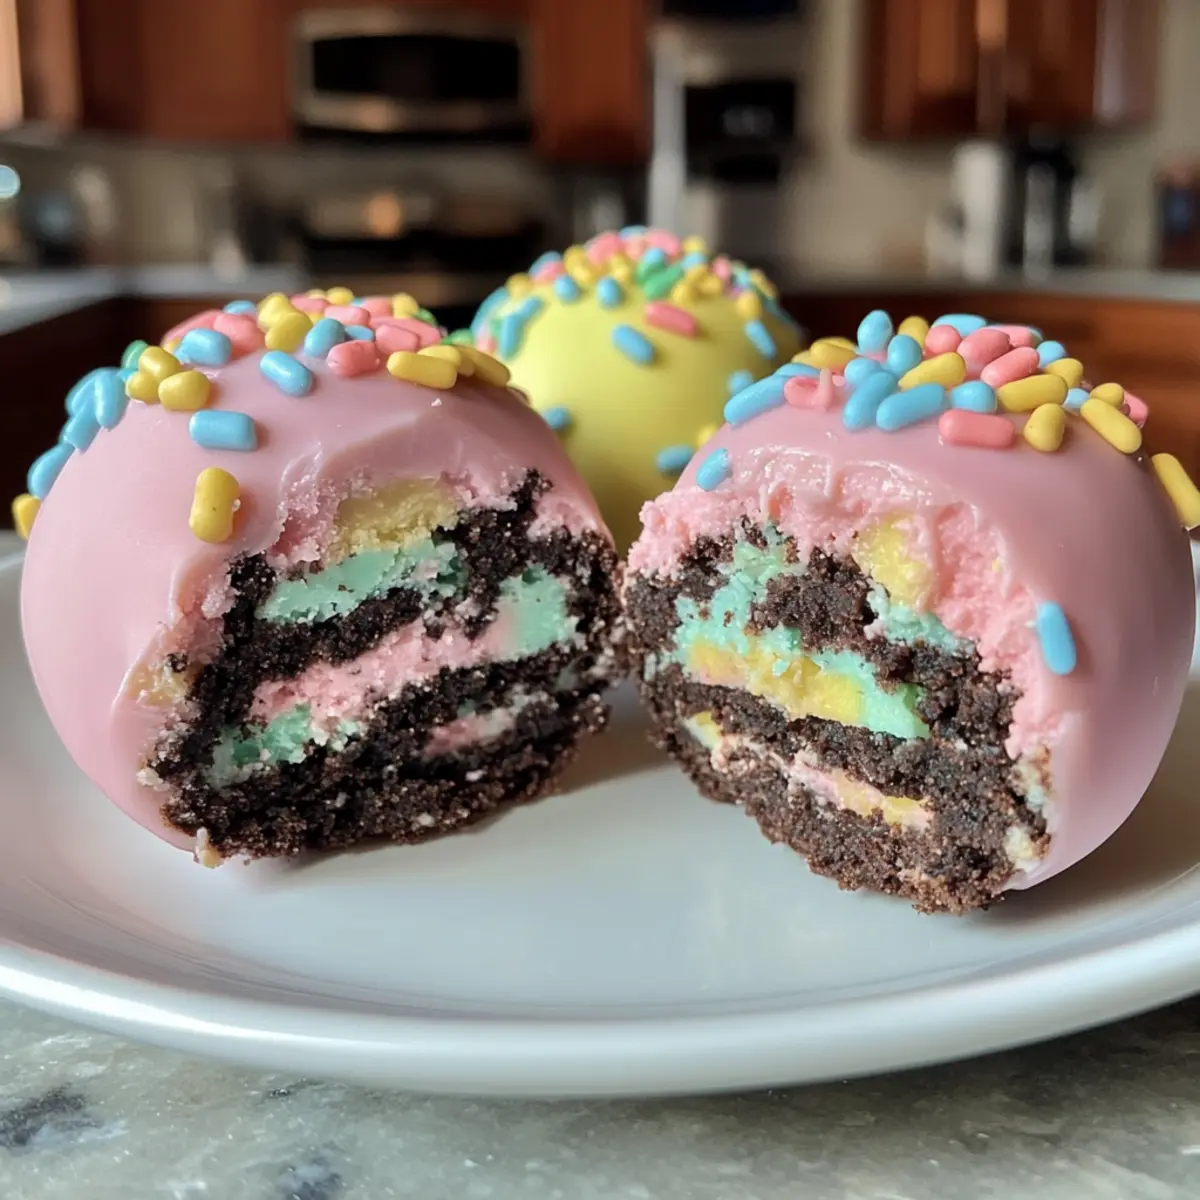
As the holiday season approaches, the irresistible allure of festive treats begins to swirl in the air. One of my favorite ways to celebrate Easter is by whipping up these adorable Easter Egg Oreo Balls. This no-bake delight combines the beloved chocolatey crunch of Oreos with a creamy filling, all wrapped in a colorful candy shell. Not only are these treats incredibly easy to make with just a handful of ingredients, but they are also completely customizable to suit your family’s tastes. Whether you dust them with sprinkles or change up the candy coating, they guarantee smiles from kids and adults alike. So, why not dive into this simple, crowd-pleasing recipe that promises to make your Easter celebration even sweeter? What colorful creations will you dream up for your holiday table?
Why Are Easter Egg Oreo Balls So Loved?
Joyful Creation: These festive no-bake treats bring happiness to any holiday table.
Easy to Make: With just a few simple ingredients, you can whip up a batch in no time—perfect for busy parents!
Customizable Fun: Vary the decorations to match your theme; go vibrant with pastels or keep it classic with sprinkles.
Kid-Friendly Treat: Both kids and adults adore these creamy, crunchy delights—great for family gatherings or gifting!
Make Ahead: Prep ahead of time and store them in the fridge or freezer, allowing for a stress-free celebration.
Unleash your creativity to craft these Easter Egg Oreo Balls that will impress everyone at your festivities!
Easter Egg Oreo Balls Ingredients
• Get ready to create a delightful treat!
For the Filling
- Oreo cookies – The star ingredient provides the rich chocolate base; consider using Golden Oreos for a twist.
- Cream cheese – Gives the mix a luscious creaminess and helps bind the ingredients; reduced-fat or dairy-free options work well too.
- Vanilla extract (optional) – A splash enhances the overall flavor, making these Easter Egg Oreo Balls even more delicious.
For the Coating
- White candy melts – Create a smooth, colorful outer layer; alternative: use white chocolate chips with coconut oil for better consistency.
- Pastel food coloring – Brightens up your treats for a festive look; opt for gel food coloring for vivid results.
- Decorative sprinkles or sanding sugar (optional) – Add a fun crunch and festive flair to your finished candy eggs.
Creating these Easter Egg Oreo Balls is a wonderful way to bring joy to your holiday celebrations!
Step‑by‑Step Instructions for Easter Egg Oreo Balls
Step 1: Crush Oreos
Begin by placing your Oreo cookies into a food processor and pulse until they turn into fine crumbs. If you don’t have a food processor, you can use a zip-top bag and crush them with a rolling pin. Aim for a powdery consistency without any large chunks, which will help create the perfect texture for your Easter Egg Oreo Balls.
Step 2: Mix Filling
In a large mixing bowl, combine the fine Oreo crumbs with softened cream cheese using a spatula or hand mixer. Blend until you achieve a uniform, thick dough that sticks together easily. If desired, add a splash of vanilla extract to enhance the flavor. This creamy filling will be the delightful core of your Easter Egg Oreo Balls, so make sure it’s well mixed!
Step 3: Shape Balls
Scoop out about 1 tablespoon of the Oreo mixture and roll it between your palms to form an egg shape. Place each shaped ball on a parchment-lined baking sheet to prevent sticking. Continue this process until all the mixture is shaped into eggs. Keep them evenly sized for uniformity in your festive presentation.
Step 4: Chill
Transfer the baking sheet with the shaped Oreo balls into the refrigerator. Chill for about 30 minutes, or if you’re in a hurry, pop them in the freezer for about 15 minutes. This step is essential as it firms up the balls, making them easier to coat later and ensuring they hold their shape during the dipping process.
Step 5: Melt Coating
In a microwave-safe bowl, add the white candy melts and heat in the microwave in 30-second intervals, stirring between each until smooth. Be careful not to overheat, as this can cause the melts to seize. If you want a thinner consistency, you can mix in a small amount of coconut oil. This coating will beautifully envelop your Easter Egg Oreo Balls.
Step 6: Color Coatings
Divide the melted candy coating into separate bowls if you wish to create multiple colors. Using pastel food coloring, mix in a few drops into each bowl to achieve your desired vibrant shades. Gel food coloring works best for rich tones without thinning the coating. This step will bring your Easter Egg Oreo Balls to life with spring colors!
Step 7: Dip Balls
Take each chilled Oreo ball and dip it into the melted coating, ensuring it is fully enveloped. Use a fork to gently lift it out, allowing excess coating to drip off before placing it back onto the parchment-lined sheet. This process is affordable fun and will create that adorable candy shell for your Easter Egg Oreo Balls.
Step 8: Decorate
While the coating is still wet, sprinkle decorative sprinkles or sanding sugar over the top for an added festive touch. If you’d like to drizzle additional colored chocolate on top, wait briefly for the coating to begin setting. This personalization step makes your treats even more delightful and eye-catching for Easter celebrations.
Step 9: Set
Let your dipped Easter Egg Oreo Balls sit at room temperature for about 15 minutes or refrigerate them for an additional 10 minutes to harden the candy coating completely. The finished product will have a beautiful, smooth shell that gives way to the creamy interior, ready to be enjoyed by all.
Step 10: Serve
Once set, arrange the Easter Egg Oreo Balls on a decorative platter, perfect for showcasing at your holiday gathering. You can also gift them in cute baskets or store them in the fridge for up to 5 days. These delightful treats are bound to impress your family and friends during the Easter festivities!
What to Serve with Festive No-Bake Easter Egg Oreo Balls
These delightful treats are perfect for brightening up your holiday gathering and complementing your Easter celebration with a variety of delicious sides.
-
Creamy Fruit Salad: Freshly mixed fruits add a refreshing touch that balances the rich sweetness of the Oreo balls. The fruity flavors harmonize beautifully, making every bite feel light and satisfying.
-
Carrot Sticks with Hummus: For a crunchy, healthful option, serve these colorful carrot sticks alongside a smooth hummus dip. The earthy flavor of the hummus pairs well with the sweetness of your Easter Egg Oreo Balls.
-
Mini Quiches: Light and fluffy mini quiches filled with veggies or cheese provide a savory contrast to the sweet dessert. Their airy texture is an inviting nod to spring gatherings, elevating your festive menu.
-
Sparkling Lemonade: A refreshing drink option that adds a burst of citrusy flavor, sparkling lemonade will brighten the table. Its fizzy effervescence complements the creamy richness of the treats, making it a standout pairing.
-
Chocolate-Covered Strawberries: For an indulgent touch, serve chocolate-covered strawberries that enhance the overall chocolate theme. The balance of tart and sweet works perfectly with the sweet creaminess of the Oreo balls.
-
Easter-themed Cupcakes: Continue the festive atmosphere with cheerful cupcakes topped with colorful icing. They add visual appeal to your table and make for a perfect second dessert to delight guests of all ages.
Expert Tips for Easter Egg Oreo Balls
- Crush Carefully: Ensure your Oreo cookies are finely crushed without large chunks. This prevents texture issues in your Easter Egg Oreo Balls.
- Chill Well: Don’t skip the chilling step! It helps the balls hold their shape while dipping into the coating—keeping them perfectly formed.
- Use Gel Colors: Opt for gel food coloring for brighter, more vibrant hues in your coating; it adheres well without changing the consistency.
- Spread Out: Allow enough space between your dipped Oreo balls on the parchment to avoid them sticking together—this maintains their adorable shape!
- Experiment with Coatings: Have fun customizing your candy melts with different flavors or colors for your Easter Egg Oreo Balls; the possibilities are endless!
Easter Egg Oreo Balls Variations
Feel free to mix things up and make these delightful treats your own with these fun variations!
-
Graham Cracker Base: Substitute crushed Oreos with graham crackers for a lighter flavor that’s perfect for springtime treats. The hint of honey adds a delicate sweetness you’ll love.
-
Sugar-Free Cookies: Swap regular Oreos for sugar-free versions to cater to dietary preferences without sacrificing the sweet treat experience. Enjoy the same creamy goodness, just a little lighter!
-
Dark Chocolate Coating: For a bolder flavor, switch out white candy melts for dark chocolate. This deep chocolatey layer complements the sweetness of the filling beautifully.
-
Tropical Twist: Instead of the candy coating, roll your chilled balls in shredded coconut for a delightful tropical vibe. This adds a fun chewiness and pairs wonderfully with the creaminess.
-
Nutty Crunch: Incorporate crushed nuts, like almonds or hazelnuts, into the filling for an added crunch. This little twist enhances the texture and provides a delightful nutty flavor.
-
Minty Fresh: Add a few drops of peppermint extract to the filling for a refreshing mint flavor. These minty variations add an unexpected twist that will surprise and delight!
Consider trying these variations while enjoying other delightful recipes, like these Oreo Cheesecake Cookie or delicious Chocolate Rum Balls. They can inspire even more sweet creations in your kitchen!
Experiment away and uncover your favorite combination of flavors and textures!
How to Store and Freeze Easter Egg Oreo Balls
Fridge: Store your Easter Egg Oreo Balls in an airtight container in the refrigerator for up to 5 days. This keeps them fresh and creamy, ready to delight whenever you have a sweet craving.
Freezer: For longer storage, freeze the Oreo balls in a single layer on a baking sheet until firm, then transfer them to a freezer-safe bag. They can be frozen for up to 2 months without losing their delightful flavor.
Thawing: When you’re ready to enjoy your frozen Easter Egg Oreo Balls, simply transfer them to the fridge for a few hours or let them sit at room temperature for about 20 minutes. This way, they will maintain their incredible texture and flavor!
Wrapping: If freezing, wrap each ball in plastic wrap individually to prevent them from sticking together, making it easy to grab a treat whenever you like!
Make Ahead Options
These delightful Easter Egg Oreo Balls are perfect for meal prep! You can prepare the filling and shape the balls up to 24 hours in advance, storing them tightly covered in the refrigerator to maintain their freshness. This way, on the day of your celebration, you can simply dip them in the melted candy coating and decorate before serving. To ensure a smooth coating, keep the balls chilled before dipping; this will help them retain their shape and create an even finish. If you’d like to store any finished Easter Egg Oreo Balls, they can stay in the refrigerator for up to 5 days. Enjoy stress-free holidays with these make-ahead treats!
Easter Egg Oreo Balls Recipe FAQs
How do I select ripe ingredients for my Easter Egg Oreo Balls?
Absolutely! For the best results, use fresh cream cheese that is soft and spreadable. Check the expiration date on the package. As for the Oreo cookies, look for those without any visible signs of damage or a stale smell. If using any alternative ingredients like coconut oil, ensure that it’s fresh and not rancid.
What is the best way to store Easter Egg Oreo Balls, and how long do they last?
You can store your Easter Egg Oreo Balls in an airtight container in the refrigerator for up to 5 days. This keeps them fresh, creamy, and ready for enjoyment at any moment! If you find yourself with a surplus, they can also be stored in the freezer for up to 2 months. Just make sure they are in a single layer on a baking sheet until firm before transferring them to a freezer-safe bag.
Can I freeze Easter Egg Oreo Balls? If so, how do I do it?
Yes, you can absolutely freeze these delightful treats! Begin by placing the Oreo balls in a single layer on a parchment-lined baking sheet. Freeze them for about 1 to 2 hours until they are solid. Once they’re firm, transfer the balls to a freezer-safe bag. Make sure to label the bag with the date, and they can be stored for up to 2 months. When you’re ready to enjoy, simply thaw in the fridge for a few hours or let them sit at room temperature for about 20 minutes.
What should I do if my coating is too thick or too thin?
Very common, don’t worry! If your candy coating is too thick, you can thin it out by stirring in a small drizzle of coconut oil or vegetable oil until you reach a desired consistency. On the other hand, if it’s too thin, try adding more melted candy melts gradually, mixing well each time until the coating reaches that perfect silky texture that can easily coat your Easter Egg Oreo Balls.
Are Easter Egg Oreo Balls suitable for those with dietary restrictions?
Absolutely! You can customize these treats to fit various dietary needs. For a dairy-free version, simply substitute cream cheese with a dairy-free alternative. If you’re watching sugar intake, using sugar-free Oreos is a great option as well. And for those avoiding gluten, opt for gluten-free Oreo cookies to keep this festive treat enjoyable for all!

Delicious Easter Egg Oreo Balls for a Fun No-Bake Treat
Ingredients
Equipment
Method
- Begin by placing your Oreo cookies into a food processor and pulse until they turn into fine crumbs.
- In a large mixing bowl, combine the fine Oreo crumbs with softened cream cheese using a spatula or hand mixer.
- Scoop out about 1 tablespoon of the Oreo mixture and roll it between your palms to form an egg shape.
- Transfer the baking sheet with the shaped Oreo balls into the refrigerator. Chill for about 30 minutes.
- In a microwave-safe bowl, add the white candy melts and heat in the microwave in 30-second intervals until smooth.
- Divide the melted candy coating into separate bowls and mix in a few drops of pastel food coloring.
- Take each chilled Oreo ball and dip it into the melted coating, ensuring it is fully enveloped.
- While the coating is still wet, sprinkle decorative sprinkles over the top.
- Let your dipped Easter Egg Oreo Balls sit at room temperature for about 15 minutes to set.
- Once set, arrange the Easter Egg Oreo Balls on a decorative platter.
Leave a Reply