
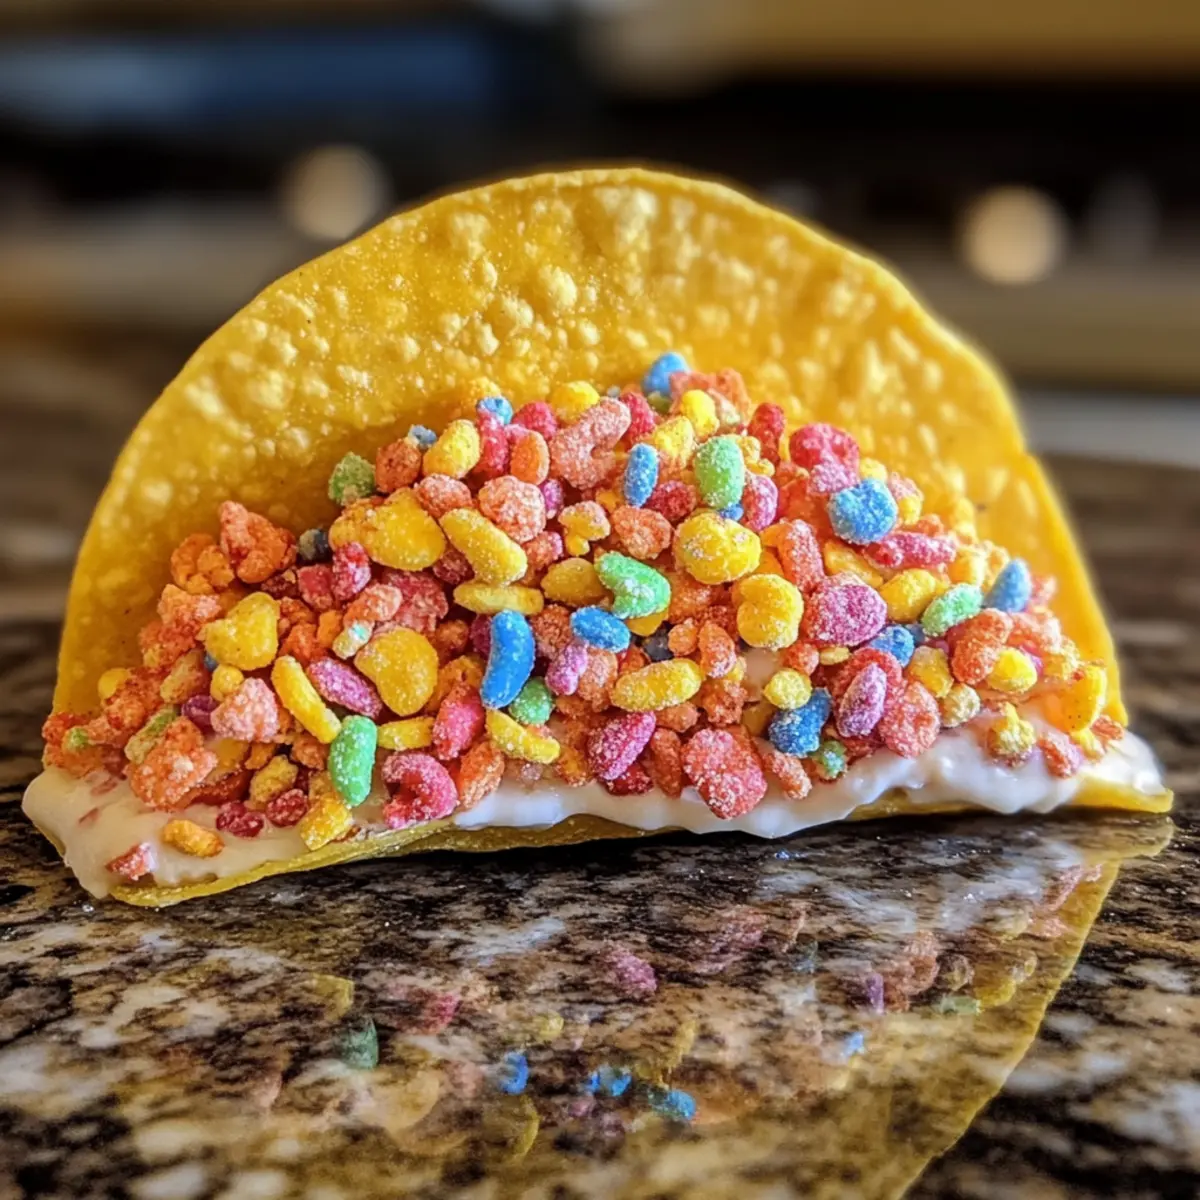
Colorful, crunchy, and utterly fun, Crispy Fruity Pebbles Cheesecake Tacos are a show-stopping dessert that’s sure to bring joy to any gathering! As I prepared to channel my inner child, the idea of blending creamy cheesecake with the vibrant crunch of Fruity Pebbles sparked my excitement. Not only are these tacos incredibly quick to assemble, but they also offer a no-bake solution that makes for stress-free entertaining. Perfect for summer parties or a special treat for the kids (or the kid inside all of us!), these customizable delights are both a feast for the eyes and the palate. Are you ready to transform dessert time into a playful adventure? Let’s get started!
Why Are These Tacos a Must-Try?
Uniqueness: Crispy Fruity Pebbles Cheesecake Tacos combine classic cheesecake with a playful taco twist, creating a dessert that’s both familiar and exciting.
No-Bake Convenience: This recipe is a breeze to whip up, making it perfect for those busy weekends or when unexpected guests arrive.
Kid-Friendly Fun: Kids will love helping to assemble these colorful tacos, making dessert time an interactive experience.
Customization: Feel free to switch out the Fruity Pebbles for your favorite cereals, or even add fresh fruit like strawberries or bananas to the filling for extra flavor! If you love fun dessert ideas, check out my Oreo Cheesecake Cookie for another crowd-pleaser!
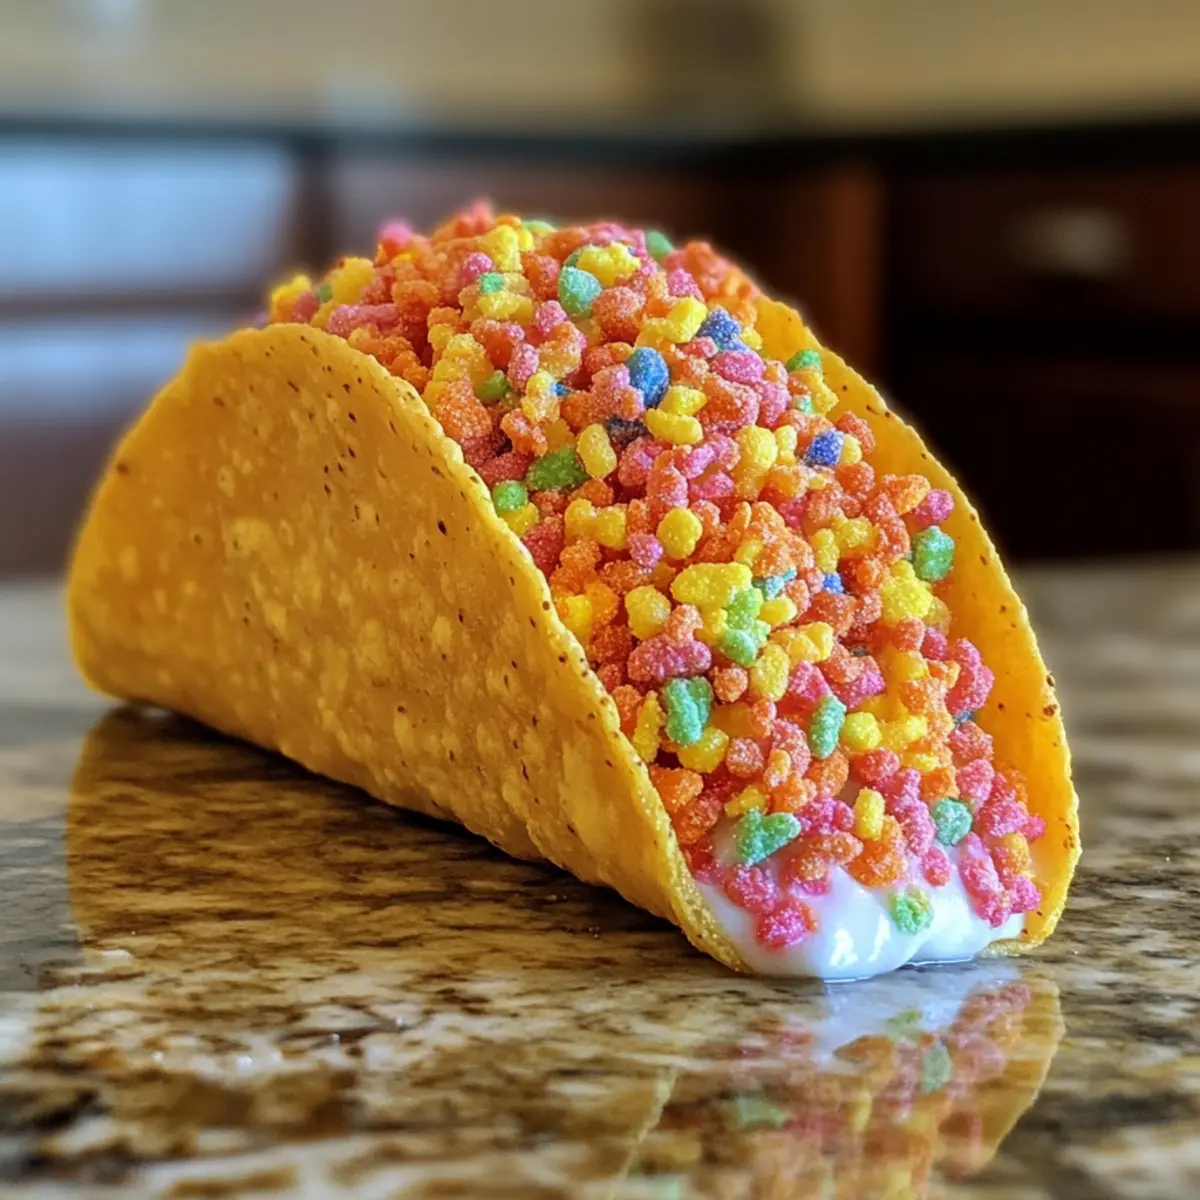
Memorable Presentation: The vibrant colors and fun shapes will surely grab everyone’s attention, making these tacos the star of the dessert table at your next gathering!
Crispy Fruity Pebbles Cheesecake Tacos Ingredients
• Get ready to gather all the essentials for this fun, no-bake dessert!
For the Taco Shells
- Taco Shells – Choose high-quality taco shells to avoid leaks and support the creamy filling.
For the Cheesecake Filling
- Cream Cheese – Use softened cream cheese for a smooth, easy-to-mix filling.
- Sugar – Sweeten your mixture; adjust according to your taste preferences!
- Vanilla Extract – Opt for pure vanilla extract to enhance the flavor depth.
- Whipped Cream – Incorporate air into your filling; feel free to substitute with Cool Whip or a non-dairy alternative.
For Topping
- Fruity Pebbles Cereal – This colorful cereal adds the perfect crunch; you can mix it up with other fruity cereals if desired!
Step‑by‑Step Instructions for Crispy Fruity Pebbles Cheesecake Tacos
Step 1: Prepare Taco Shells
Begin by either baking or purchasing crispy taco shells that can hold their shape. If baking, preheat your oven to 350°F (175°C) and bake for about 5-7 minutes until golden and ultra-crispy. Allow the taco shells to cool completely on a wire rack, ensuring they won’t leak when filled with the creamy goodness of the Crispy Fruity Pebbles Cheesecake.
Step 2: Mix Cheesecake Filling
In a large mixing bowl, combine the softened cream cheese, sugar, and vanilla extract. Using an electric mixer, beat the mixture on medium speed for about 3-5 minutes, or until the texture is completely smooth and free of lumps. This will be the base of your cheesecake filling, offering that delightful creaminess that pairs perfectly with the crispy shells.
Step 3: Fold in Whipped Cream
Gently fold the whipped cream into the cream cheese mixture using a spatula. Be careful not to deflate the whipped cream, as this will keep your filling light and airy. Continue folding until fully combined; the mixture should look fluffy and well-blended. This gives your Crispy Fruity Pebbles Cheesecake Tacos the perfect texture and sweetness.
Step 4: Assemble Tacos
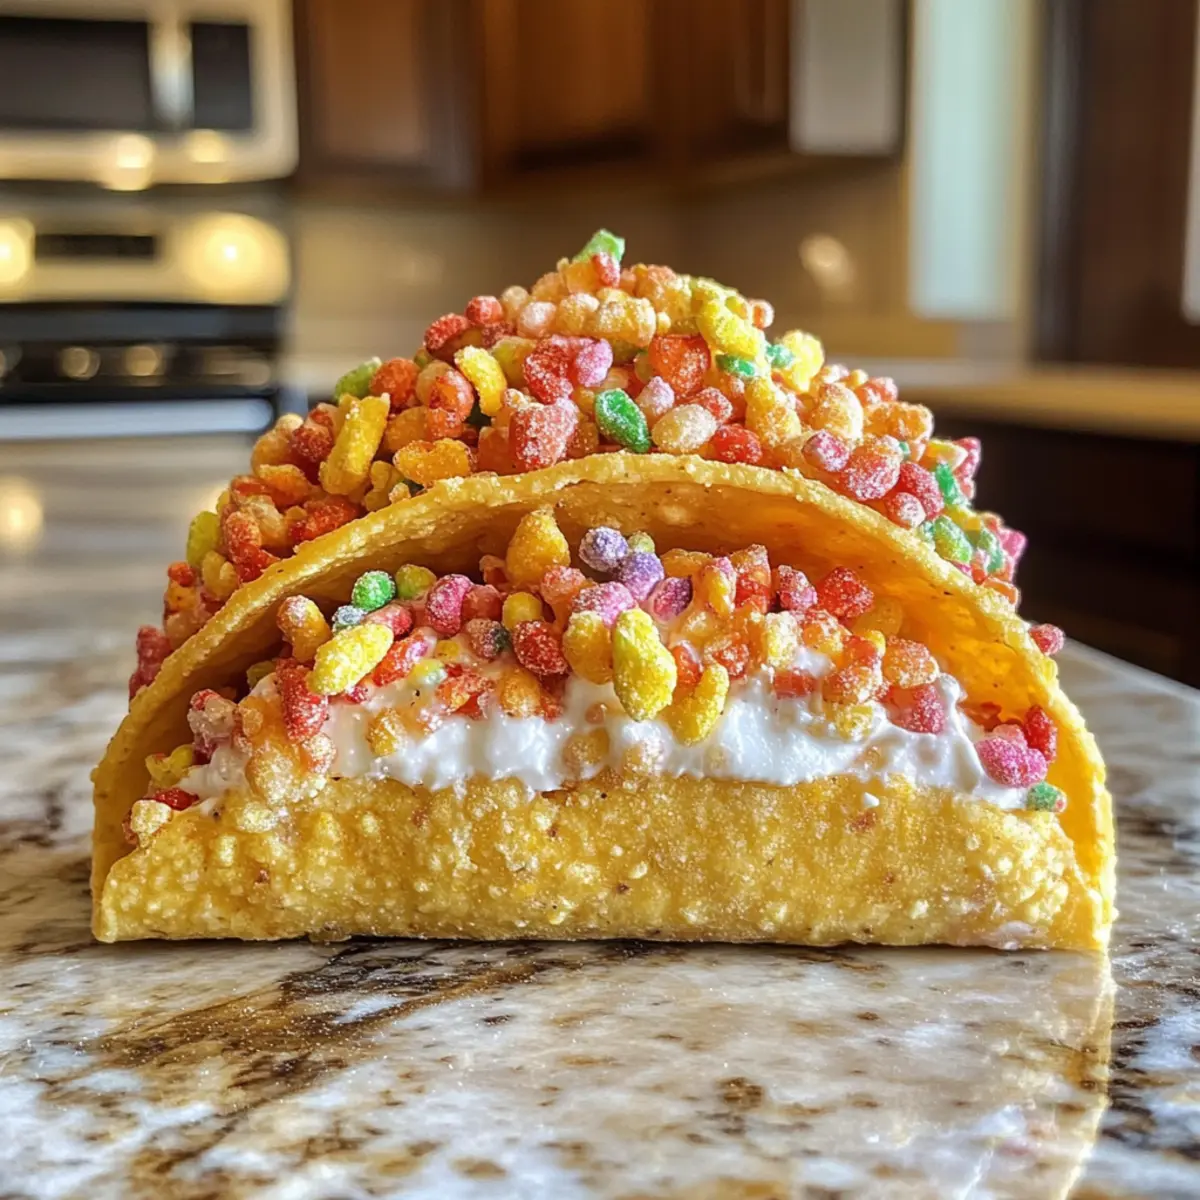
Once your filling is ready, carefully spoon the cheesecake mixture into each taco shell, filling them generously but not overstuffing. Use a small spatula or the back of a spoon for an even distribution. As you assemble, make sure to leave enough room at the top for the vibrant Fruity Pebbles that will crown these delightful tacos.
Step 5: Top with Fruity Pebbles
Now, it’s time for the fun part! Generously sprinkle the Fruity Pebbles over each filled taco, ensuring they stick nicely to the creamy filling. The colorful cereal will not only enhance the visual appeal but also add a delightful crunch that makes each bite of your Crispy Fruity Pebbles Cheesecake Tacos a playful experience.
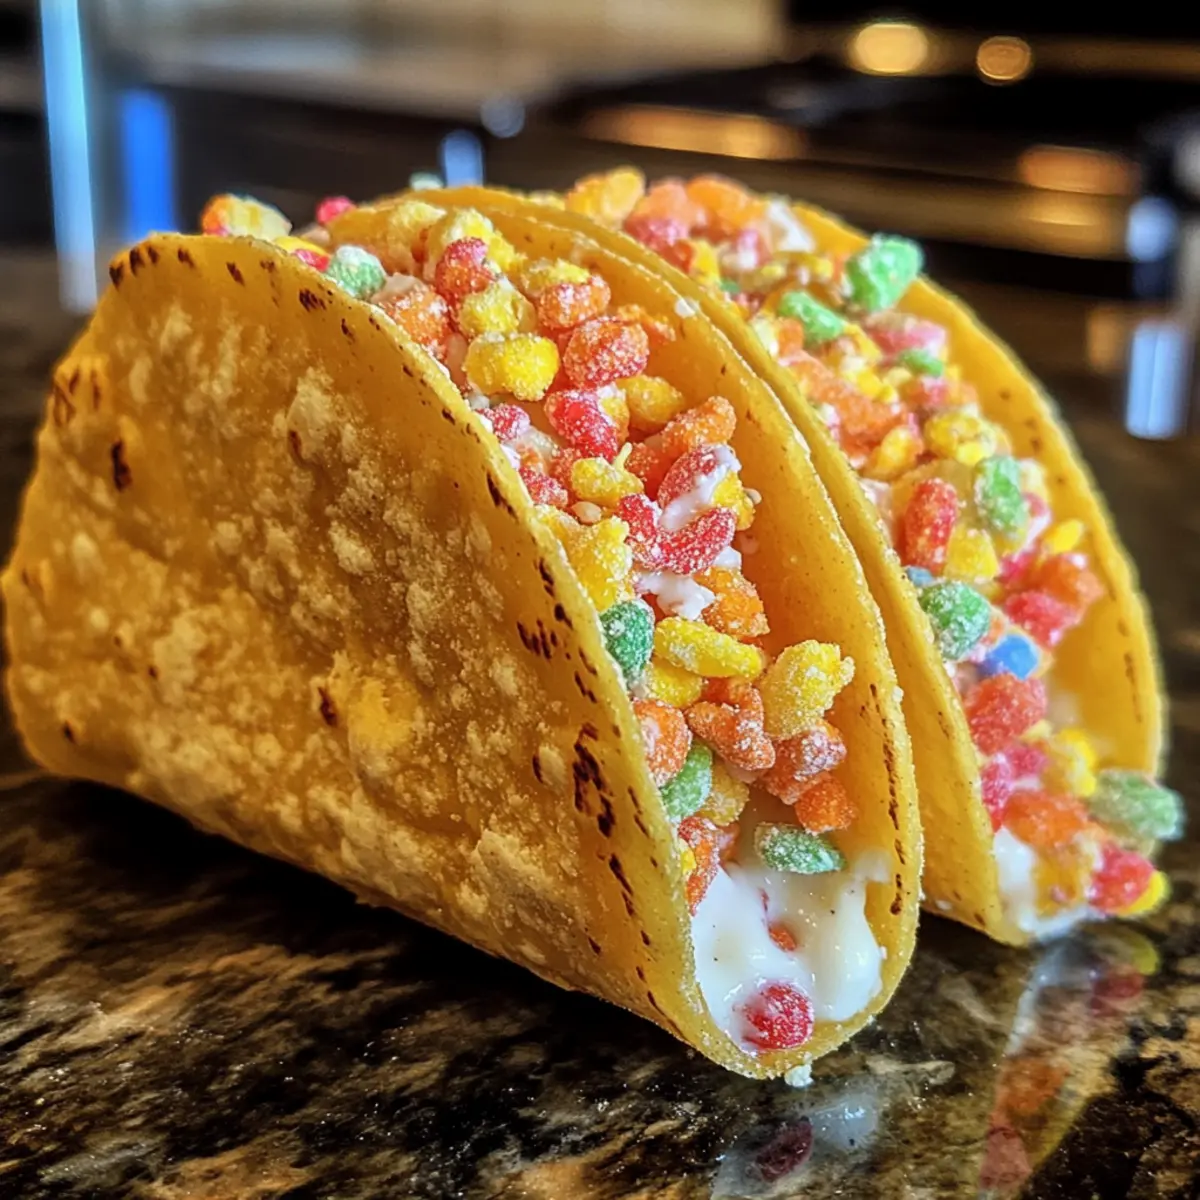
Step 6: Serve Immediately
For the best texture and flavor, serve your Crispy Fruity Pebbles Cheesecake Tacos immediately after assembling. This way, the taco shells remain crunchy, and the filling stays fresh. Prepare to delight your guests with this innovative no-bake dessert that combines nostalgic flavors with a fun twist, perfect for any gathering or special occasion!
Storage Tips for Crispy Fruity Pebbles Cheesecake Tacos
- Room Temperature: If you need to leave the tacos out for a short period (up to 2 hours), keep them covered to prevent drying out, but they are best served chilled.
- Fridge: Store any leftover filled tacos in an airtight container in the fridge. They’re best consumed within 3 days for optimal texture and flavor.
- Empty Taco Shells: To maintain crispiness, store any leftover empty taco shells in an airtight bag separately from the filling. Fill only what you plan to eat.
- Assembling Later: If you want to prepare in advance, make the cheesecake filling a day ahead and refrigerate. Assemble the tacos just before serving to keep them crunchy and delightful!
Crispy Fruity Pebbles Cheesecake Tacos Variations
Feel free to unleash your creativity and customize these delightful tacos for a truly personal touch!
-
Different Cereals: Switch Fruity Pebbles with Trix or Cap’n Crunch for a new flavor twist. Each cereal brings its own unique crunch and sweetness.
-
Fresh Fruit Addition: Incorporate berries or bananas into your cheesecake filling for a fresh and fruity surprise. Fresh fruit brings a burst of color and natural sweetness.
-
Chocolate Drizzle: A drizzle of chocolate syrup on top elevates the dessert to heavenly heights! The combination of chocolate and fruity flavors creates an irresistible contrast.
-
Make it Nutty: Add crushed almonds or pecans for a delightful crunch and nutty flavor in every bite. This adds a satisfying texture and enhances the overall taste experience.
-
Coconut Flakes: Sprinkle some toasted coconut on top for a tropical vibe! The hint of coconut complements the other flavors while adding additional layers of texture.
-
Spiced Flavor: Enhance the cheesecake filling with a dash of cinnamon or nutmeg for a warm spice element. This twist creates a cozy flavor profile that is perfect for any season.
-
Add a Kick: If you’re feeling adventurous, a pinch of cayenne or chili powder can add a surprising spicy kick. This bold addition brings complexity and excitement to the dessert.
For more delightful dessert ideas, don’t forget to check out my fun Velvet Strawberry Cheesecake or crispy Jalapeno Fries to further tantalize your taste buds!
Make Ahead Options
These Crispy Fruity Pebbles Cheesecake Tacos are perfect for meal prep, making dessert time seamless for busy weeknights! You can prepare the cheesecake filling up to 24 hours in advance; simply mix the softened cream cheese, sugar, and vanilla extract with whipped cream and refrigerate it in an airtight container. This helps prevent any browning while maintaining that light, airy texture. Just remember to assemble the tacos with the crispy shells and a sprinkle of Fruity Pebbles shortly before serving to keep them crunchy. With this make-ahead strategy, you can delight your family or guests with a fun, no-bake dessert that’s just as delicious!
What to Serve with Crispy Fruity Pebbles Cheesecake Tacos
Indulging in these delightful tacos opens the door to a vibrant dining experience that can be accentuated with the right pairings.
-
Fresh Fruit Salad: A medley of seasonal fruits adds refreshing brightness that balances the richness of the cheesecake.
-
Chocolate Drizzle: A sweet, chocolatey drizzle enhances the dessert’s decadence, providing a delicious, complementary flavor.
-
Vanilla Ice Cream: The creaminess of vanilla ice cream creates a delightful contrast that is sure to please every palate.
-
Whipped Cream Topping: Lightly sweetened whipped cream adds an extra layer of fluffy indulgence, enhancing each sweet bite.
-
Sparkling Lemonade: This fizzy drink offers a citrusy zing, perfectly cutting through the sweetness of the dessert.
-
Candy Sprinkles: For a playful touch, colorful sprinkles tie in the fun vibe, making each taco feel even more festive!
-
Caramel Sauce: A drizzle of warm caramel adds a rich sweetness, creating a delightful contrast with crunchy taco shells.
-
Creamy Fruit Dip: A light fruit dip can also serve as a side, offering a smooth contrast to the crispy texture of the tacos.
Tips for the Best Crispy Fruity Pebbles Cheesecake Tacos
-
Room Temperature Cream Cheese: Ensure the cream cheese is at room temperature to create a smooth filling with no lumps. Cold cream cheese can lead to clumps in your cheesecake mixture.
-
Crispiness Is Key: Assemble the tacos right before serving to maintain that satisfying crunch. If they sit too long, the taco shells might become soggy!
-
Sweetness Adjustment: Taste as you go! Adjust the sugar level based on your preference. It’s all about finding that perfect balance in your Crispy Fruity Pebbles Cheesecake Tacos.
-
Fun with Toppings: Don’t hesitate to get creative with toppings! Other cereals or fresh fruits like strawberries can enhance both flavor and presentation, allowing you to customize each taco to your taste.
-
Storing Leftovers: If you have leftovers, store the empty taco shells separately from the filling. This keeps them crispy. Fill only what you plan to eat to enjoy the best texture!
Crispy Fruity Pebbles Cheesecake Tacos Recipe FAQs
How do I choose the best taco shells for my cheesecake tacos?
When selecting taco shells, look for high-quality, sturdy options that can hold their shape and won’t leak. Baking them for about 5-7 minutes at 350°F (175°C) can add extra crunch and help them maintain structure. I often recommend checking for shells without dark spots or cracks to ensure they’re up to the task of holding that delicious cheesecake filling!
What is the best way to store leftover Crispy Fruity Pebbles Cheesecake Tacos?
To keep your leftovers fresh, store any filled tacos in an airtight container in the refrigerator. They’re best enjoyed within 3 days for optimal texture and flavor. Alternatively, if you have leftover empty taco shells, keep them in a separate airtight bag to maintain their crispiness and fill only what you plan to eat!
Can I freeze the cheesecake filling?
Absolutely! You can freeze the cheesecake filling for up to 3 months. Just portion it into an airtight container, seal tightly, and label with the date. To thaw, simply transfer to the refrigerator overnight before assembly, but I wouldn’t recommend freezing the assembled tacos, as the taco shells can become soggy.
What should I do if my filling is too thick or lumpy?
If your filling ends up too thick or lumpy, don’t worry! Just blend it again using an electric mixer on medium speed until smooth, which typically takes 2-3 minutes. If it’s still too thick, add a tablespoon of milk or cream at a time, mixing well after each addition until you reach your desired consistency. This will ensure a creamy, luscious filling for your tacos!
Are there any dietary considerations I should keep in mind?
If you’re catering to a crowd with dietary restrictions, you can easily make these tacos gluten-free by using gluten-free taco shells and ensuring your sugar and vanilla extract are also gluten-free. For dairy-free options, substitute the cream cheese with a vegan cream cheese alternative, and use a dairy-free whipped topping. These customizable options make it easy to enjoy this fun dessert while accommodating various preferences!
Crispy Fruity Pebbles Cheesecake Tacos: A Fun No-Bake Treat
Ingredients
Equipment
Method
- Begin by either baking or purchasing crispy taco shells that can hold their shape. If baking, preheat your oven to 350°F (175°C) and bake for about 5-7 minutes until golden and ultra-crispy. Allow the taco shells to cool completely on a wire rack.
- In a large mixing bowl, combine the softened cream cheese, sugar, and vanilla extract. Using an electric mixer, beat the mixture on medium speed for about 3-5 minutes, or until the texture is completely smooth and free of lumps.
- Gently fold the whipped cream into the cream cheese mixture using a spatula. Be careful not to deflate the whipped cream, as this will keep your filling light and airy.
- Once your filling is ready, carefully spoon the cheesecake mixture into each taco shell, filling them generously but not overstuffing.
- Generously sprinkle the Fruity Pebbles over each filled taco, ensuring they stick nicely to the creamy filling.
- For the best texture and flavor, serve your Crispy Fruity Pebbles Cheesecake Tacos immediately after assembling.
Leave a Reply