
On a scorching summer afternoon, nothing beats the nostalgic pleasure of homemade ice cream—especially when it’s an Easy Classic Chocolate Ice Cream! With just a handful of ingredients, you can whip up this creamy delight that satisfies even the most insatiable chocolate cravings. The best part? It’s versatile, allowing for a simple egg-free option and alternative sweeteners, making it perfect for everyone at your table. Whether you’re hosting a backyard gathering, celebrating a special occasion, or just indulging in a quiet night in, this recipe will become your go-to for a crowd-pleasing treat that you can feel good about enjoying. Are you ready to create a scoop of nostalgia with a modern twist? Let’s dive in!
Why Is This Ice Cream So Irresistible?
Simplicity: This Easy Classic Chocolate Ice Cream requires just a few ingredients, making it an accessible project for both novice and seasoned home cooks.
Creamy Indulgence: The rich texture achieved with heavy cream and egg yolks creates a luxuriously smooth ice cream that melts beautifully in your mouth—perfect for satisfying any chocolate craving!
Versatile Options: Whether you need an egg-free variation or want to experiment with sweeteners like honey or maple syrup, this recipe adapts easily to fit your dietary needs!
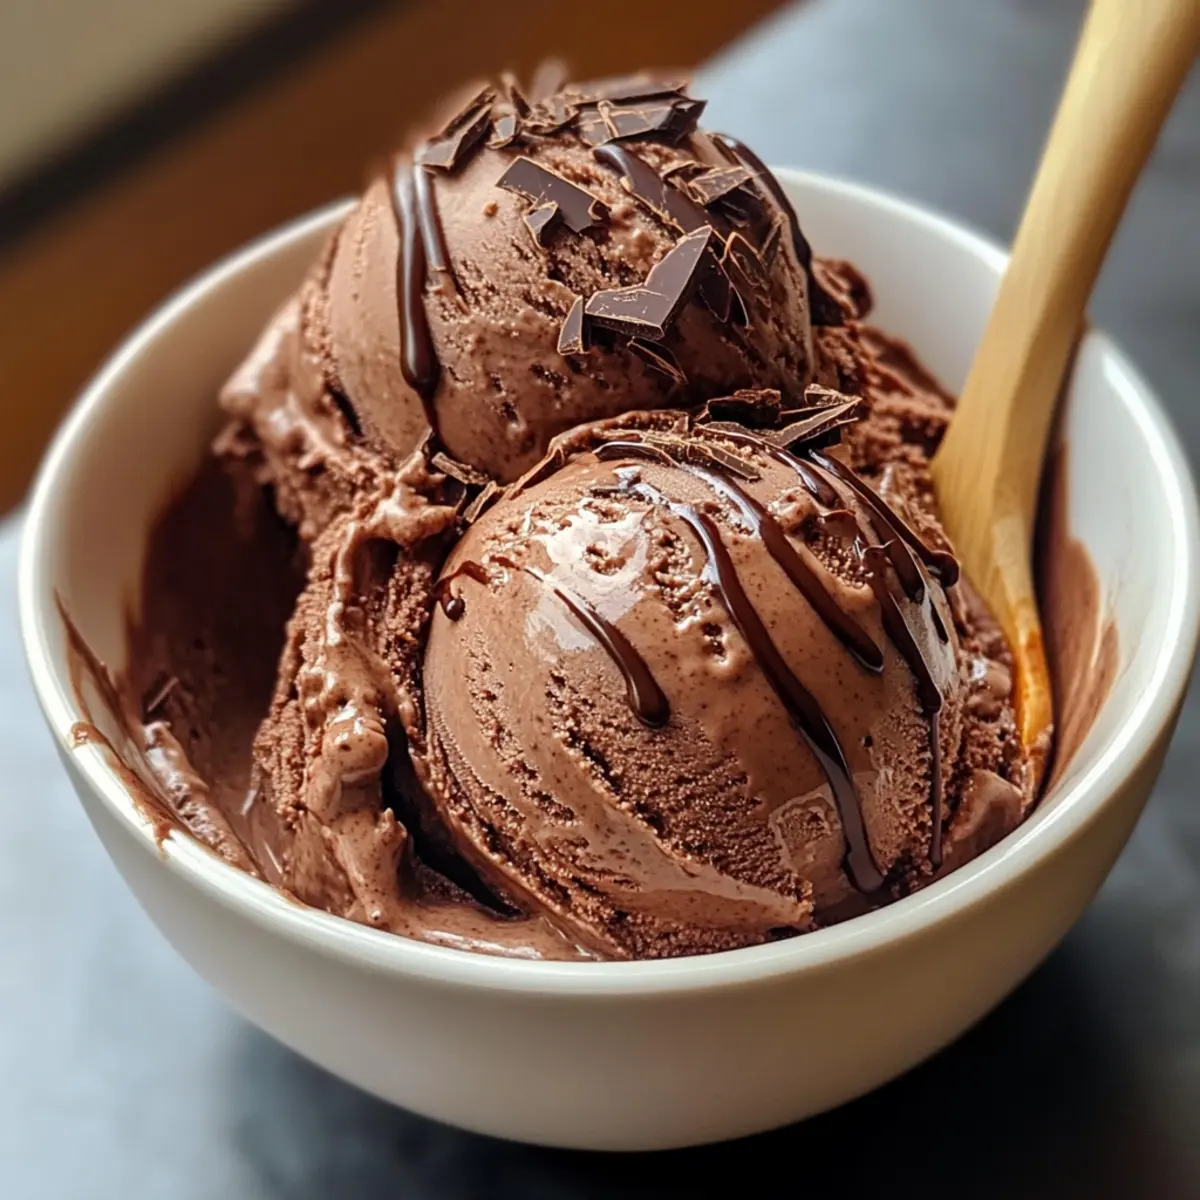
Crowd-Pleasing Delight: Serve it at family gatherings or intimate dinners—this homemade treat is sure to impress your guests, especially when topped with chocolate syrup and fresh berries for a delightful presentation.
Make Ahead: This chocolate ice cream can be prepared in advance, developing flavors over time for an even richer taste, making it the perfect addition to any dessert table. If you’re in the mood for something sweet, check out our Coconut Cream Pie for another delicious homemade treat!
Classic Chocolate Ice Cream Ingredients
• Dive into the essential components for a delightful homemade treat!
For the Ice Cream Base
- Heavy Cream – Adds a rich, creamy texture; for a lighter version, consider half-and-half or whole milk, though this may reduce creaminess.
- Whole Milk – Balances the richness of cream; almond or plant-based milks can be swapped, but keep in mind potential texture variations.
- Granulated Sugar – Provides sweetness; alternative sweeteners like honey or maple syrup can be used, just note they may change the flavor profile.
- Unsweetened Cocoa Powder – Vital for achieving that classic chocolate flavor; experimenting with Dutch-processed cocoa gives a smoother taste, while dark cocoa offers a more intense richness.
- Egg Yolks – Essential for a creamy texture; if you’re looking for an egg-free version, use about 2 tablespoons of cornstarch mixed with cold milk as a thickener.
Flavor Enhancements
- Vanilla Extract – Enhances the overall flavor, making your chocolate ice cream experience even more delightful.
- Salt – A crucial component that helps balance sweetness and heightens all flavors, truly elevating your classic chocolate ice cream!
Step‑by‑Step Instructions for Classic Chocolate Ice Cream
Step 1: Heat the Cream Mixture
In a medium saucepan, combine the heavy cream, whole milk, and half of the granulated sugar. Place the saucepan over medium heat and warm the mixture gently for about 5 minutes, stirring occasionally. Be cautious not to let it boil; you want it to be warm and steamy, not bubbling.
Step 2: Mix Cocoa and Sugar
In a separate bowl, whisk together the unsweetened cocoa powder and the remaining sugar until well combined. Slowly add this dry mixture into the warm cream mixture, whisking continuously until the cocoa is completely dissolved and the mixture is smooth. This combination is where your classic chocolate ice cream starts to take shape!
Step 3: Temper the Egg Yolks
In another bowl, whisk the egg yolks until they are slightly frothy. Gradually pour about 1 cup of the warm chocolate mixture into the yolks while whisking constantly. This process helps temper the yolks, preventing them from scrambling when added back to the heat.
Step 4: Cook the Custard
Return the tempered yolk mixture to the saucepan with the chocolate cream. Cook over low heat, stirring constantly for 5 to 7 minutes. You want the mixture to thicken slightly and coat the back of a spoon; it should look glossy and velvety. Make sure not to let it boil during this time.
Step 5: Add Flavor Enhancements
Once thickened, remove the saucepan from heat and stir in the vanilla extract along with a pinch of salt. This step enhances the flavors of your classic chocolate ice cream and adds depth to its profile. For a silky result, strain the custard through a fine-mesh sieve into a clean bowl to remove any cooked egg bits.
Step 6: Chill the Custard
Cover the bowl with plastic wrap and allow the custard to cool at room temperature before transferring it to the fridge. Chill the mixture for at least 4 hours, or preferably overnight, to allow the flavors to meld and the mixture to achieve a perfect ice cream consistency.
Step 7: Churn the Ice Cream
Once chilled, pour the custard into an ice cream maker and churn it according to the manufacturer’s instructions until it reaches a soft-serve consistency. This usually takes about 20-25 minutes. The end result should be creamy and ready to serve or freeze for later.
Step 8: Freeze the Ice Cream
Transfer the churned ice cream into an airtight container and smooth the top with a spatula. Place it in the freezer for at least 2 hours to firm up. This step is crucial to achieve that delightful scoopable texture of classic chocolate ice cream that you and your loved ones will enjoy!

How to Store and Freeze Classic Chocolate Ice Cream
Fridge: Store your classic chocolate ice cream in an airtight container; it will stay fresh for up to 3 days, but freezing is recommended for long-term enjoyment.
Freezer: For optimal texture, freeze your ice cream in an airtight container for up to 2-4 weeks. Allow it to sit at room temperature for a few minutes before scooping to soften.
Reheating: If stored too long, you might find it hard to scoop; simply let it warm slightly at room temperature for 5-10 minutes to restore its creamy consistency.
Make-Ahead: This recipe is perfect for preparing ahead of time, as the flavors develop further after a day in the freezer, ensuring a richer taste every time you indulge!
What to Serve with Easy Classic Chocolate Ice Cream
Indulge in the joy of crafting a complete dessert experience that pairs beautifully with your creamy chocolate creation!
-
Fresh Berries: The natural tartness of strawberries or raspberries adds a refreshing contrast, complementing the rich chocolate flavor perfectly. A summer night wouldn’t be the same without them.
-
Homemade Whipped Cream: Light and airy, a dollop of whipped cream brings fluffy texture and balances the dense chocolate ice cream, transforming it into a delightful scoop of heaven.
-
Chocolate Syrup: Drizzling warm chocolate syrup over each scoop creates a decadent touch, amplifying the indulgence of your ice cream. It’s a simple way to elevate this classic treat.
-
Nuts: Toasted almonds or crushed hazelnuts lend a satisfying crunch, enhancing textural variety while infusing a nutty warmth that pairs beautifully with chocolate.
-
Ice Cream Cones: Serve your ice cream in crispy cones for a fun, handheld treat. The crunch of the cone complements the smoothness of the ice cream—perfect for summertime enjoyment.
-
Coffee: A rich cup of brewed coffee or an espresso can invigorate your taste buds and contrast the sweetness while enhancing the chocolate flavors, making them sing!
-
Peanut Butter Sauce: A drizzle of creamy peanut butter sauce adds a delightful contrast of flavors, making every bite unique and indulgently memorable.
Each of these suggestions will help create a cozy, inviting atmosphere around the joyful experience of enjoying homemade chocolate ice cream.
Expert Tips for Classic Chocolate Ice Cream
- Whisking Technique: Keep whisking the egg yolks constantly when combining them with the warm mixture; this prevents scrambling and ensures a smooth custard.
- Straining Matters: Strain the custard through a fine-mesh sieve prior to chilling; this step guarantees a silky texture that makes your classic chocolate ice cream even more indulgent.
- Chill Time: Be patient with the chilling process—allow the custard to rest overnight if possible. This enhances flavor and improves texture once churned.
- No Ice Cream Maker? No problem! Pour your chilled custard into a shallow dish, stir vigorously every 30 minutes for 2-3 hours, and enjoy creamy ice cream without a machine.
- Flavor Boosters: Consider adding chocolate chips or crushed cookies during the last minutes of churning to elevate your classic chocolate ice cream with additional textures.
Classic Chocolate Ice Cream Variations
Feel free to personalize your homemade ice cream with these fun and delicious variations that will elevate your classic chocolate experience.
- Egg-Free: Replace egg yolks with 2 tablespoons of cornstarch mixed with cold milk for a creamy yet lighter version.
- Dairy-Free: Substitute heavy cream and whole milk with full-fat coconut milk for a luxurious, non-dairy delight that’s just as rich.
- Sugar Alternatives: Try using honey or maple syrup instead of granulated sugar to create a natural sweetness with unique flavor notes.
- Texture Boost: Add in chocolate chips, crushed cookies, or mixed nuts during the last few minutes of churning for delightful bursts of texture and surprise.
- Flavor Enhancements: Stir in a tablespoon of instant coffee or espresso powder to enhance the chocolate flavor and add a subtle depth.
- Mint Chocolate Twist: Incorporate a few drops of peppermint extract before churning for a refreshing minty chocolate experience that’s perfect for summer.
- Spicy Kick: For those who love heat, add a pinch of cayenne pepper or a dash of cinnamon to the chocolate mixture prior to cooking for a surprising kick.
- Gourmet Touch: Drizzle in caramel sauce or swirl in your favorite homemade fudge. This adds decadence and an elegant touch to your classic treat.
For even more delicious ideas, take a look at our Coconut Cream Pie or consider adding chocolatey layers with the White Chocolate Mousse. The possibilities are endless!
Make Ahead Options
These Easy Classic Chocolate Ice Cream preparations are perfect for busy home cooks looking to save time! You can create the custard base up to 24 hours in advance, chilling it in the refrigerator before churning. After cooking and cooling the custard, be sure to cover it with plastic wrap tightly against the surface to prevent a skin from forming. When you’re ready to enjoy this creamy treat, simply churn it in your ice cream maker to the desired consistency, transfer to an airtight container, and freeze for an additional 2 hours. This way, you’ll have homemade ice cream ready to serve whenever the craving strikes—just as delicious as if made fresh!
Easy Classic Chocolate Ice Cream Recipe FAQs
How do I choose ripe ingredients for this ice cream?
Absolutely! For this recipe, the freshness of cream and milk is key. Look for heavy cream that’s rich and thick, and whole milk that’s fresh with no off-smells. If using plant-based milks, opt for unsweetened varieties to avoid altering the flavor, and make sure they have a creamy consistency.
What’s the best way to store chocolate ice cream?
Very good question! Store your classic chocolate ice cream in an airtight container to keep it fresh for up to 2-4 weeks in the freezer. Make sure to smooth the top before sealing to eliminate air pockets and maintain that creamy texture. If you notice any ice crystals or the edges turning hard, it’s a sign it needs some extra care.
Can I freeze leftover chocolate ice cream?
Certainly! Transfer any leftover ice cream into an airtight container, and it can be frozen for up to 2-4 weeks. To regain its creamy texture, let it sit at room temperature for about 5-10 minutes before scooping. If you find it too hard, take your time and let it soften a bit to make that scoop easier.
What if my ice cream doesn’t churn properly?
Don’t worry! If your chocolate ice cream mixture doesn’t reach the desired soft-serve consistency while churning, check to ensure your ingredients were cold enough before starting. Additionally, if using a homemade method without an ice cream maker, remember to stir your mixture every 30 minutes for a smoother texture. Make sure to really beat it well to incorporate air, as this yields a delightful end product.
Are there any dietary considerations for this recipe?
Absolutely! This easy classic chocolate ice cream can be made egg-free by substituting the egg yolks with about 2 tablespoons of cornstarch mixed with cold milk. For sugar alternatives, honey or maple syrup can work, but you’ll want to reduce the amount accordingly based on their sweetness. Always check for allergies, especially if adding mix-ins like nuts or chocolate chips.
Creamy Classic Chocolate Ice Cream Made Easy at Home
Ingredients
Equipment
Method
- In a medium saucepan, combine the heavy cream, whole milk, and half of the granulated sugar. Warm gently for about 5 minutes without boiling.
- In a separate bowl, whisk together the unsweetened cocoa powder and remaining sugar. Gradually add the dry mixture to the warm cream, whisking until smooth.
- In another bowl, whisk the egg yolks until frothy. Gradually pour about 1 cup of warm chocolate mixture into the yolks while whisking constantly.
- Return the tempered yolk mixture to the saucepan. Cook over low heat, stirring constantly for 5 to 7 minutes until thickened.
- Remove from heat and stir in vanilla extract and salt. Strain the custard through a fine-mesh sieve into a clean bowl.
- Cover with plastic wrap and cool at room temperature. Chill in the fridge for at least 4 hours or overnight.
- Pour the custard into an ice cream maker and churn according to manufacturer's instructions until soft-serve consistency.
- Transfer the churned ice cream into an airtight container and freeze for at least 2 hours before serving.
Leave a Reply