
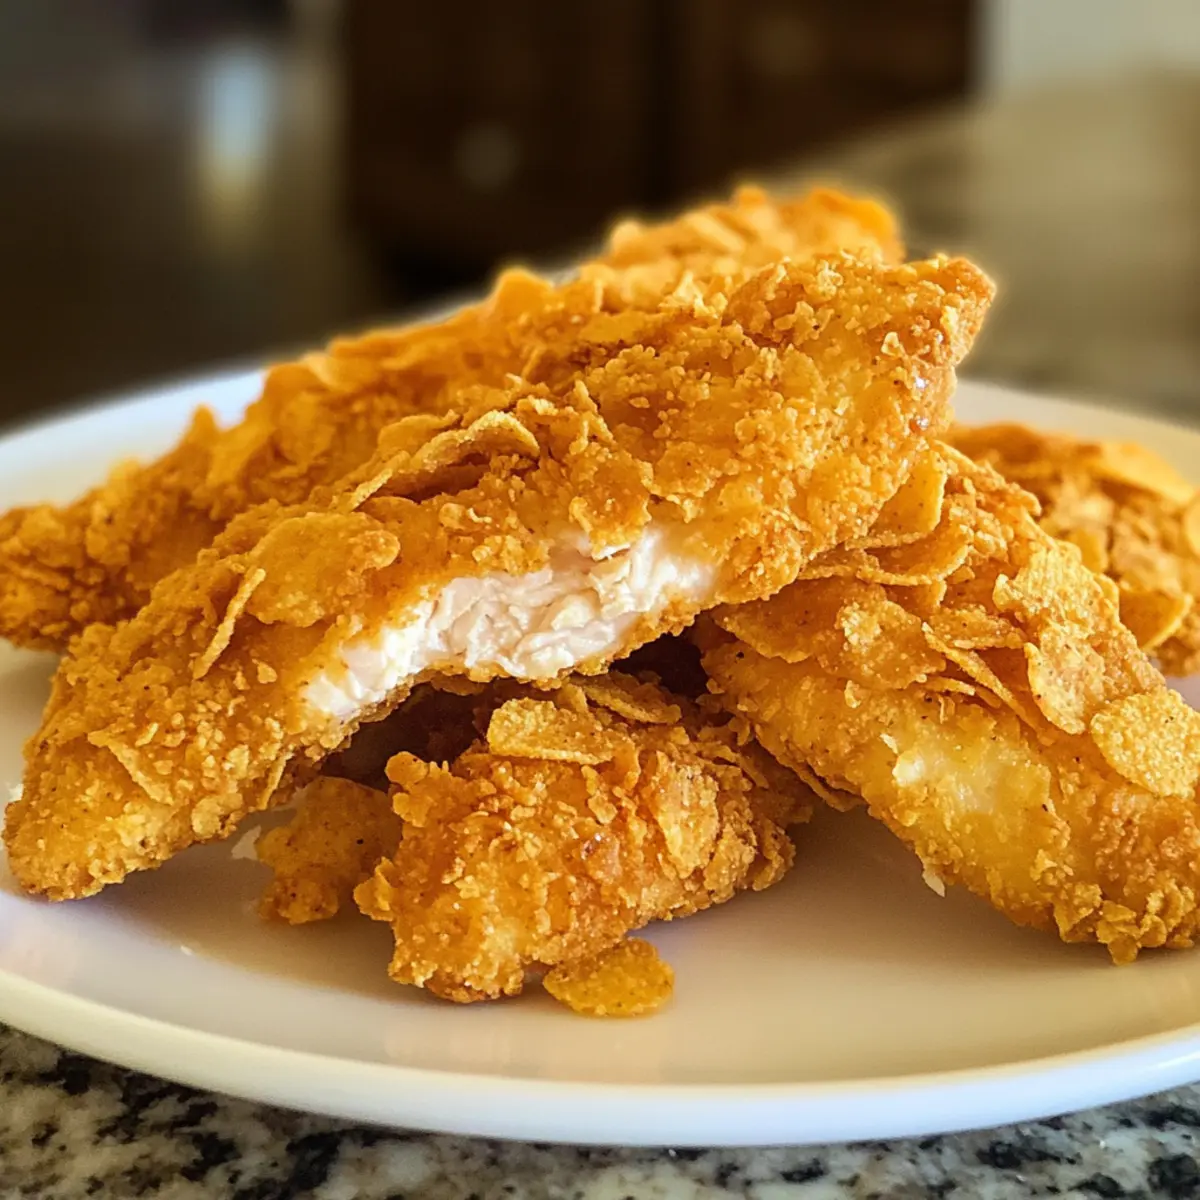
As I stood in my kitchen, the tantalizing scent of spices wafted through the air, transporting me back to summer barbecues and family gatherings. My latest adventure led me to create these Crispy Kettle Chip Chicken Strips, a delightful twist on the classic chicken strip that’s perfect for quick weeknight dinners. What’s even better? They’re baked to golden perfection instead of fried, making them a healthier go-to that the entire family will love. Whether served as an appetizer for guests or a hands-on dinner with dipping sauces at the ready, these strips deliver both crunch and juicy tenderness with minimal effort. Ready to make dinner more exciting? Let’s dive into this crispy goodness!
Why are Kettle Chip Chicken Strips a hit?
Crisp & Crunchy: These kettle chip-coated chicken strips bring an unbeatable crunch that satisfies those fast-food cravings without the guilt.
Family-Friendly Fun: Easy to prepare, these strips make for a perfect hands-on dinner that kids will love dipping in their favorite sauces.
Healthier Choice: Baked instead of fried, they offer a guilt-free option that doesn’t skimp on flavor. You’ll never miss the fryer!
Versatile Pairing: Serve them alongside ranch, BBQ, or honey mustard for a range of mouthwatering flavor experiences, just like with my Savory Chicken Wraps.
Quick & Simple: With minimal prep time and straightforward steps, dinner is on the table in less than 30 minutes, making them perfect for busy weeknights!
Embrace the deliciousness of these crispy treats and impress your family tonight!
Kettle Chip Chicken Strips Ingredients
For the Chicken Strips
• Chicken Breasts – Cut into strips for uniform cooking and a tender bite.
• Salt – Enhances flavor; adjust to your taste preference.
• Black Pepper – Adds mild heat; substitute with white pepper for a more delicate flavor.
• Paprika – A touch of color and sweetness; switch to smoked paprika for a rich, smoky profile.
• Garlic Powder – This flavor booster can be swapped with fresh minced garlic for a vibrant punch.
For the Breading
• All-Purpose Flour – Acts as the base for breading, helping the coating adhere; use gluten-free flour if needed.
• Eggs – Beaten to create a binding layer for the crunchy kettle chip coating.
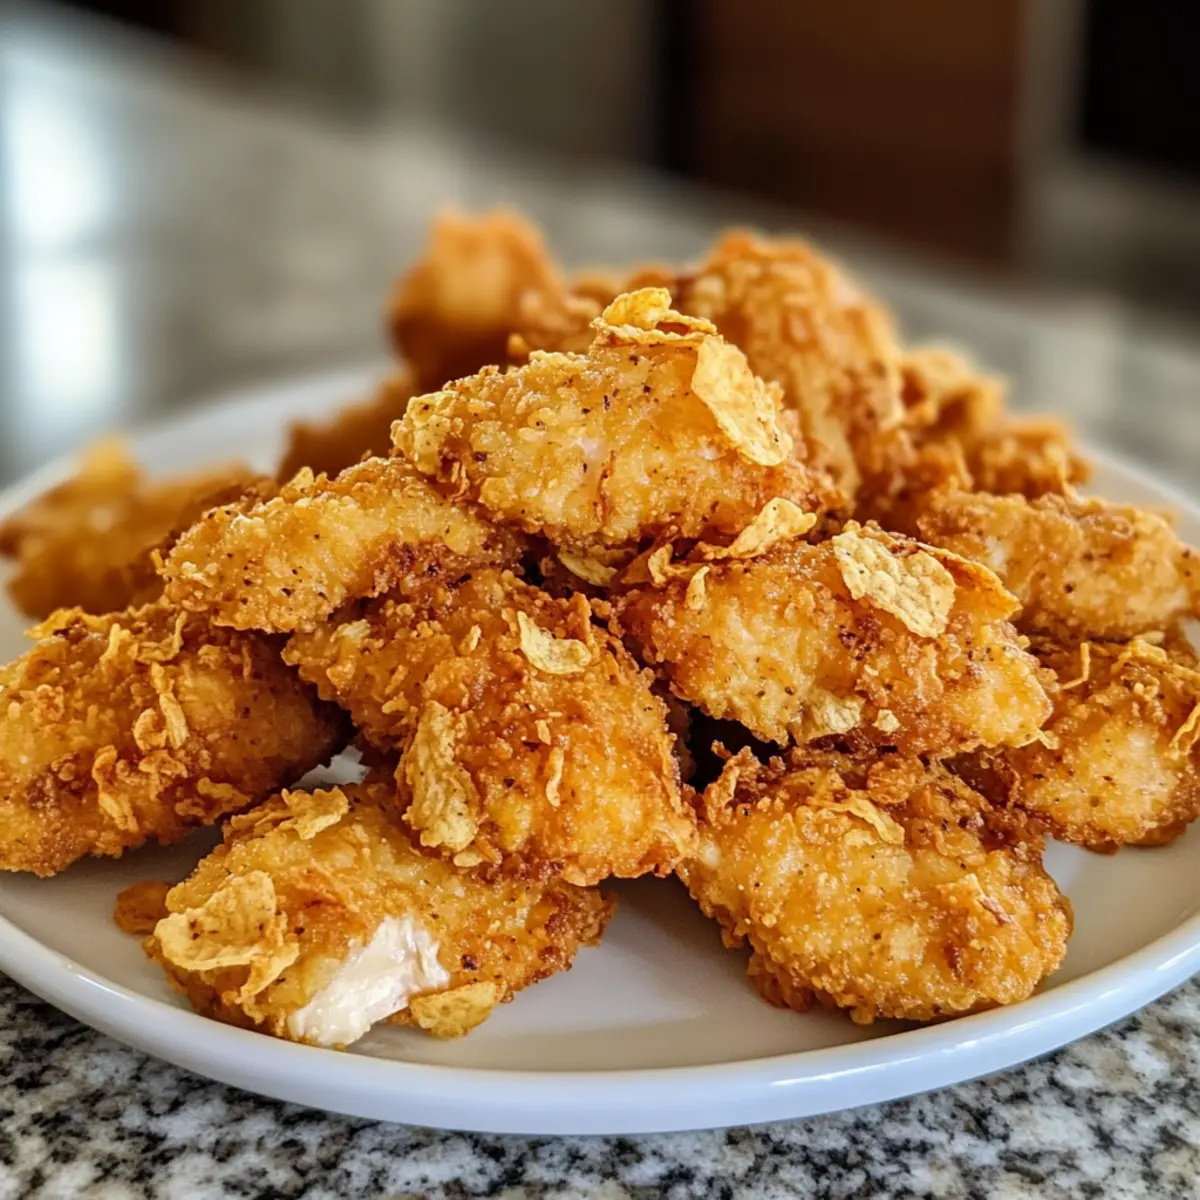
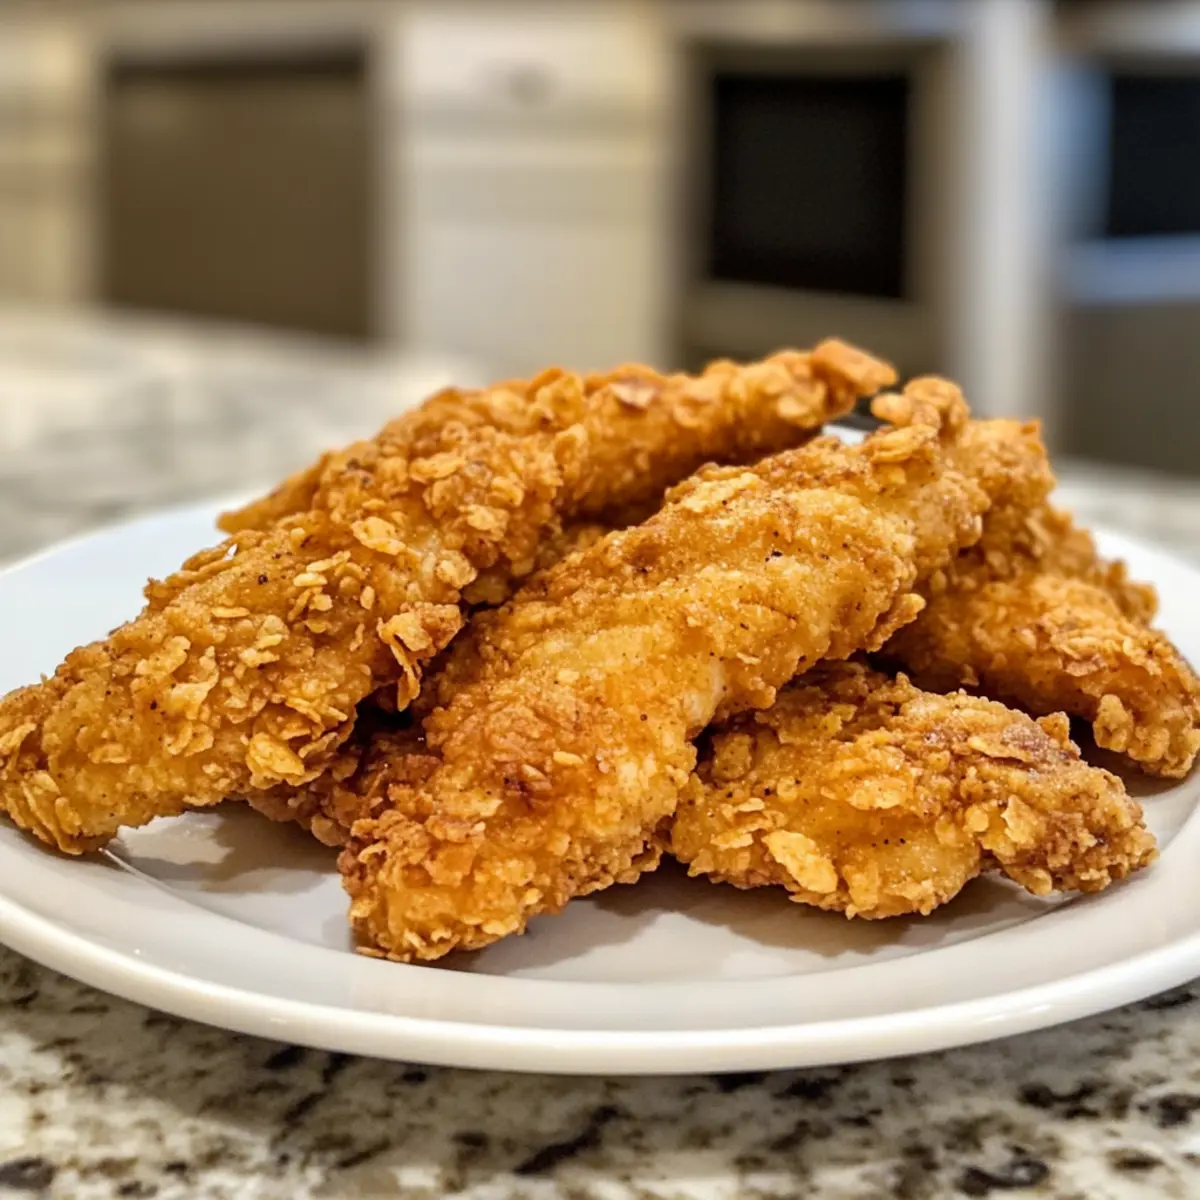
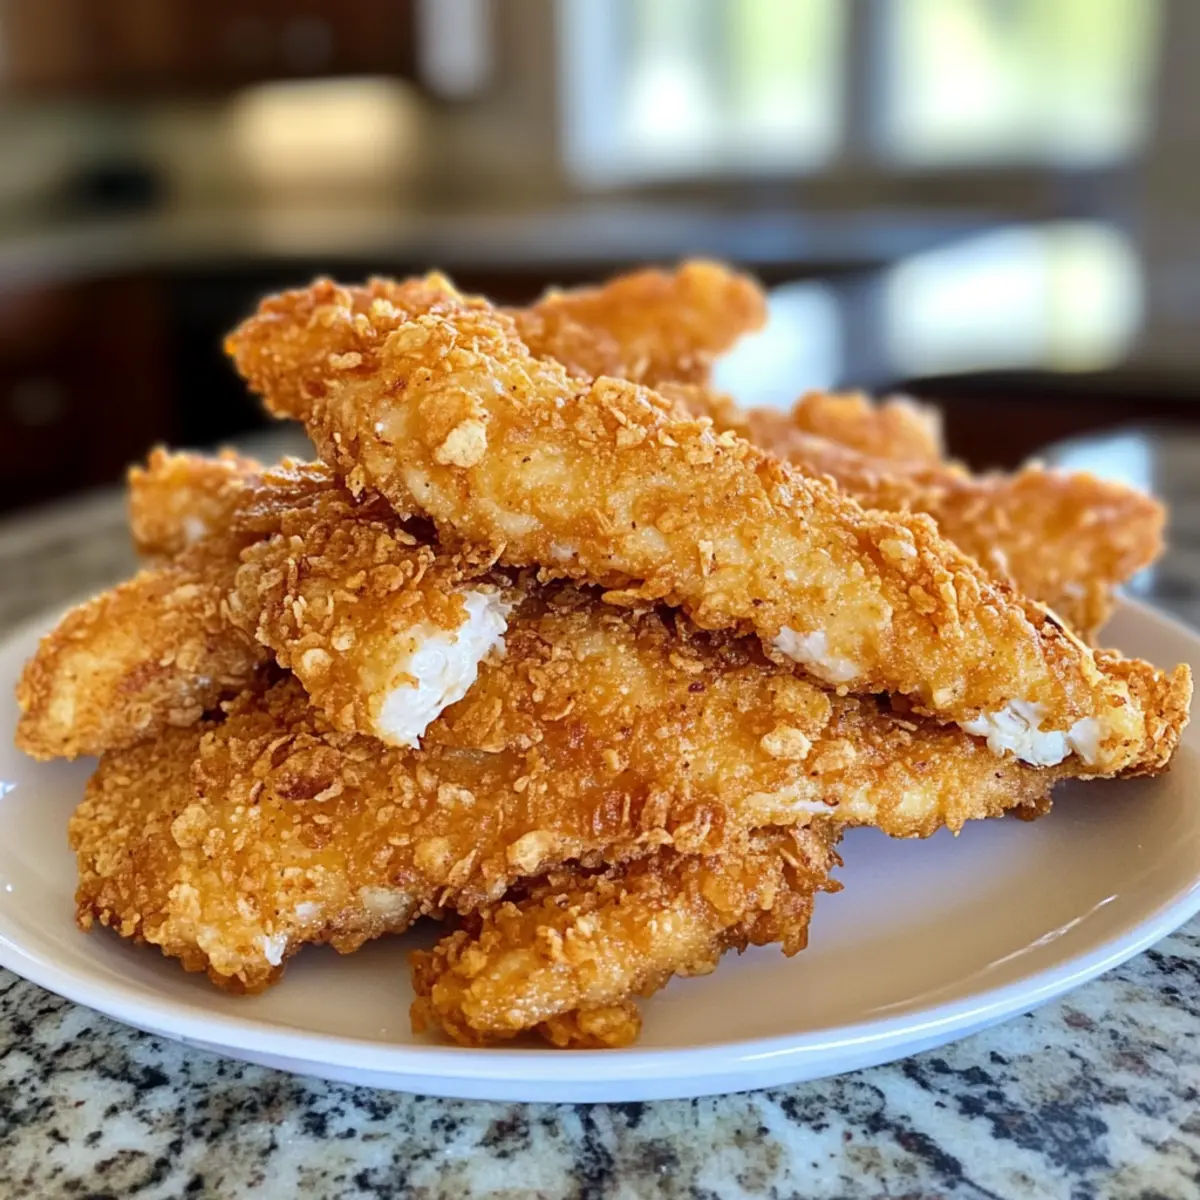
• Kettle Chips – The star of the recipe! Use them as a crunchy crust, but feel free to experiment with other chip varieties for a fun twist.
Step‑by‑Step Instructions for Crispy Kettle Chip Chicken Strips
Step 1: Preheat the Oven
Begin by preheating your oven to 400°F (200°C). While it heats, prepare a baking sheet by lining it with parchment paper to prevent sticking and make cleanup a breeze. This setup will ensure your Crispy Kettle Chip Chicken Strips come out perfectly crisp and golden.
Step 2: Prepare the Chicken
Next, take your chicken breasts and cut them into 1-inch wide strips. Uniform size is key to ensure even cooking. As you cut, place the strips in a large mixing bowl, making sure they are ready to be seasoned with flavor!
Step 3: Season the Chicken
In a small bowl, mix together salt, black pepper, paprika, and garlic powder. Sprinkle this blend evenly over the chicken strips and toss gently to coat. Allow the seasoned chicken to sit for a moment, letting those flavors infuse while you set up your breading station.
Step 4: Set Up the Breading Station
Prepare your breading station with three shallow dishes. In the first dish, add all-purpose flour; in the second dish, whisk together beaten eggs; and in the third dish, place crushed kettle chips. This organized setup will make coating your chicken strips smooth and efficient.
Step 5: Coat the Chicken Strips
One by one, dip each chicken strip into the flour, ensuring it’s fully coated, then move it to the egg mixture, letting any excess drip off. Finally, transfer it to the crushed kettle chips, pressing gently to adhere the crispy coating. Repeat this process until all chicken strips are breaded.
Step 6: Arrange on Baking Sheet
Take the coated chicken strips and place them in a single layer on the prepared baking sheet. Be sure to leave space between each strip so they bake evenly and become beautifully crispy.
Step 7: Bake Until Golden
Put the baking sheet in your preheated oven and bake the chicken strips for 20-25 minutes. Keep an eye on them; they should be a delightful golden brown, and you can check for doneness by using a meat thermometer that reads 165°F (74°C) in the thickest part.
Step 8: Serve and Enjoy
Once baked to perfection, remove the crispy kettle chip chicken strips from the oven. Let them cool slightly, then serve them hot with your favorite dipping sauces like ranch, honey mustard, or BBQ. These strips offer a wonderful family-friendly dinner experience!
Kettle Chip Chicken Strips Variations
Feel free to get creative with these tasty twists on your kettle chip chicken strips, enhancing flavor and texture to suit your family’s preferences!
-
Flavorful Chips: Swap out kettle chips for flavored varieties like BBQ or cheese to elevate the taste experience. Each chip brings its own unique crunch and zest!
-
Spice It Up: Introduce a touch of cayenne or chili powder for a delightful kick. Spice lovers will adore this fiery twist in every crunchy bite!
-
Herbed Coating: Mix in Italian herbs like oregano and basil into your seasoning blend for added aromatic depth. You’ll create a refreshing and fragrant update that enhances the chicken!
-
Turkey or Tofu: For a lighter option, try using turkey breast or tofu strips. Both adapt beautifully to the crunchy coating while catering to various dietary needs.
-
Crunchy Panko: Substitute some or all of the kettle chips with panko breadcrumbs for an extra crunch. This gives a different texture that is equally satisfying!
-
Coconut Crisp: Incorporate crushed unsweetened coconut flakes with the kettle chips for a tropical twist, marrying sweetness and crunch for an unexpected flavor combo.
-
Nutty Additions: Add finely chopped nuts, like almonds or pecans, to the kettle chips for an added crunchy twist that provides a lovely nutty flavor.
-
Sweet Honey Drizzle: After baking, drizzle with honey for a sweet complement to the savory crunch. Pairing this with spicy dipping sauces creates a delightful sweet-and-spicy combo.
With these simple variations, you can turn a family classic into new favorites, ensuring dinner is always exciting and full of flavor! And if you’re looking for more recipes, consider trying my Chicken Bacon Ranch Pull Apart Rolls for another delicious family meal!
Expert Tips for Crispy Kettle Chip Chicken Strips
-
Even Coating: Ensure chicken strips are uniformly coated by tossing gently in the seasoning mixture. This helps every bite pack in flavor.
-
Texture Variation: For a different crunch, consider processing kettle chips into finer crumbs. This technique results in a more delicate crust on your chicken strips.
-
Use a Thermometer: Investing in a meat thermometer ensures your chicken is fully cooked to 165°F (74°C). This avoids undercooked strips, ensuring safe and juicy results.
-
Breading Efficiency: Set up all ingredients before you start coating. This streamlined process keeps your hands clean and speeds up the workflow while making Kettle Chip Chicken Strips.
-
Upgrade Your Dips: Experiment by creating homemade dips or mixing your sauces for extra excitement. Unique pairings elevate this simple dish to a culinary delight!
How to Store and Freeze Kettle Chip Chicken Strips
Fridge: Store any leftover kettle chip chicken strips in an airtight container for up to 3 days. This helps maintain their crunchy texture for a day or two.
Freezer: Wrap the cooled strips tightly in plastic wrap and then place them in a freezer bag for up to 2 months. This ensures they stay fresh and ready for a quick meal!
Reheating: For the best results, reheat in the oven at 375°F (190°C) for about 10-15 minutes until heated through and crispy again, rather than using the microwave.
Enjoying Leftovers: Pair your reheated strips with your favorite dipping sauce for a satisfying leftover treat that tastes almost as good as fresh!
Make Ahead Options
Preparing these Crispy Kettle Chip Chicken Strips ahead of time can save you valuable moments during a hectic week! You can season and bread the chicken strips up to 24 hours in advance; simply follow the breading steps, then place the coated strips on a baking sheet lined with parchment paper. Cover and refrigerate them until you’re ready to bake. When it’s dinner time, just pop them in the oven as instructed, and they’ll be just as delicious! To maintain their crispy texture, avoid stacking the strips and make sure they are evenly spaced on the baking sheet before cooking. This way, you get the same lovingly crafted flavor with minimal effort!
What to Serve with Crispy Kettle Chip Chicken Strips
As you savor the delightful crunch of these chicken strips, imagine a table filled with vibrant accompaniments that elevate your meal into a feast.
-
Creamy Ranch Dip: This classic pairing enhances the crunchy goodness with a cool, creamy texture that kids and adults can’t resist.
-
Sweet Honey Mustard: The perfect balance of tangy and sweet, this dip complements the savory chicken strips while adding a flavorful twist.
-
Crispy Coleslaw: The refreshing crunch of coleslaw alongside your chicken strips adds a satisfying texture contrast and a zesty bite.
-
Garlic Bread: For a comforting touch, serve warm garlic bread to soak up any extra dipping sauce and provide a delightful carb companion.
-
Savory Sweet Potato Fries: Their natural sweetness balances the saltiness of the chicken strips while creating a perfect crunchy side that everyone will love.
-
Zesty Vegetable Sticks: Carrot and cucumber sticks add a fresh crunch that cleanses the palate between bites, keeping the meal light and vibrant.
-
Fruit Salad: A refreshing mix of seasonal fruits can brighten up your dinner plate and provide a sweet contrast to the savory strips.
-
Chilled Sparkling Lemonade: The fizzy zest of sparkling lemonade adds a refreshing drink option that pairs wonderfully with these crispy treats.
Crispy Kettle Chip Chicken Strips Recipe FAQs
How do I choose the best chicken breasts for this recipe?
Absolutely! When selecting chicken breasts, look for ones that are firm, plump, and uniformly colored, avoiding any with dark spots or an off smell. Fresh chicken should have a light pink hue and be free from any blemishes. I often recommend choosing organic or free-range chicken for superior flavor and quality.
How should I store leftover Kettle Chip Chicken Strips?
Store any leftover kettle chip chicken strips in an airtight container in the refrigerator for up to 3 days. Be sure to let them cool completely before sealing to prevent condensation, which can make them soggy. When you’re ready to enjoy them again, reheat in the oven for the best results!
Can I freeze Kettle Chip Chicken Strips?
Certainly! To freeze, wrap the cooled chicken strips tightly in plastic wrap, ensuring no air pockets. Then place them in a freezer-safe bag or container. These strips can last in the freezer for up to 2 months. When you’re ready to eat, just pop them in the oven at 375°F (190°C) for about 10-15 minutes until heated through and crispy again.
What can I do if the chicken strips aren’t crispy enough after baking?
Don’t worry! If the chicken strips turn out less crispy than desired, it might be due to moisture gathering on the baking sheet. To prevent this, you can place a wire rack on the baking sheet to allow air circulation while baking. This keeps them elevated and helps maintain that delightful crunch.
Are Kettle Chip Chicken Strips safe for my dog?
While chicken itself is safe for dogs, the kettle chip coating may contain seasoning and salt that’s not ideal for them. For a treat, consider giving them plain, cooked chicken instead. Always consult your vet before introducing new foods to your pet’s diet.
Can I make substitutions for dietary restrictions?
Very! If you’re looking for gluten-free options, simply use gluten-free flour and ensure your kettle chips are also gluten-free. For a vegetarian alternative, tofu strips or cauliflower florets make a fantastic substitute. Just ensure to adjust the cooking time based on the alternative you choose!
Crispy Kettle Chip Chicken Strips for Effortless Family Fun
Ingredients
Equipment
Method
- Preheat your oven to 400°F (200°C) and line a baking sheet with parchment paper.
- Cut chicken breasts into 1-inch wide strips and place them in a mixing bowl.
- Mix salt, black pepper, paprika, and garlic powder in a bowl, then sprinkle over chicken and toss to coat.
- Set up a breading station with flour, beaten eggs, and crushed kettle chips in separate shallow dishes.
- Coat each chicken strip in flour, then dip in egg, and coat with kettle chips before placing on the baking sheet.
- Arrange strips in a single layer on the baking sheet, ensuring space between each piece.
- Bake for 20-25 minutes until golden brown and cooked through, checking the temperature reaches 165°F (74°C).
- Remove from oven, let cool slightly, and serve with your favorite dipping sauces.
Leave a Reply