Go Back
+ servings
Watermelon Mochi Recipe

Delightful Watermelon Mochi Recipe for a Summer Treat

Enjoy a refreshing Watermelon Mochi Recipe, perfect for summer picnics and gatherings, that is vegan and gluten-free.
Prep Time 20 minutes
Cook Time 15 minutes
Cooling Time 15 minutes
Total Time 50 minutes
Servings: 4 pieces
Course: Desserts
Cuisine: Asian
Calories: 120

Ingredients
  

For the Batter
  • 1 cup glutinous rice flour Provides the characteristic chewy texture
  • 1/4 cup granulated sugar Adds sweetness to the dough
  • 3/4 cup water Should be at room temperature
  • 2 tablespoons watermelon powder For natural coloring and flavor
For Dusting
  • 1/4 cup cornstarch To prevent sticking
For Decoration
  • 1/4 cup mini chocolate chips Optional for decoration
  • 1/4 cup black sesame seeds Optional, provides a traditional touch

Equipment

  • steamer basket
  • Heatproof Bowl
  • Rolling Pin

Method
 

Step-by-Step Instructions
  1. In a heatproof bowl, whisk together 1 cup of glutinous rice flour, 1/4 cup of granulated sugar, and 2 tablespoons of watermelon powder. Gradually pour in 3/4 cup of room temperature water, mixing until smooth.
  2. Place the batter in a steamer basket, cover with a lid, and steam over boiling water for 15 minutes until the mixture is glossy and sticky.
  3. Remove the bowl after steaming and cool for 5 minutes. Dust hands and surfaces with cornstarch and knead the warm dough until smooth.
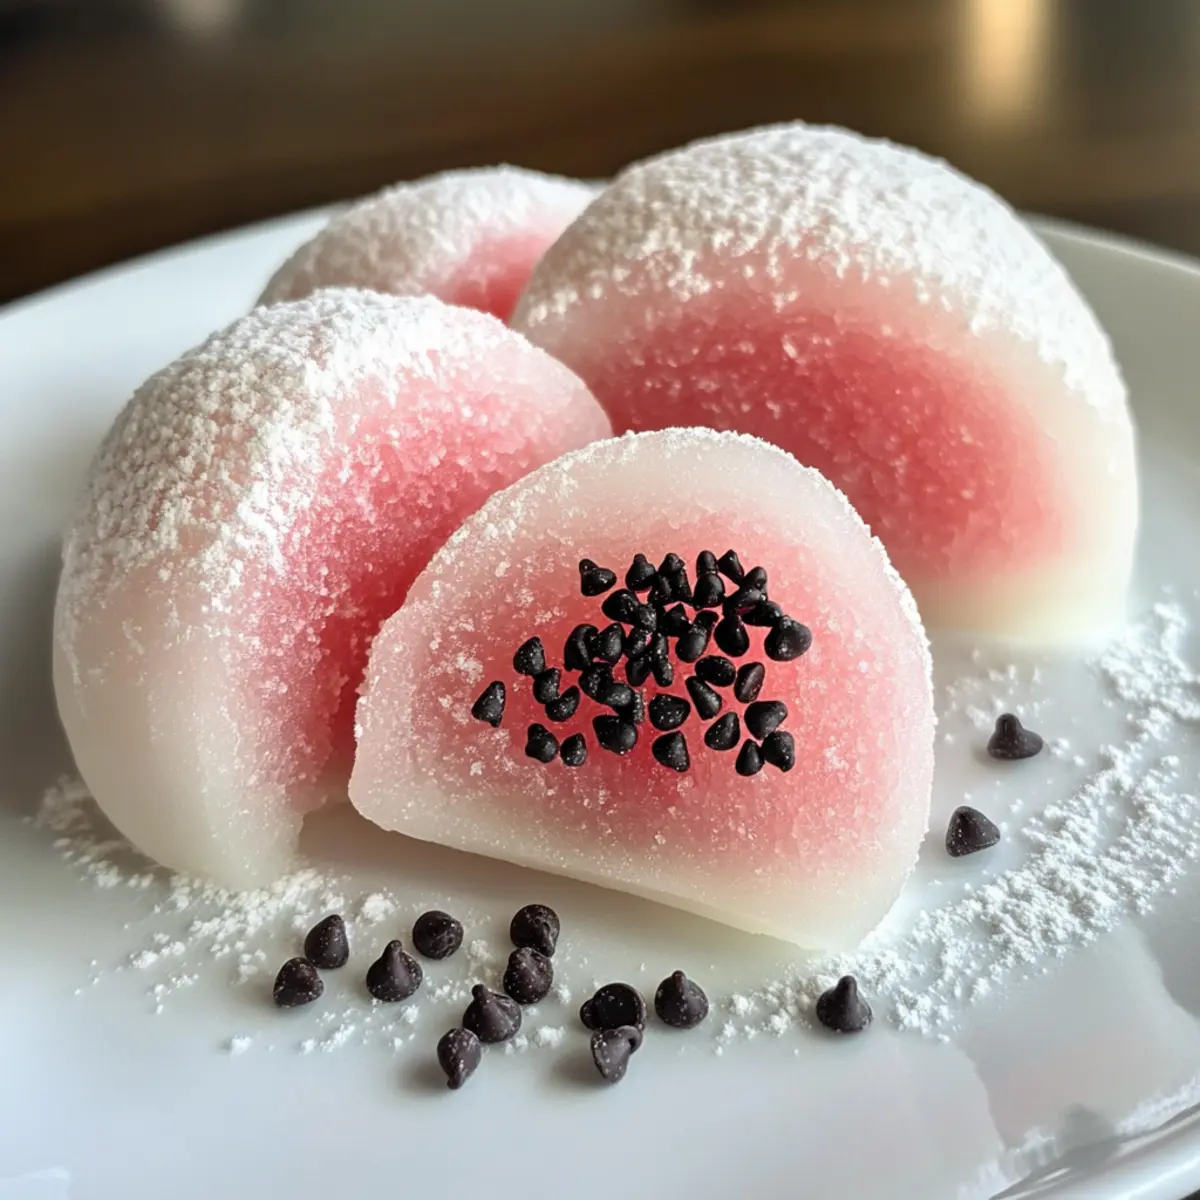
  4. Flatten the dough to 1/2-inch thickness and cut into triangle shapes resembling watermelon wedges. Press chocolate chips or sesame seeds into each piece for decoration.
  5. Transfer the shaped mochi onto a cornstarch-dusted plate and cool completely for about 10-15 minutes.

Nutrition

Serving: 1pieceCalories: 120kcalCarbohydrates: 30gProtein: 2gSodium: 5mgPotassium: 50mgFiber: 1gSugar: 10gVitamin C: 10mgCalcium: 1mgIron: 3mg

Notes

These mochi are best enjoyed fresh and can be stored in an airtight container for up to 24 hours. For freezing, wrap individually and store in a freezer bag for up to 1 month.

Tried this recipe?

Let us know how it was!