
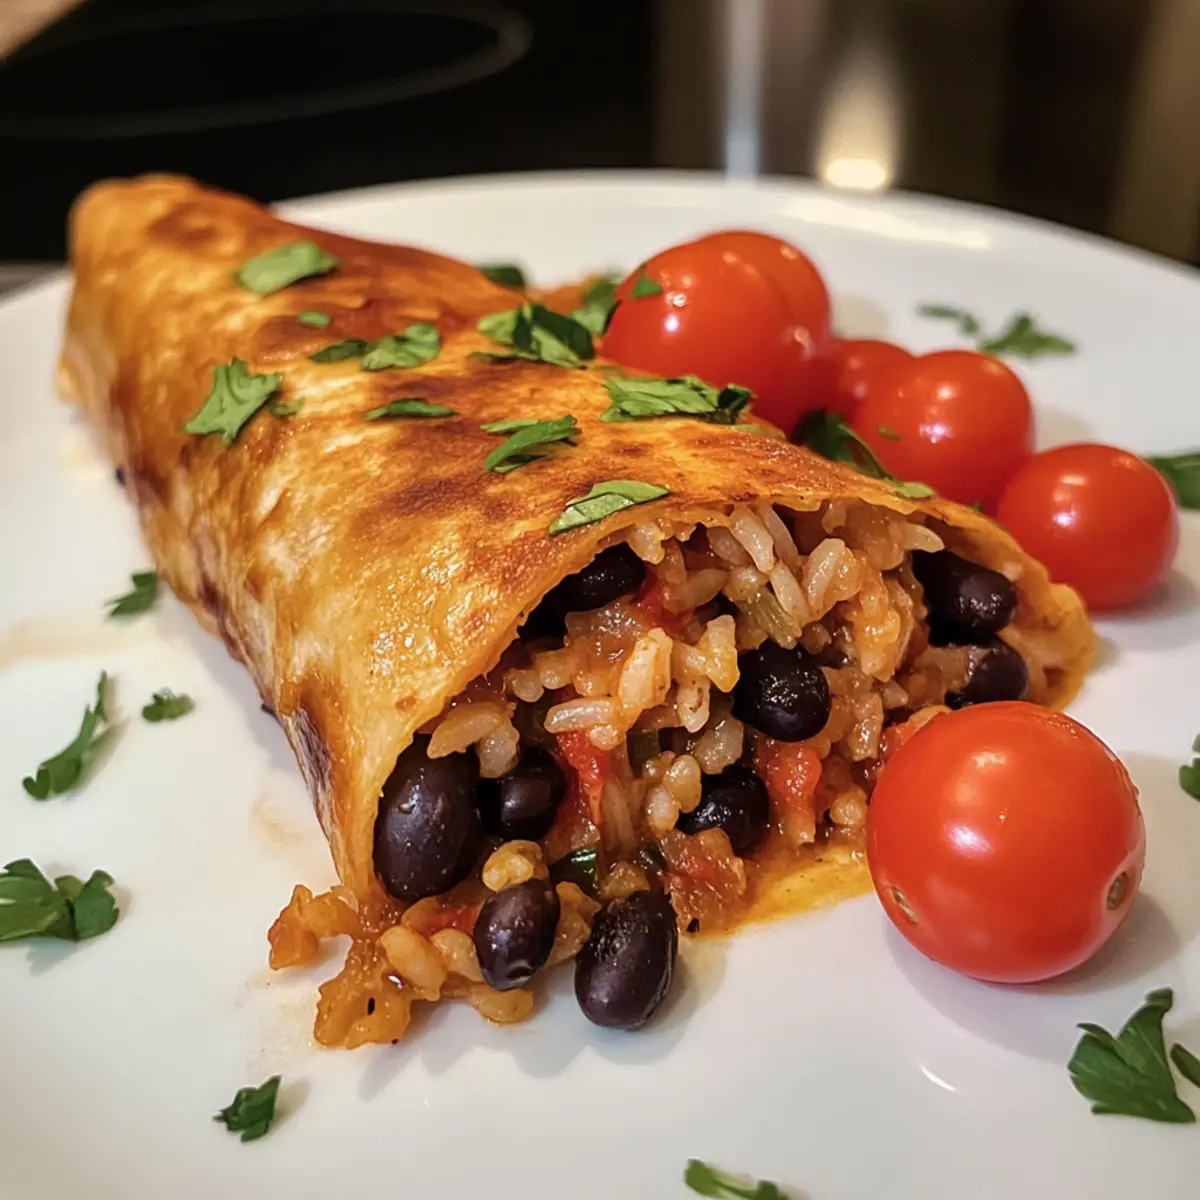
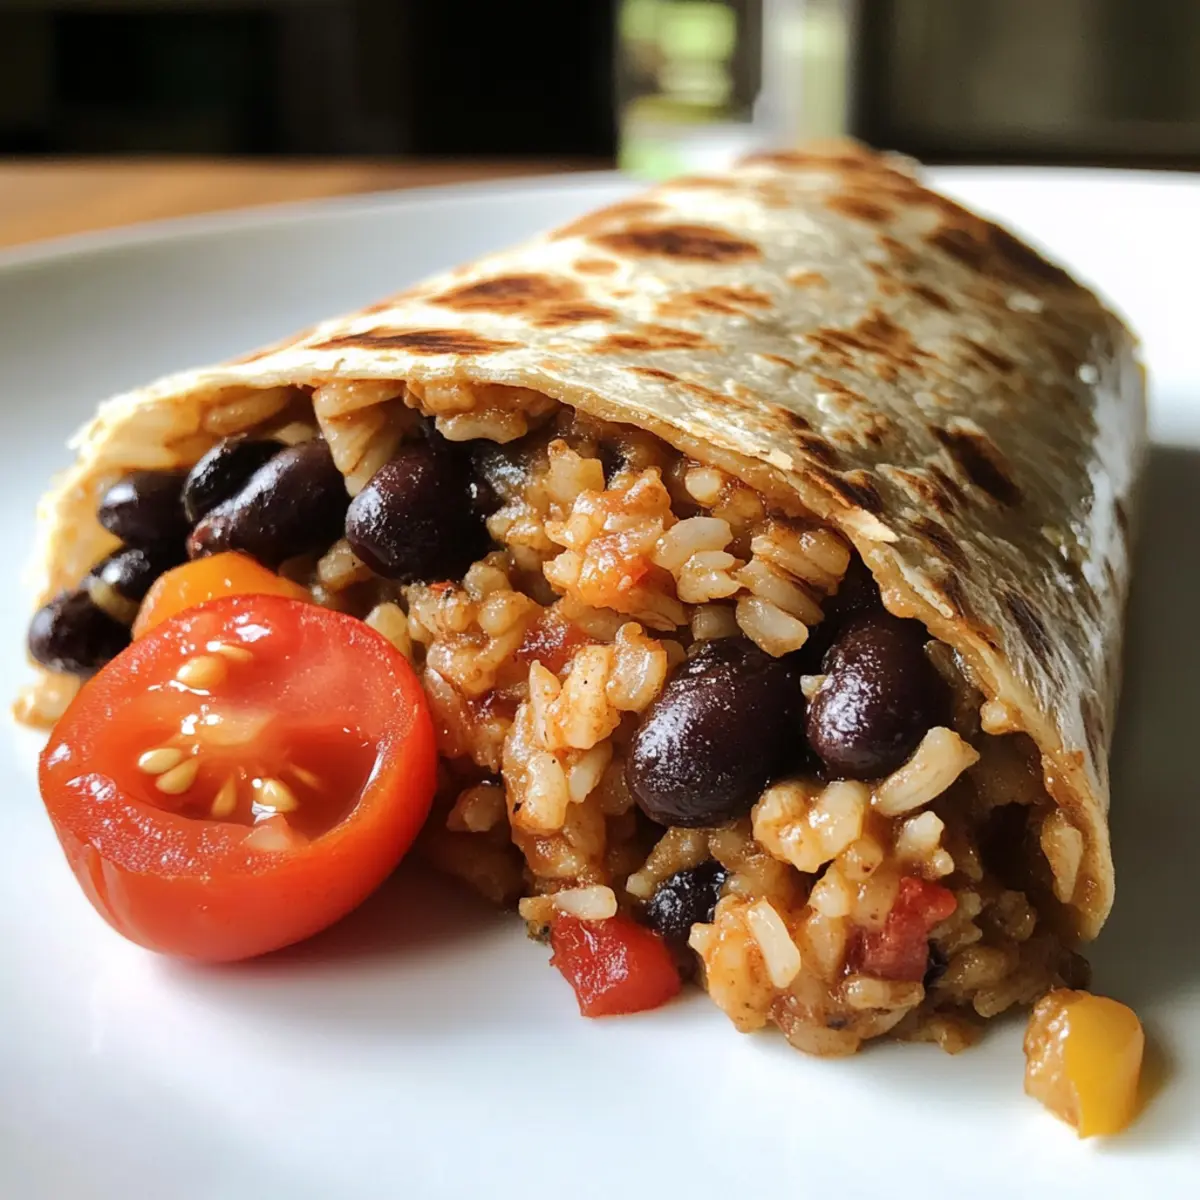
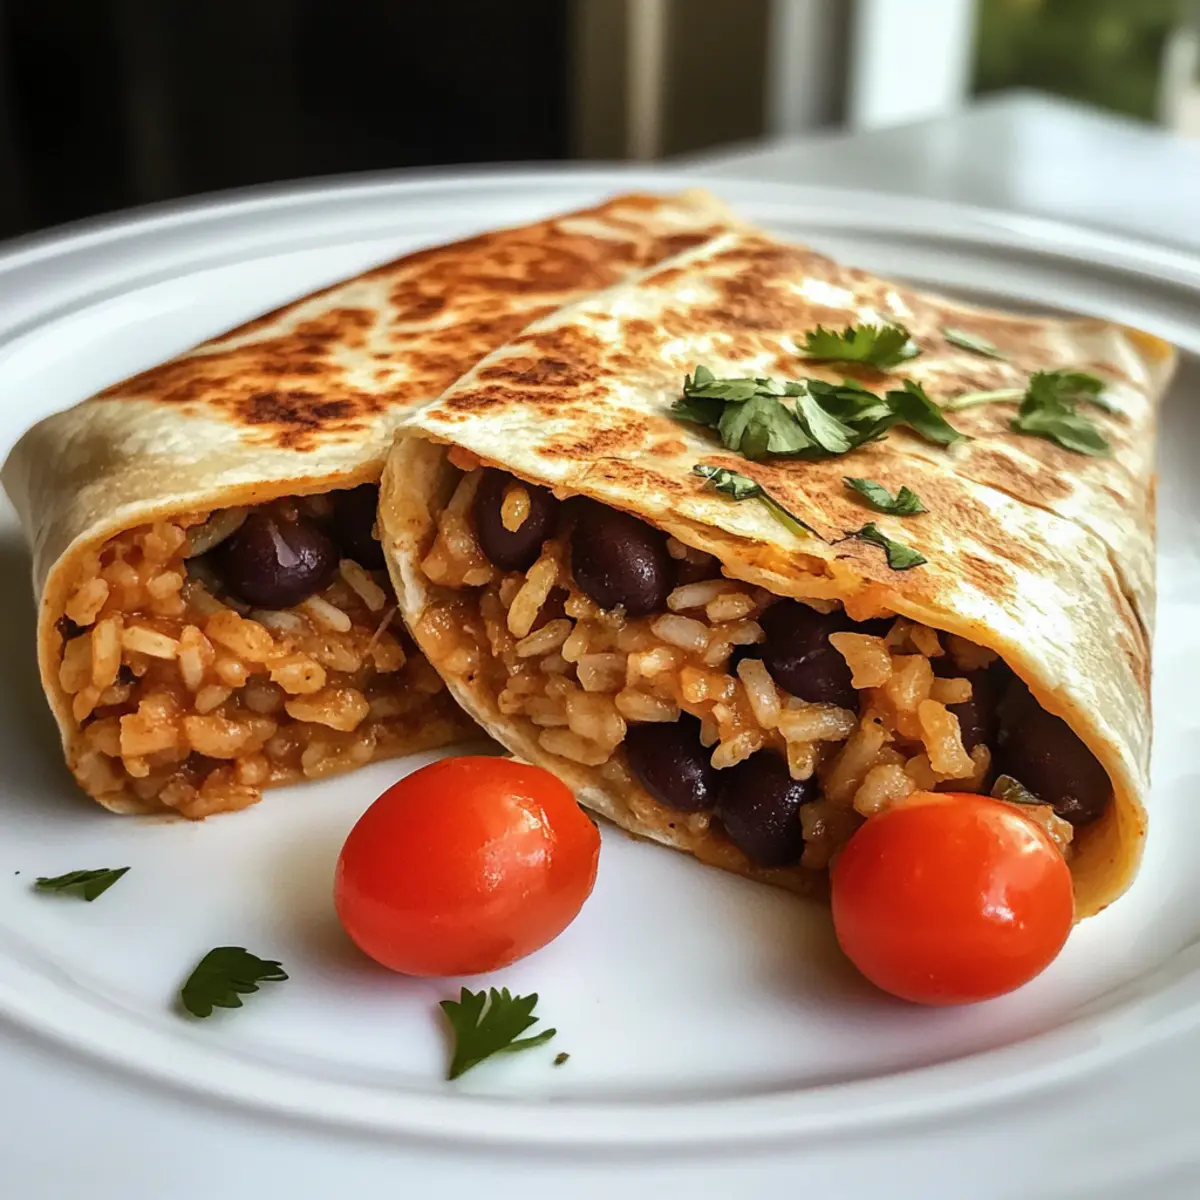
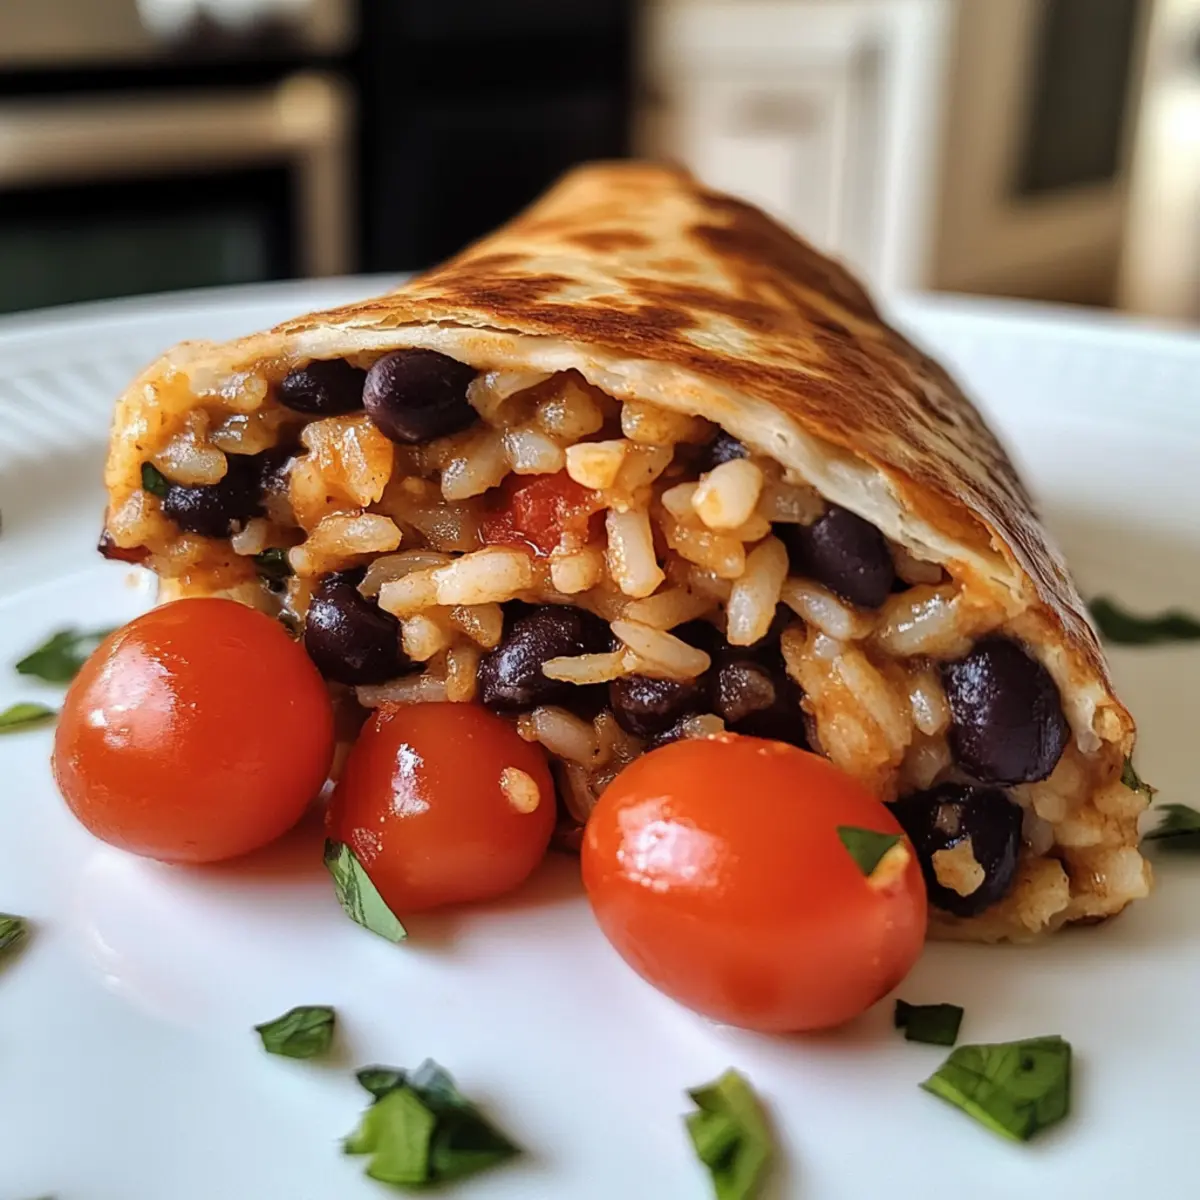
As I dug into my latest culinary adventure, I discovered a delightful twist that has quickly become a weeknight favorite: the Rice and Beans Quesarito. This delicious fusion of a quesadilla and a burrito captures all the hearty comfort without any of the guilt, thanks to its entirely vegan and gluten-free ingredients. It’s not only a satisfying meal option, but it also makes for an effortless preparation, allowing you to whip it up in no time—perfect for busy families or anyone looking to escape the fast-food routine. Whether stuffed with nutritious black beans, fluffy rice, and creamy vegan cheese or topped with bright cherry tomatoes and zesty salsa, this recipe is bursting with love and flavor. Your taste buds are in for a treat, so are you ready to elevate your kitchen game with this tantalizing twist?
Why Make Rice and Beans Quesarito?
Convenience at Its Finest: This recipe combines the best of both worlds—quesadilla and burrito—in a quick, easy-to-make dish.
Nutritious and Hearty: Packed with black beans and rice, it’s a wholesome meal that keeps you full without the guilt.
Diverse Flavors: With the zing of cumin, chili powder, and your favorite salsa, each bite is bursting with exciting flavors.
Family-Friendly: Great for both kids and adults, this dish brings everyone together, making weekday dinners a breeze.
Versatile Options: Customize with your favorite fillings or pair it with a side of Miso Butter Beans for an even heartier meal. You’ll love how easy it is to switch things up!
Delicious Rice and Beans Quesarito Ingredients
For the Filling
• Black Beans – Adds protein and heartiness; use prepared black beans from the Mexican Fiesta Cauliflower Rice or canned beans.
• Rice – Provides structure and bulk; cooked rice acts as the base of this Rice and Beans Quesarito.
• Chopped Cherry Tomatoes – Optional; adds freshness and acidity for a bright flavor contrast.
• Cumin – Two teaspoons will elevate the dish with warm, earthy notes; feel free to adjust based on taste.
• Chili Powder – One teaspoon adds a mild kick; spice it up if you enjoy more heat!
• Salt and Pepper – Essential for seasoning; simply adjust to personal preference.
For the Tortillas
• Tortillas (8 large) – Necessary for holding the filling; choose gluten-free options to keep it friendly for all diets.
For the Cheesy Goodness
• Vegan Cheese Shreds (2 cups) – Provides creaminess and a cheesy flavor; opt for your favorite brand available in stores.
• 3 Ingredient Vegan Cheese Sauce – Enhances creaminess; make from cashews, vegetable broth, and tahini, or substitute with store-bought vegan cheese if desired.
For the Zesty Finish
• Salsa (1/2 cup + 2 tbsp) – Adds zest and helps tie all the flavors together; choose between store-bought or homemade varieties for your preference.
Step‑by‑Step Instructions for Rice and Beans Quesarito
Step 1: Prepare Tortillas
Begin by preheating a large non-stick skillet over medium heat. While the skillet is warming, gather your tortillas, as you’ll need two for each Rice and Beans Quesarito. This ensures a sturdy base for your delicious filling. Once the skillet is hot, you’re ready to cook!
Step 2: Cook Tortillas
Place one tortilla in the skillet and generously sprinkle it with vegan cheese shreds. Gently place a second tortilla on top, then cover the skillet with a lid. Cook for about 2 minutes until the bottom tortilla turns golden brown. Carefully flip the stack and cook for another 2 minutes until the cheese is melty and both sides are crispy.
Step 3: Cool and Fill
Once the tortilla stack is cooked, carefully remove it from the skillet and let it cool for a moment on a cutting board. Spread about 4 tablespoons of the prepared rice and beans mixture atop each tortilla, followed by a drizzle of your homemade or store-bought vegan cheese sauce. This filling will make your Rice and Beans Quesarito truly satisfying.
Step 4: Add Fresh Ingredients
For a burst of freshness, sprinkle chopped cherry tomatoes on top of the rice and beans filling. Don’t forget the flavorful salsa; add about 2 tablespoons on each one. This elevates the taste and adds a zesty kick, enhancing each delicious bite of the Rice and Beans Quesarito.
Step 5: Fold
Carefully fold the tortilla over the filling, tucking it slightly to encase all the flavorful ingredients inside. Repeat this step with the remaining tortillas and filling until your Rice and Beans Quesaritos are all assembled and ready to go. This will keep everything cozy and warm when you serve them.
Step 6: Serve and Enjoy
Once your Rice and Beans Quesaritos are folded, you can serve them immediately, either fresh from the skillet or after letting them sit for a minute to cool. Pair with your favorite dipping sauces or sides, and relish in the delightful flavors of this comforting meal!
Rice and Beans Quesarito Variations
Feel free to explore these delightful adaptations that will make your Rice and Beans Quesarito even more fabulous!
-
Pinto Beans: Swap black beans for pinto beans for a slightly sweet, creamy texture. Pintos provide a milder flavor that allows the spices to shine.
-
Lentils: For a hearty twist, use lentils instead of beans. They cook up beautifully and lend a unique texture to your Quesarito.
-
Roasted Veggies: Add roasted bell peppers and zucchini for extra flavor and color. The caramelized edges of the veggies enhance the overall taste and presentation.
-
No Cheese: Leave out the vegan cheese and use guacamole for creaminess instead. This will create a lighter option while still delivering a satisfying bite.
-
Spicy Kick: Add jalapeños or chili flakes to your rice and beans mixture for an extra layer of heat. It’s a great way to awaken your taste buds!
-
Fresh Herbs: Sprinkle in some cilantro or green onions before folding for a refreshing burst of flavor. Fresh herbs will brighten the dish and add an aromatic twist.
-
Avocado: Slice fresh avocado to add after cooking for a creamy finish. It pairs perfectly with the other ingredients and adds healthy fats.
-
Flavorful Salsa: Experiment with different types of salsa, like mango or corn salsa, to change up the flavor profile. You can also try making a homemade salsa for a personal touch.
For a unique side, consider an easy-to-make batch of Pumpkin Spice Rice to complement your meal! Your next dinner is just a twist away!
Make Ahead Options
These Rice and Beans Quesaritos are a meal prep dream! You can prepare the filling (rice, beans, and spices) up to 3 days in advance and store it in the refrigerator, ensuring it’s ready when you’re pressed for time. Just remember to allow the filling to cool completely before transferring it to an airtight container to maintain its vibrant flavors. When you’re ready to enjoy your Quesaritos, simply assemble and cook them according to the final steps of the recipe—this way, you’ll get that crispy exterior without a hitch! You’ll find yourself savoring a comforting, homemade meal with minimal effort, making weeknight dinners a breeze.
Expert Tips for Rice and Beans Quesarito
-
Fresh Ingredients: Use high-quality, fresh ingredients for the best flavor, especially in the salsa and vegan cheese.
-
Avoid Burning Garlic: When cooking any aromatics, be sure to remove garlic from heat as soon as it’s fragrant to prevent it from burning.
-
Let Them Cool: Allow the filled Rice and Beans Quesaritos to cool slightly after assembling to avoid scorching your fingers during serving.
-
Tortilla Technique: Use two tortillas per Quesarito to ensure they hold up better, providing a sturdy and delightful crunch.
-
Customizable Fillings: Feel free to experiment with different beans or roasted vegetables to add variety and personal flair to your Rice and Beans Quesarito.
How to Store and Freeze Rice and Beans Quesarito
Fridge: Store your assembled Rice and Beans Quesaritos in an airtight container for up to 3 days. This keeps them fresh and ready for a quick meal!
Freezer: Individually wrap each Quesarito in plastic wrap and then place them in a freezer-safe bag. They can be frozen for up to 3 months, ensuring you have a tasty meal on hand.
Reheating: To enjoy, thaw overnight in the fridge and reheat in a skillet over medium heat for 5-7 minutes, or until heated through and crispy.
Make-Ahead: You can prepare the filling ahead of time and store it in the fridge for up to 3 days, making it easy to whip up your Quesarito whenever hunger strikes.
What to Serve with Rice and Beans Quesarito
Unlock the full meal potential of your delightful creation with these perfect pairings that will elevate your dining experience.
-
Guacamole: Velvety and rich, it adds a creamy contrast that balances the spicy flavors of the Quesarito beautifully. Refreshing and satisfying, guacamole is a classic companion that everyone loves.
-
Garden Salad: A crisp, fresh salad with mixed greens and bright veggies enhances the meal while providing a burst of texture and healthiness. Pairing it with a zesty vinaigrette will amplify the flavors of your Quesarito.
-
Corn Salsa: Sweet corn salsa brings a pop of color and a fun crunch. The sweetness pairs wonderfully with the savory notes of the Rice and Beans Quesarito, providing a delightful balance.
-
Roasted Vegetables: The caramelized flavors of roasted bell peppers or zucchini add depth and a wonderful contrast to the dish. Their flavorful char adds various dimensions to each bite.
-
Vegan Sour Cream: Creamy and tangy, vegan sour cream is perfect for drizzling over your Quesarito. It enhances the dish’s overall flavor with its cool and refreshing touch.
-
Chilled Fresh Fruit: A vibrant fruit salad featuring pineapple, mango, or berries offers a sweet and juicy contrast that brightens your meal. It’s a refreshing ending that rounds out the experience perfectly.
-
Herbal Tea: A warm cup of herbal tea, such as chamomile or mint, brings soothing flavors that complement the meal while aiding digestion, perfect for winding down after a satisfying dinner.
-
Limeade: This refreshing drink’s sweet-tartness elevates the flavors while providing a revitalizing contrast to the savory heartiness of the Quesarito.
-
Chocolate Avocado Mousse: For dessert, this rich and decadent treat is not only incredibly tasty but also offers a healthy twist to end the meal on a sweet note. Its creamy texture aligns perfectly with the cozy vibes of the Quesarito.
Rice and Beans Quesarito Recipe FAQs
How should I select my black beans for the Rice and Beans Quesarito?
Absolutely! For the best results, look for black beans that are shiny and firm. If you’re using canned beans, I recommend choosing low-sodium options or rinsing them under cold water to reduce sodium content. If you’re feeling adventurous, you can also try soaking and cooking dried beans from scratch for an even fresher taste.
What’s the best way to store my Rice and Beans Quesaritos once cooked?
Great question! Store your assembled Rice and Beans Quesaritos in an airtight container in the fridge for up to 3 days. Make sure they’re properly sealed to keep them fresh and ready for quick meals!
Can I freeze leftover Quesaritos? If so, how?
Yes, you can! Individually wrap each Quesarito in plastic wrap, then place them in a freezer-safe bag. They can be frozen for up to 3 months. When you’re ready to enjoy them, just thaw overnight in the fridge and reheat in a skillet over medium heat for 5-7 minutes until crispy and heated through.
What if my Rice and Beans Quesarito filling is too dry?
Very! If you find the filling a bit dry, you can add a splash of vegetable broth or your favorite salsa to help moisten it up. Heating the beans with some seasonings before assembling can also help infuse more flavor!
Are there dietary considerations for pets regarding the ingredients?
Yes, keep in mind that some ingredients, such as garlic (including garlic powder) can be toxic to pets. If you’re serving this dish around pets, it’s best to avoid adding any garlic or onions to your Quesarito mix.
Can I make modifications for food allergies?
Definitely! You can customize the Rice and Beans Quesarito to fit various dietary restrictions. For nut allergies, skip the vegan cheese sauce made from cashews, and choose a store-bought alternative. Just make sure to read labels, as many vegan cheese products use nut ingredients. Always feel free to add or swap in other ingredients to suit your needs.
Delicious Rice and Beans Quesarito: Vegan Comfort Food Delight
Ingredients
Equipment
Method
- Prepare the large non-stick skillet over medium heat and gather your tortillas.
- Cook one tortilla sprinkled with cheese shreds, top it with another, cover, and cook for about 2 minutes. Flip and cook another 2 minutes.
- Remove and let cool, then spread the fillings and cheese sauce on each tortilla.
- Sprinkle chopped tomatoes and salsa on top before folding each quesadilla.
- Serve immediately or let cool slightly to avoid burning fingers.
Leave a Reply