
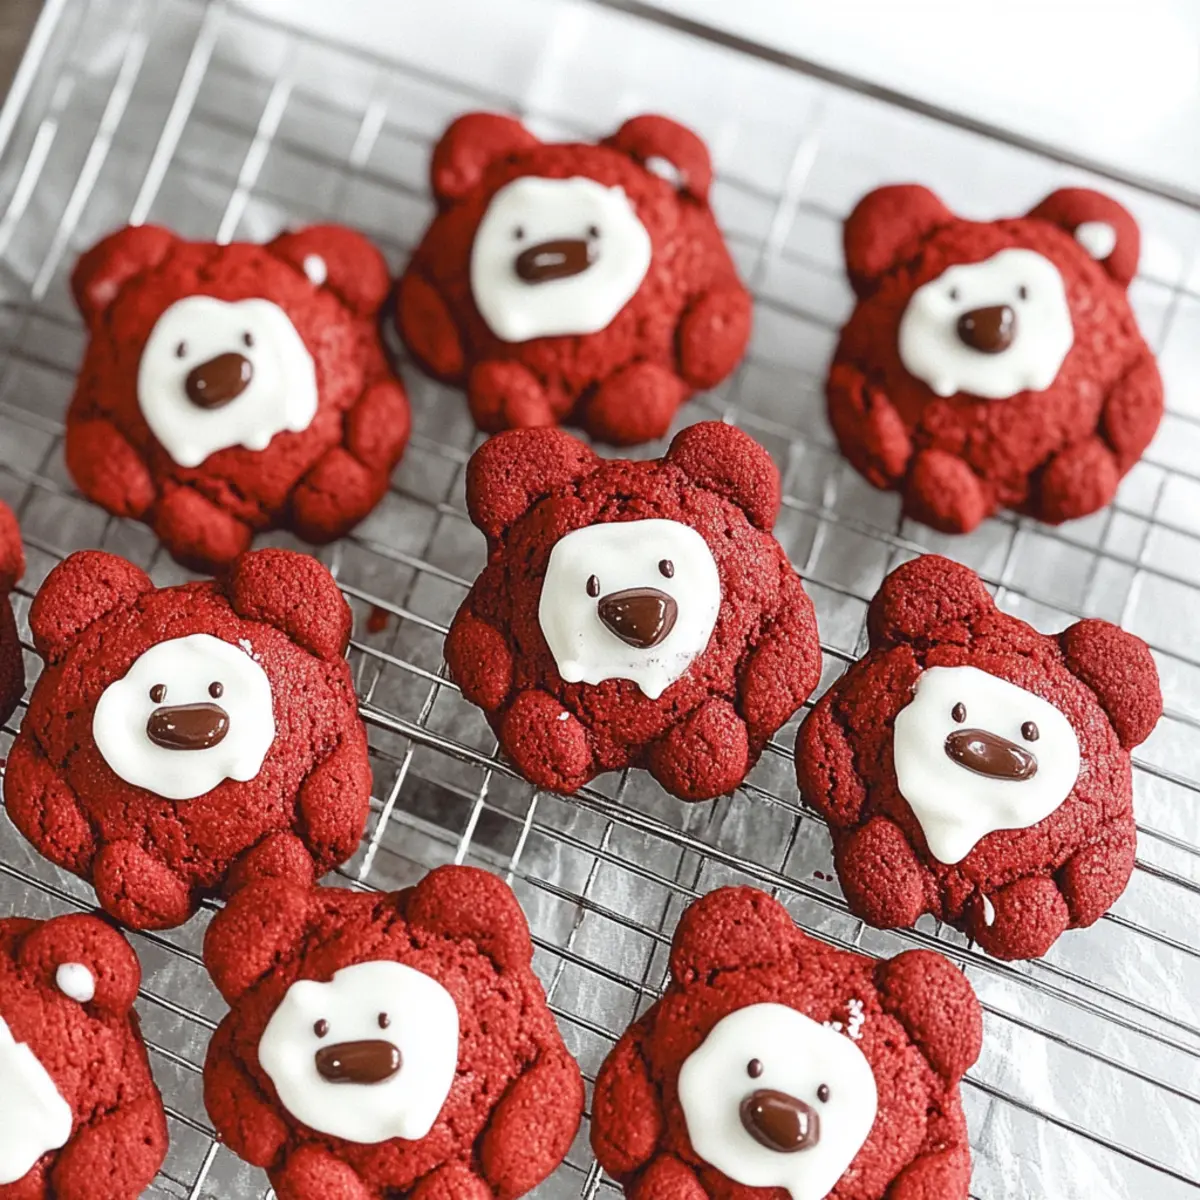
As the sun sets on another busy day, I often find myself craving something heartwarming and fun to whip up in the kitchen. Enter the adorable Red Velvet Bear Cookies! These little delights aren’t just a feast for the eyes; they’re soft, subtly sweet, and perfect for any occasion, especially Valentine’s Day. With their charming chocolate faces and vibrant red hue, these cookies promise to be a hit at any gathering or cozy night in. Plus, they’re simple to make, allowing you to squeeze in a rewarding bake amidst your busy schedule. And if you’re looking for dietary-friendly options, don’t fret—I’ve got delicious vegan and gluten-free adaptations to keep everyone happy. Curious how to bring these cute cookies to life? Keep reading!
Why Are These Cookies So Irresistible?
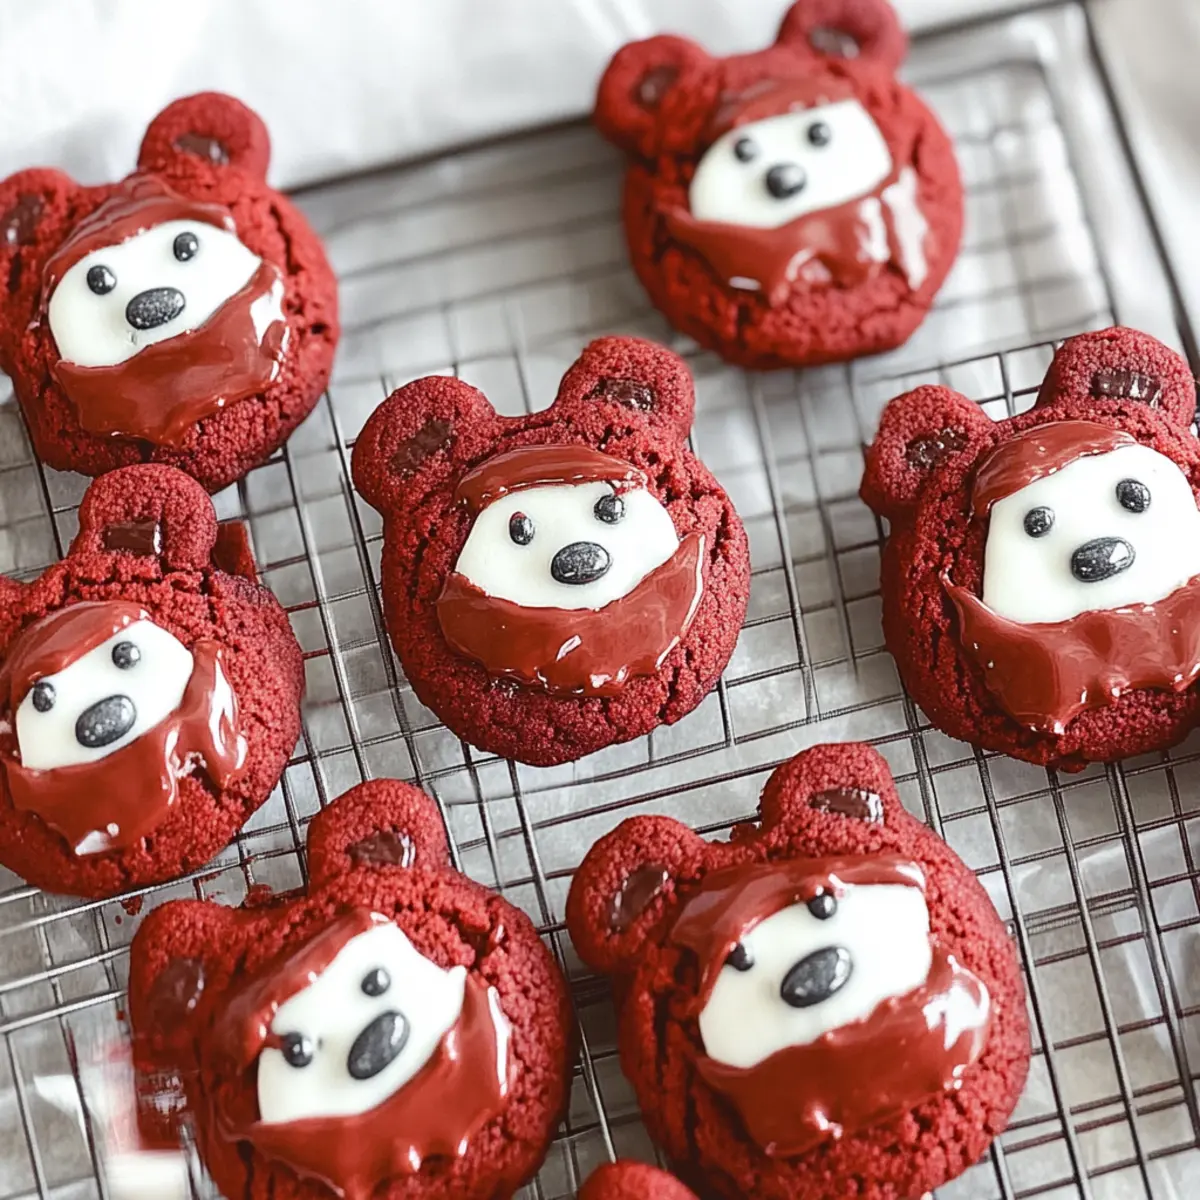
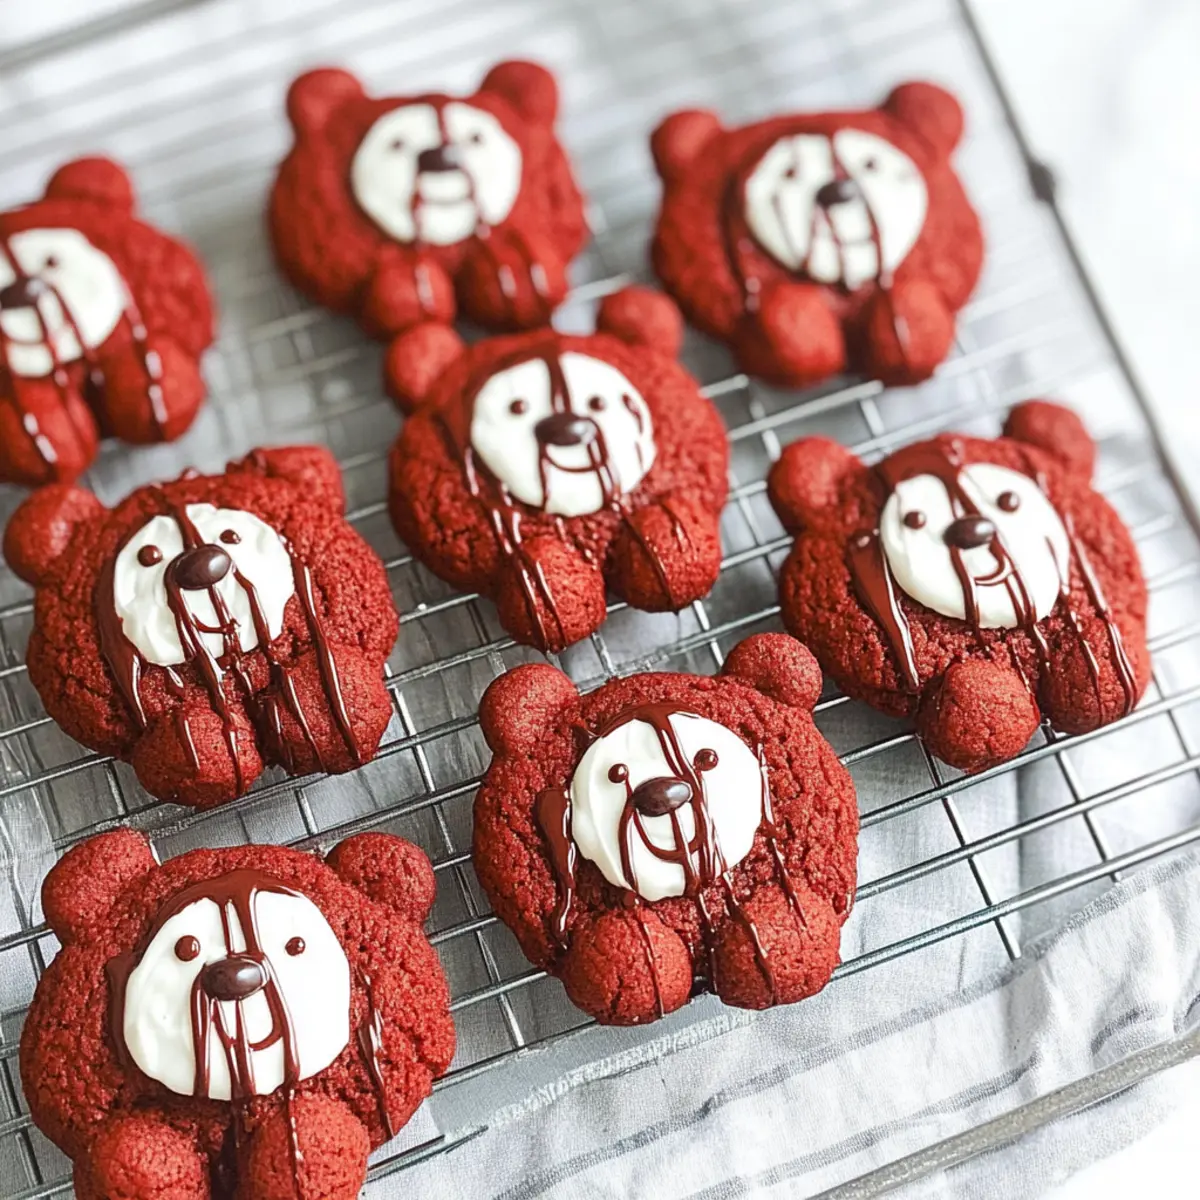
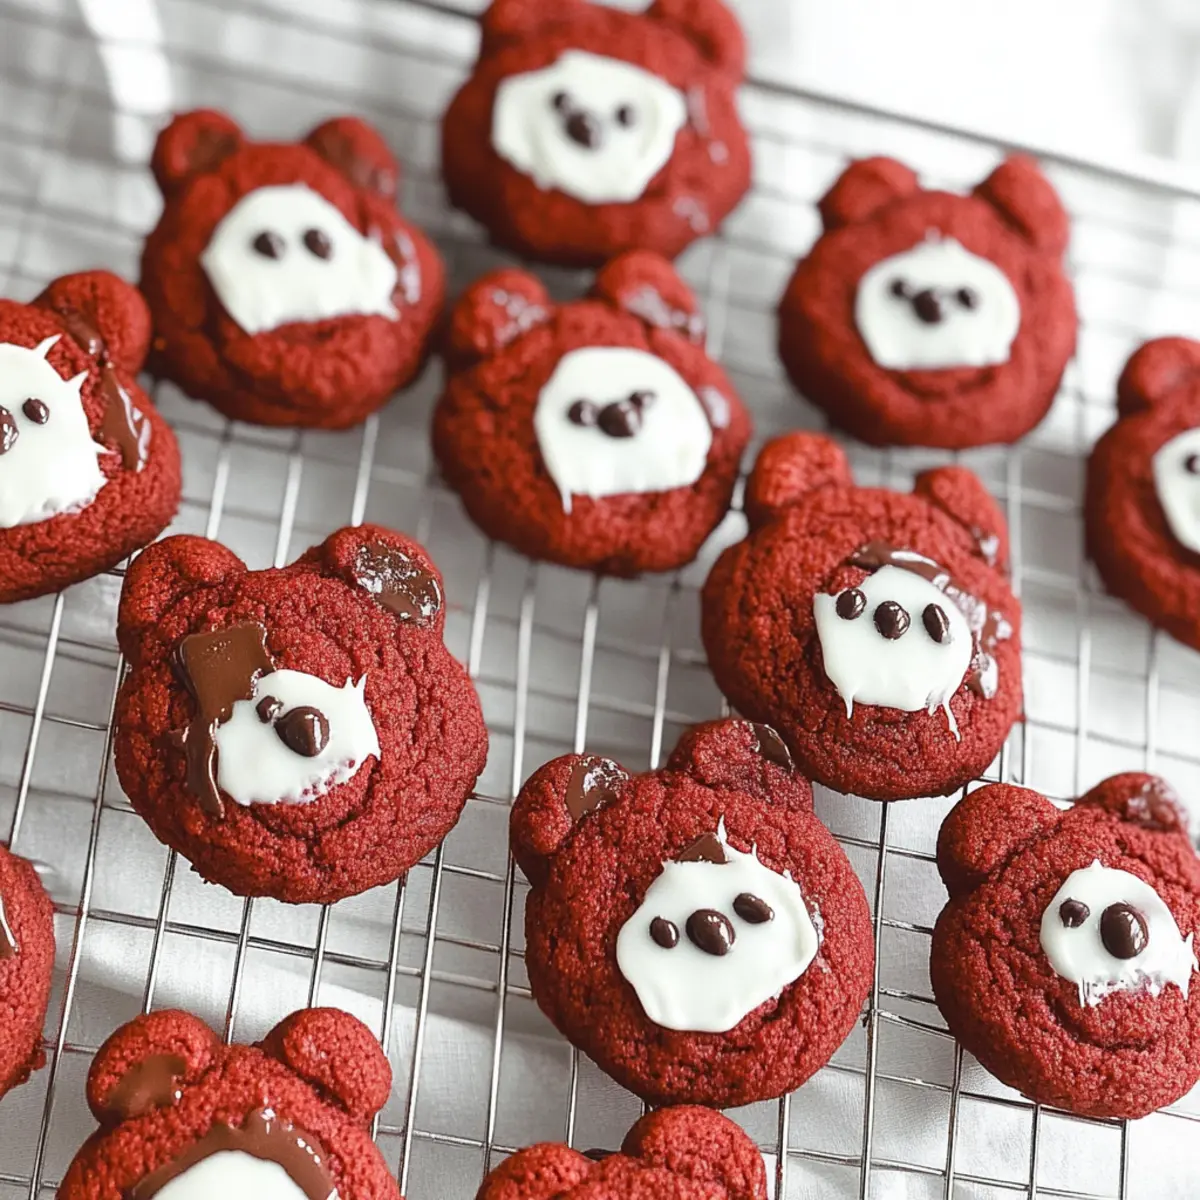
Adorable, these Red Velvet Bear Cookies are a visual delight that adds charm to any occasion!
Soft and Chewy, the texture strikes a perfect balance, making each bite enjoyable.
Easy to Customize, with vegan and gluten-free options, these cookies cater to all dietary needs.
Perfect for Celebrations, especially Valentine’s Day, they make lovely treats or gifts for loved ones.
Time-Saving Delight, this recipe is straightforward, perfect for busy schedules while still yielding impressive results.
Serve them with a glass of milk or alongside delicious treats like Velvet Strawberry Cheesecake for a crowd-pleasing dessert table!
Red Velvet Bear Cookies Ingredients
These delightful treats are simpler to make than you might think! Here’s everything you need to create your own charming Red Velvet Bear Cookies.
For the Cookie Base
- All-Purpose Flour – Provides the necessary structure; spoon and level to avoid compacting.
- Cocoa Powder – Adds a rich chocolate flavor; it’s best to use sifted cocoa for an even distribution.
- Baking Soda – A crucial leavening agent; essential for achieving a light and fluffy texture.
- Baking Powder – Works together with baking soda to provide extra lift.
- Salt – Balances the sweetness and enhances flavors.
- Unsalted Butter – Adds moisture and richness; you can substitute with high-quality vegan butter if desired.
- Granulated Sugar – Sweetens the cookies perfectly.
- Brown Sugar – Adds depth and moisture, giving a delightful chewiness.
- Vanilla Extract – Enhances overall flavor; don’t skip this ingredient!
- White Vinegar – Helps keep the cookies light and fluffy; can be skipped, but the cookies may turn out denser.
- Egg – Binds the mixture and adds richness; for a vegan version, you can omit this and adjust with plant milk if needed.
- Red Food Coloring – Provides the cookie’s signature vibrant color.
For Decoration
- Melted Milk/Dark Chocolate – Used for creating adorable eyes and noses; opt for vegan chocolate for a plant-based version.
- Melted White Chocolate – Perfect for snouts and cute blush detailing; using oil-based food coloring can prevent seizing.
Get ready to impress your loved ones with these soft and cute Red Velvet Bear Cookies that are sure to spread joy and warmth!
Step‑by‑Step Instructions for Red Velvet Bear Cookies
Step 1: Combine Dry Ingredients
In a medium bowl, whisk together 2 cups of all-purpose flour, 2 tablespoons of sifted cocoa powder, 1 teaspoon of baking soda, 1 teaspoon of baking powder, and a pinch of salt. This mixture forms the dry base for your Red Velvet Bear Cookies. Set it aside as you prepare the wet ingredients.
Step 2: Cream the Wet Ingredients
In a stand mixer, combine ½ cup of melted unsalted butter with ½ cup of granulated sugar and ½ cup of brown sugar. Beat on medium speed until the mixture is smooth and creamy, about 2-3 minutes. Add in 1 teaspoon of vanilla extract, 1 tablespoon of white vinegar, 1 egg (or plant milk for vegan), and 1 tablespoon of red food coloring, then mix until everything is fully blended.
Step 3: Combine Wet and Dry Ingredients
Gradually add the dry ingredient mixture to the creamed wet ingredients, mixing on low speed until just combined. This step is crucial for your Red Velvet Bear Cookies to ensure a soft, chewy texture. If necessary, adjust the coloring to achieve a vibrant red hue, mixing carefully to blend.
Step 4: Chill the Dough
Cover the cookie dough tightly with plastic wrap or a clean kitchen towel, and refrigerate for 20-30 minutes. Chilling the dough enhances its manageability and results in beautifully shaped cookies. Meanwhile, you can preheat your oven and prepare the baking trays.
Step 5: Preheat the Oven
Preheat your oven to 325°F (163°C). While it’s heating, line your baking trays with parchment paper, ensuring an easy release of the cookies once they’re baked. This preparation will help your Red Velvet Bear Cookies bake evenly and maintain their delightful shape.
Step 6: Shape the Cookies
Using a cookie scoop or a tablespoon, scoop approximately 1½ tablespoons of dough and roll them into balls. Place each ball on the prepared trays, leaving about 3 inches of space between them. This spacing allows the cookies to spread beautifully while baking and helps them maintain their rounded bear shape.
Step 7: Add Bear Ears
For the adorable bear ears, take small pieces of dough and roll them into smaller balls. Gently place these on top of the larger cookie balls, pressing slightly to secure them in place. This fun detail helps to create the characteristic bear look of your Red Velvet Bear Cookies.
Step 8: Bake the Cookies
Bake your cookies in the preheated oven for 9-11 minutes, watching closely for the edges to set while the centers remain slightly puffy. If you prefer chewier cookies, underbaking them for a minute or two will achieve that perfect texture. Remove them when done, and allow them to cool slightly on the tray.
Step 9: Cool the Cookies
Let the cookies cool on the baking tray for 5-10 minutes. This resting time allows them to firm up a bit before transferring them to a wire rack. Cooling completely on the rack ensures that your Red Velvet Bear Cookies maintain their soft, chewy texture without getting soggy.
Step 10: Decorate the Cookies
Once the cookies are completely cool, melt some white chocolate for snouts and chocolate for eyes and noses. Use a piping bag or a toothpick to delicately decorate each cookie with adorable facial features, making each bear uniquely charming. Enjoy these delightful treats that will surely bring smiles to everyone!
What to Serve with Adorable Red Velvet Bear Cookies
Indulging in these charming cookies sets the stage for a delightful dessert experience that’s sure to please your guests.
- Creamy Vanilla Ice Cream: A scoop of this creamy delight creating a delightful contrast with the soft cookies’ texture, enhancing their sweetness.
- Rich Hot Chocolate: The warmth of rich hot chocolate pairs beautifully, making it a cozy addition, especially on chilly evenings.
- Fresh Strawberries: Juicy strawberries cut through the richness of cookies, adding a fresh, fruity element that enhances your dessert experience.
Berries are not only tasty but also add a vibrant pop of color to your plate! - Classic Milk: A glass of cold milk invites nostalgia, balancing flavors and providing a comforting touch to every bite of the sweet cookies.
- Whipped Cream: Light and airy, this topping can add an indulgent twist, especially when served alongside a warm drink or used for dipping.
- Chocolate-Covered Pretzels: Introducing fun, crunchy elements, these add a salty contrast that beautifully complements the sweet bear cookies’ flavor profile.
- Coffee or Espresso: The slight bitterness from coffee brings out the cookie’s cocoa notes, providing a sophisticated pairing for adult gatherings.
- Lemonade or Sparkling Water: For a refreshing twist, these drinks clear the palate between bites and add a vibrant zing to your dessert table.
Red Velvet Bear Cookies Variations
Customize these adorable Red Velvet Bear Cookies into your perfect treat, and let your creativity shine!
-
Vegan: Replace the butter with high-quality vegan butter and omit the egg, adjusting with plant milk for moisture.
-
Gluten-Free: Swap all-purpose flour with a gluten-free flour blend to cater to gluten-sensitive guests.
-
Color Twist: Use different food colorings to create bears in vibrant hues, making them festive for any occasion.
-
Flavor Boost: Add a teaspoon of almond extract for a lovely twist on the classic vanilla flavor.
-
Choco-Chunk: Mix in dark chocolate or white chocolate chunks for extra indulgence; they’ll melt into pockets of sweetness!
-
Spiced Up: Spice it up with a pinch of cinnamon or nutmeg in the dough for a cozy flavor twist.
-
Nutty Crunch: Fold in finely chopped nuts like pecans or walnuts for a delightful crunch in each bite.
-
Additional Decoration: Get creative with decorative sprinkles or edible glitter on top of the melted chocolate to make these treats even more festive!
Pair these delightful bears with a batch of Hot Chocolate Cookies or share them alongside a slice of Velvet Strawberry Cheesecake for an irresistible dessert spread!
How to Store and Freeze Red Velvet Bear Cookies
Room Temperature: Store cookies in an airtight container at room temperature for up to 1 week to keep them fresh and delicious.
Refrigerator: If you want them to last a bit longer, you can refrigerate the cookies for up to 2 weeks, ensuring they are well-wrapped to prevent drying out.
Freezer: For longer storage, freeze the cookies in an airtight container for up to 3 months. Layer parchment paper between cookies to prevent sticking.
Reheating: When ready to enjoy, thaw cookies at room temperature or microwave for 10-15 seconds for a fresh-baked feel.
Make Ahead Options
These adorable Red Velvet Bear Cookies are perfect for meal prep enthusiasts! You can prepare the cookie dough up to 24 hours in advance and keep it in the refrigerator, tightly wrapped. This allows the flavors to meld beautifully while ensuring the dough remains both manageable and easy to shape. Additionally, you can scoop the formed cookie balls and freeze them for up to 3 months—just be sure to line them on a baking sheet and freeze until solid before transferring to a zip-top bag. When you’re ready to bake, simply add an extra minute to the baking time for frozen cookies. Enjoy delightful results with minimal effort on busy days!
Expert Tips for Red Velvet Bear Cookies
-
Chill the Dough: Refrigerating the dough for 20-30 minutes is crucial for a firmer texture, making the cookies easier to shape while baking.
-
Measure Accurately: Use a kitchen scale for precise ingredient measurements; inaccuracies could lead to overly dense or insufficiently sweet Red Velvet Bear Cookies.
-
Fixing Color Issues: For a vibrant red color, mix in a little more food coloring if needed, but do so carefully to maintain the right texture.
-
Be Mindful of Baking Time: Undercook your cookies slightly if you prefer them chewy; keep a close eye on them during the last minute of baking.
-
Decorating Tips: Use oil-based food coloring for your melted chocolate to prevent it from seizing and achieving smooth finishing touches on your cookies.
Red Velvet Bear Cookies Recipe FAQs
How do I choose the best ingredients for my Red Velvet Bear Cookies?
Absolutely! When selecting your ingredients, opt for fresh, high-quality items. For the cocoa powder, look for a rich, dark option to enhance the chocolate flavor. Always use unsalted butter for better control over the salt content. If you’re going for a vegan option, choose a good-quality vegan butter substitute that can mimic the moisture and richness of traditional butter.
How should I store my cookies for freshness?
To keep your Red Velvet Bear Cookies fresh, store them in an airtight container at room temperature for up to 1 week. If you want to extend their shelf life, you can refrigerate them to maintain moisture, but be sure they are wrapped properly to avoid drying out.
Can I freeze my Red Velvet Bear Cookies for later?
Absolutely! For freezing, place your Red Velvet Bear Cookies in an airtight container or freezer bag, layering parchment paper between each cookie to prevent them from sticking together. They’ll stay delicious for up to 3 months. When you’re ready to enjoy, simply thaw them at room temperature or pop them in the microwave for about 10-15 seconds for that fresh-baked feel.
What should I do if my cookie dough is too sticky?
Very! If you find your dough is overly sticky, it may be due to added moisture or ingredient variations. Chill the dough for an additional 10-15 minutes in the refrigerator to firm it up. If you need to, sprinkle in just a bit more flour, tablespoon by tablespoon, until it’s manageable but be cautious not to add too much, as this can alter the cookie’s texture.
Are there any dietary considerations I should keep in mind?
Of course! For those with gluten sensitivities, simply replace all-purpose flour with a quality gluten-free flour blend that includes xanthan gum for best results. If you’re baking for someone with egg allergies, omit the egg and substitute it with plant milk or a flaxseed meal (1 tablespoon of ground flaxseed mixed with 3 tablespoons of water) for a great binding alternative.
Can I make the cookie dough ahead of time?
Yes, you can! In fact, if you want to save time, the cookie dough can be refrigerated for up to 2 days before baking. Just make sure to wrap it tightly in plastic wrap to prevent it from drying out or absorbing any odors from the fridge. When you’re ready to bake, let it sit at room temperature for about 10-15 minutes for easier handling.
Sweet and Cute Red Velvet Bear Cookies for Any Occasion
Ingredients
Equipment
Method
- In a medium bowl, whisk together the dry ingredients: flour, cocoa powder, baking soda, baking powder, and salt, then set aside.
- In a stand mixer, cream melted butter with granulated sugar and brown sugar until smooth. Add vanilla, vinegar, egg (or plant milk), and food coloring, mixing until blended.
- Gradually add the dry ingredients to the wet mixture, mixing on low speed until just combined.
- Cover the dough and refrigerate for 20-30 minutes.
- Preheat the oven to 325°F (163°C) and line baking trays with parchment paper.
- Scoop and roll dough into balls about 1½ tablespoons each, placing them on prepared trays.
- For bear ears, roll small pieces of dough into balls and press onto larger dough balls.
- Bake for 9-11 minutes until edges are set and centers are slightly puffy.
- Cool on trays for 5-10 minutes, then transfer to a wire rack.
- Once cool, decorate with melted chocolate for eyes, noses, and snouts.
Leave a Reply