
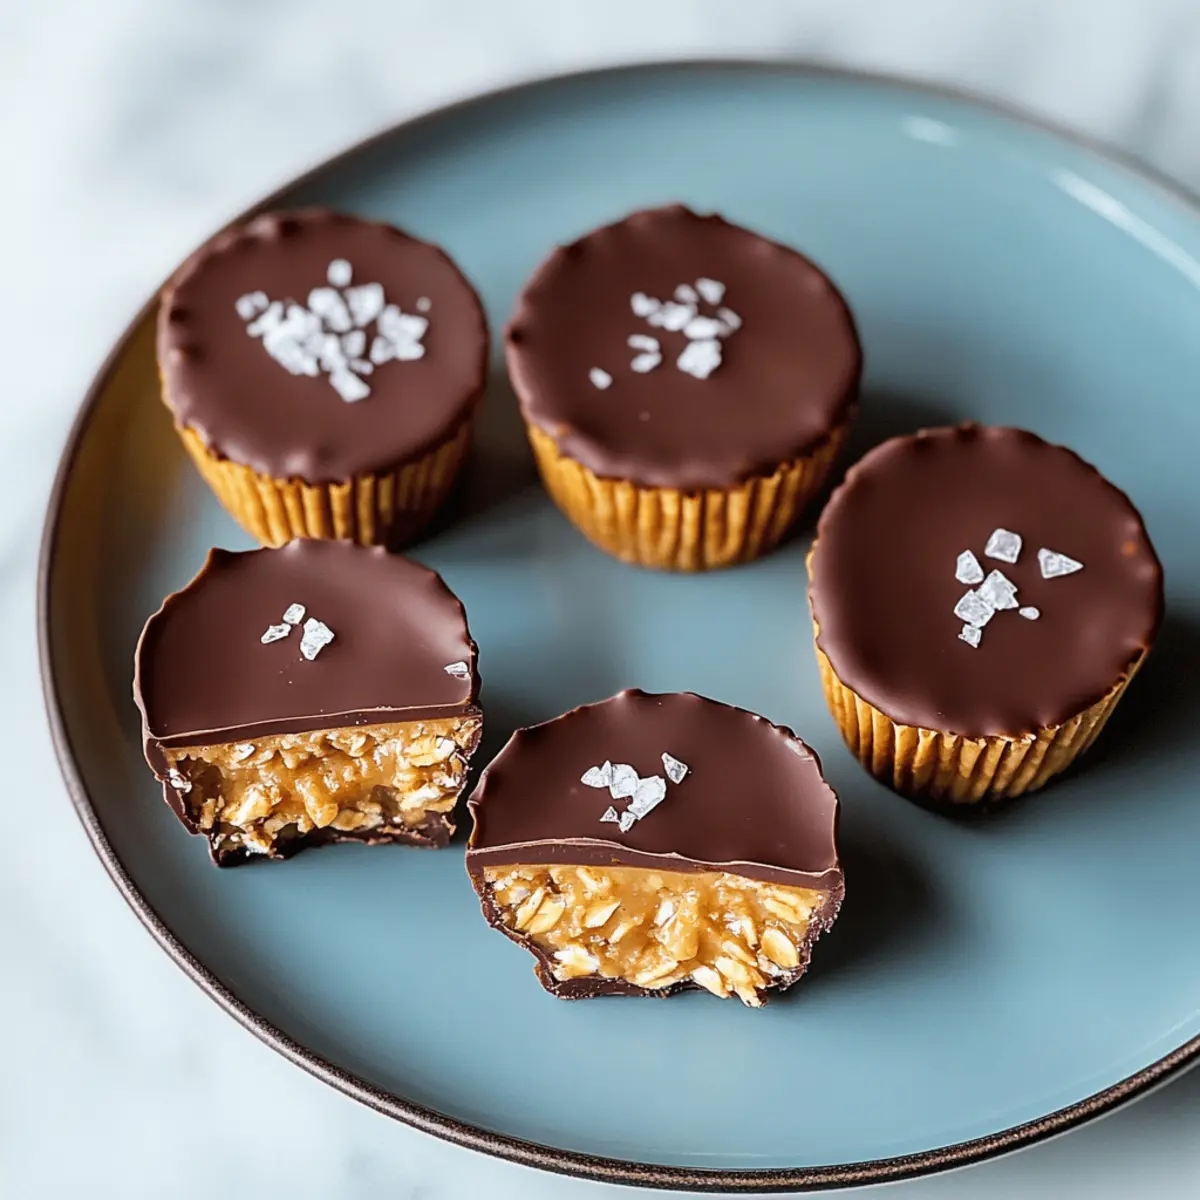
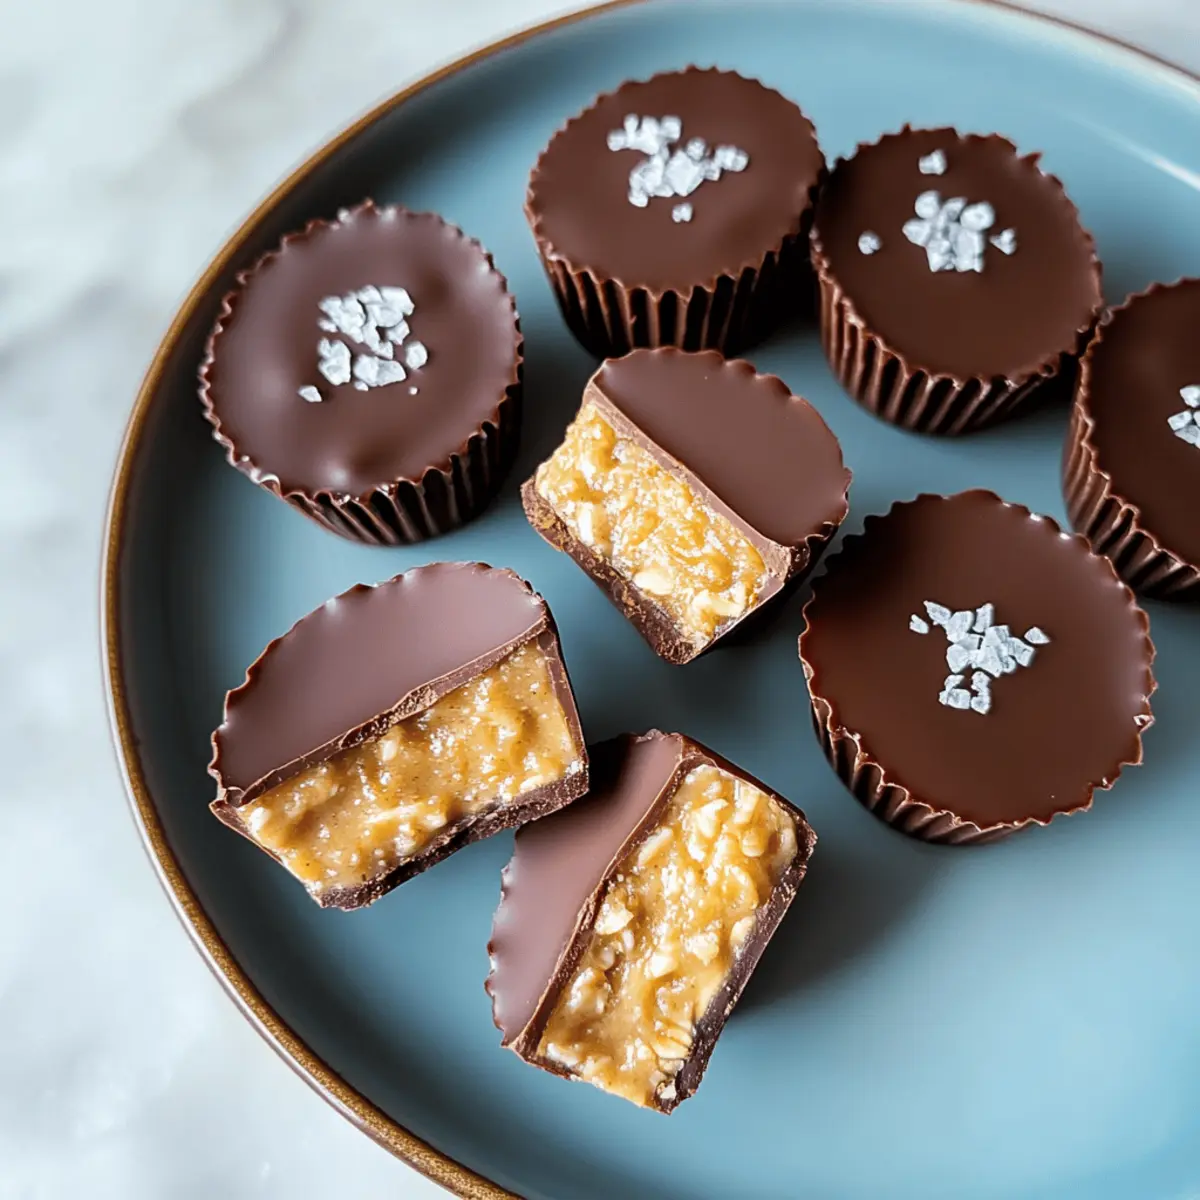
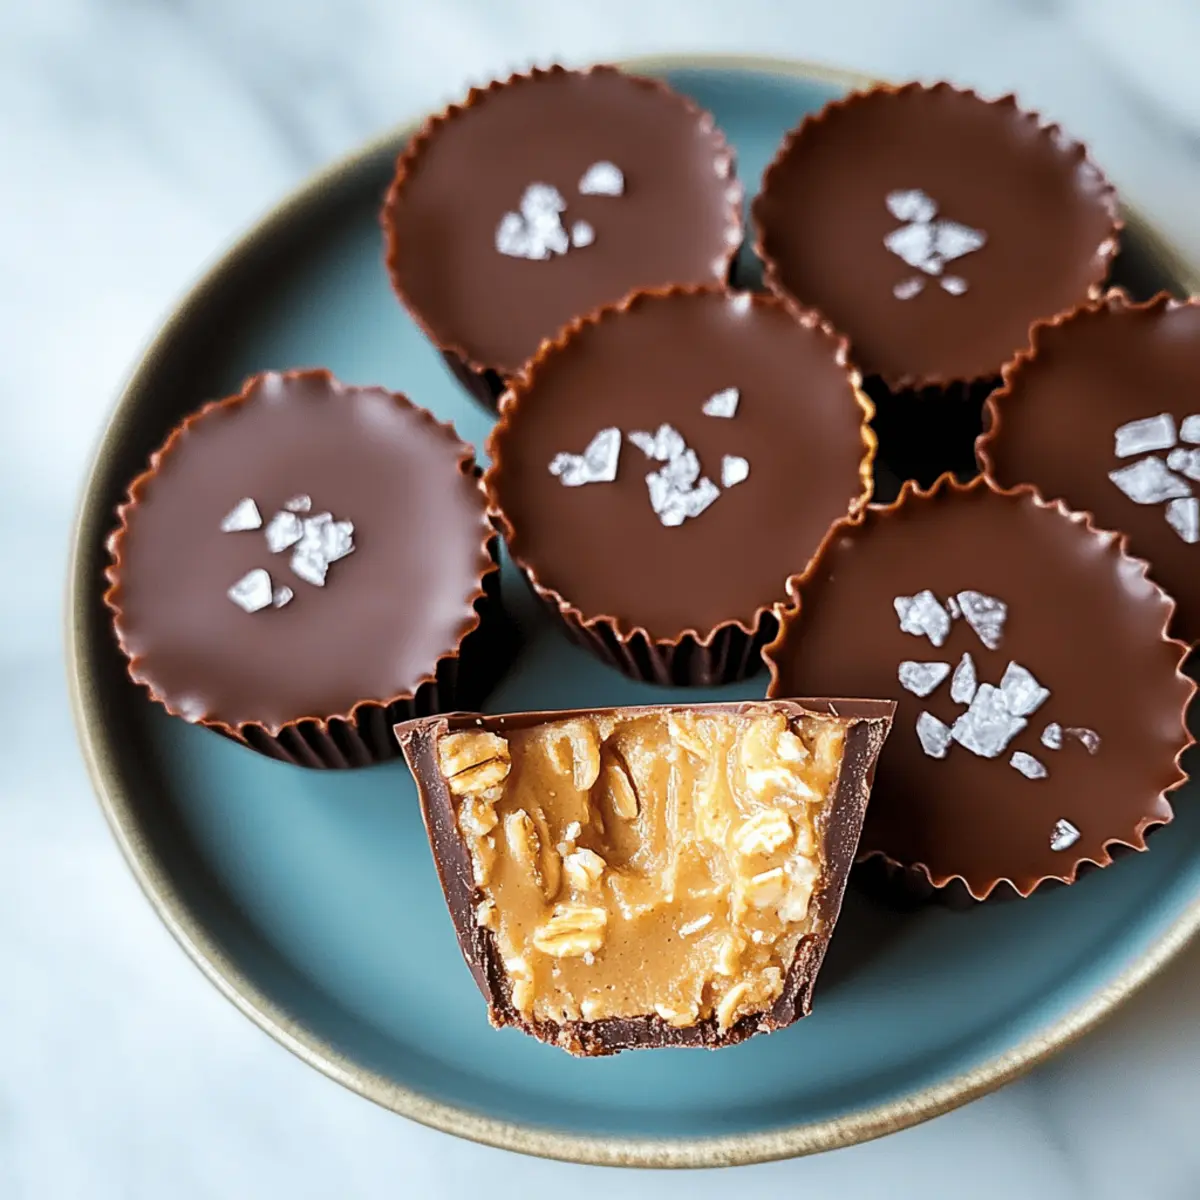
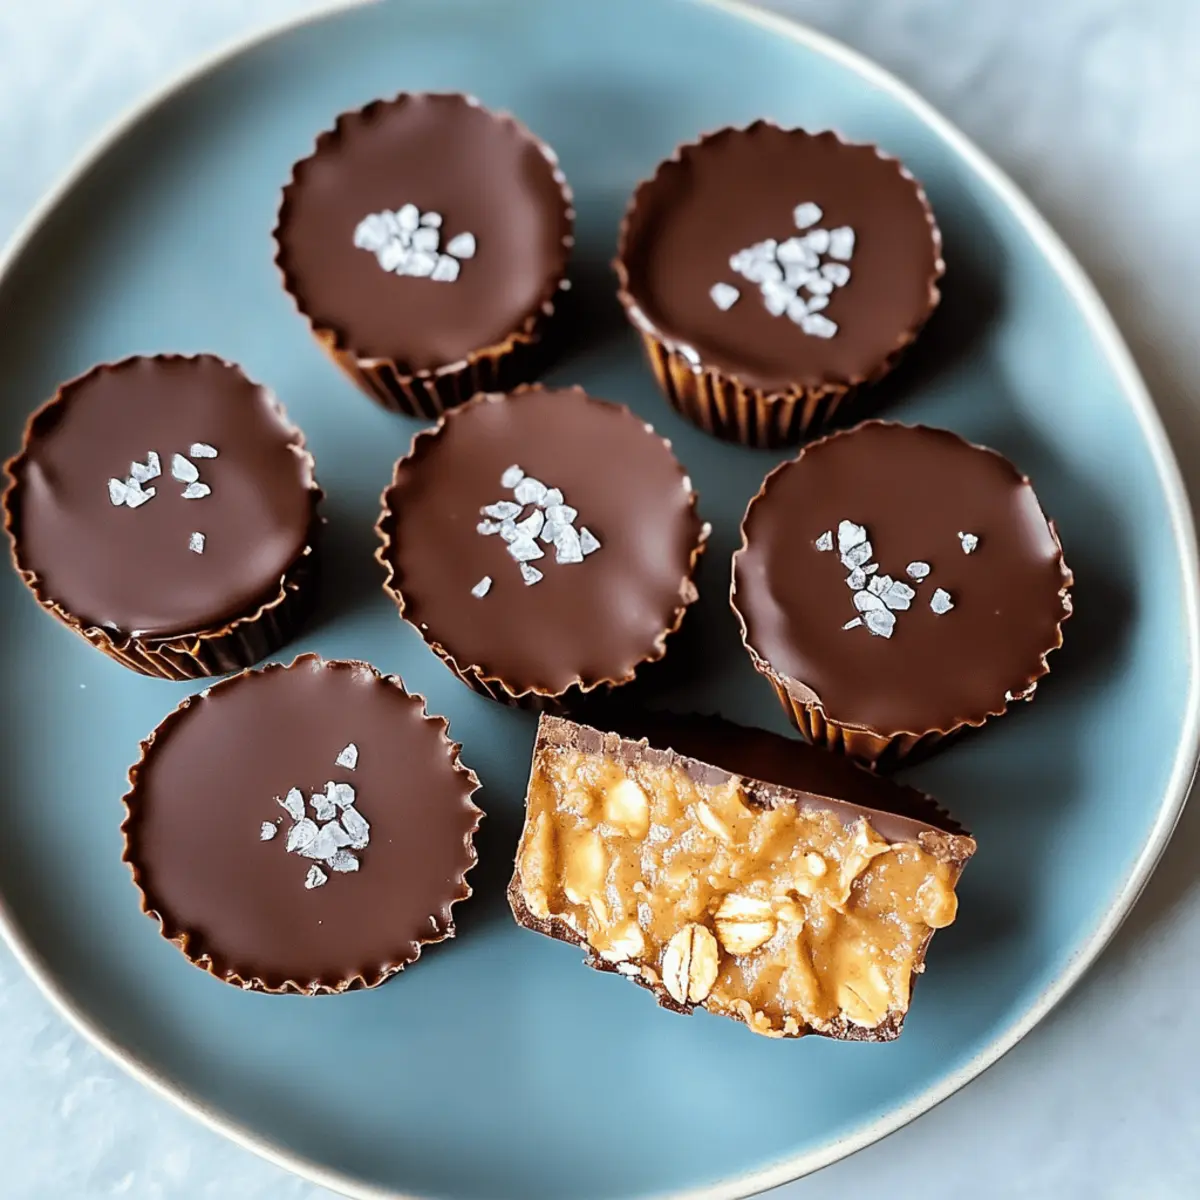
As I rummaged through my pantry one afternoon, I stumbled upon a jar of creamy peanut butter just waiting to be transformed into something delicious. That’s when the lightbulb moment struck: no-bake peanut butter oat cups! This quick and healthy treat not only satisfies those pesky sweet cravings but can be whipped up in under 30 minutes. Packed with hearty rolled oats and topped with rich chocolate, these little bites are not only vegan-friendly but also totally customizable to fit any taste preference. Whether you’re looking for a grab-and-go snack or a delightful addition to your next gathering, these Peanut Butter Oat Cups are your new secret weapon. Who knew dessert could be so easy and satisfying? Let’s dive into the recipe and discover your next favorite homemade treat!
Why Make Peanut Butter Oat Cups?
Easy to Prepare: With minimal steps and no baking, these cups come together in a flash, making it a perfect choice for busy days.
Healthy Indulgence: Packed with wholesome ingredients, they offer a guilt-free way to enjoy a sweet treat while nourishing your body.
Customizable Delights: Add your favorite mix-ins like nuts or chocolate for a personalized twist—feel free to experiment!
Great for Meal Prep: Whip up a batch ahead of time and store them in the fridge for quick snacks throughout the week.
Family-Friendly: Everyone will love these, making them the ultimate addition to lunchboxes or served at gatherings. These Peanut Butter Oat Cups are sure to impress, and if you’re interested in more delicious snacks, check out my Peanut Butter Chocolate or Slow Cooker Peanut recipes!
Peanut Butter Oat Cup Ingredients
For the Base
- Creamy Peanut Butter – Provides a rich and soft base; use regular for a firmer texture.
- Rolled Oats – Adds body and chewiness; avoid quick oats for the best results.
- Maple Syrup – Naturally sweetens the mix; honey can be a chewier alternative.
- Melted Coconut Oil – Binds everything together while offering a smooth texture.
- Vanilla Extract – Brightens and enhances the overall flavor profile.
For the Topping
- Chocolate Chips – Choose semi-sweet or dark chocolate for a less sweet topping; mix for varied tastes.
- Flaky Sea Salt – Optional, but it beautifully contrasts the sweetness and enhances flavor.
Feel free to experiment with these ingredients and create your own delicious version of these Peanut Butter Oat Cups!
Step‑by‑Step Instructions for Peanut Butter Oat Cups
Step 1: Prepare the Muffin Tin
Start by lining a standard muffin tin with either paper or silicone liners. This will make it easier to remove your Peanut Butter Oat Cups once they are set. Make sure to prepare all your equipment, as it will streamline the process of crafting these delightful treats.
Step 2: Mix Base Ingredients
In a large mixing bowl, combine creamy peanut butter, rolled oats, maple syrup, melted coconut oil, and vanilla extract. Stir everything together until all the ingredients are fully incorporated, achieving a thick and sticky mixture. Make sure the oats are evenly coated for the best flavor and texture in your oat cups.
Step 3: Pack Mixture
Using the back of a spoon, firmly press the oat mixture into the bottom of each muffin liner. Ensure each cup is tightly packed to prevent crumbling later on. The goal is to create a solid base that will hold up well once set, so don’t hesitate to use some elbow grease!
Step 4: Freeze Base
Carefully place the muffin tin in the freezer and chill for about 10 minutes. This will allow the base of your Peanut Butter Oat Cups to firm up. Keep an eye on them; they should feel solid to the touch when ready, helping to ensure they maintain their shape when you add the chocolate topping.
Step 5: Melt Chocolate
While the base is chilling, melt the chocolate chips together with a small amount of coconut oil. You can do this in a microwave-safe bowl, heating in 30-second intervals and stirring until smooth. The added coconut oil will give your chocolate a lovely sheen and make it easier to pour over the oat cups.
Step 6: Top with Chocolate
Once the base has set properly, remove the muffin tin from the freezer. Pour the melted chocolate evenly over each cup, allowing it to cover the oat mixture completely. Use a spoon to help spread the melted chocolate if necessary, ensuring every cup gets a delicious layer of chocolate goodness.
Step 7: Set & Chill
After adding the chocolate, sprinkle a pinch of flaky sea salt on top if desired. Place the muffin tin back in the freezer to let the chocolate set completely, which should take about 20-30 minutes. You’ll know they are ready once the chocolate is firm to the touch; this makes for the perfect combination of flavors and textures.
Step 8: Store
Once your Peanut Butter Oat Cups are fully set, gently remove them from the muffin liners. Store them in an airtight container in the fridge for up to one week, or freeze them for longer keeping. These delightful treats can be enjoyed straight from the fridge or at room temperature for a perfect snack anytime.
How to Store and Freeze Peanut Butter Oat Cups
Fridge: Store these Peanut Butter Oat Cups in an airtight container for up to one week. This keeps them fresh and ready for a quick snack anytime!
Freezer: For longer storage, freeze the cups. They can last up to three months in a well-sealed container or freezer bag.
Thawing: To enjoy, simply move the frozen cups to the fridge overnight or let them sit at room temperature for a few minutes for a softer texture.
Reheating: These treats are best enjoyed chilled, but if you prefer a warm snack, briefly microwave for 10-15 seconds to soften slightly.
What to Serve with No-Bake Peanut Butter Oat Cups
These delightful treats are just the beginning of a satisfying snack or dessert spread that will keep everyone coming back for more.
- Fresh Fruit Bowl: A colorful mix of berries or sliced apples adds sweetness and freshness, perfectly balancing the richness of the oat cups. The juicy, bright flavors of the fruit lighten up your dessert palate.
- Creamy Yogurt Parfait: Layer tangy Greek yogurt with a sprinkle of granola to create a delightful contrast of textures. The creamy yogurt complements the chewy cups beautifully.
- Nutty Trail Mix: A crunchy mix of nuts and seeds provides a satisfying contrast to the soft textures of the oat cups. It’s a great option for an on-the-go snack.
- Decadent Chocolate Drizzle: Add a simple chocolate drizzle over the cups when serving for an extra touch of indulgence. It enhances the chocolate flavor while making them look irresistible!
- Sweet Smoothies: Whip up a refreshing smoothie packed with fruits and a scoop of peanut butter. The smoothie pairs perfectly as a cool drink alongside your oat cups.
- Herbal Tea or Coffee: A warm cup of herbal tea or coffee brings a comforting finish to the peanut butter experience. The slight bitterness enhances the sweetness, creating a well-rounded tasting adventure.
- DIY Ice Cream Sundae: Crumble the oat cups over a scoop of vanilla ice cream for a simple yet decadent dessert. The creaminess of the ice cream complements the crunchy texture in a heavenly combo.
- Chocolate-Covered Pretzels: These add a salty-sweet dimension that pairs well with the creamy and chewy peanut butter cups. Plus, they offer a satisfying crunch that enhances the overall snacking experience.
Expert Tips for Peanut Butter Oat Cups
- Pack Tightly: Ensure the oat mixture is firmly packed in the muffin liners; otherwise, the cups may crumble when removed.
- Chill Effectively: In warm environments, return the tray to the freezer frequently during assembly to maintain the shape of your Peanut Butter Oat Cups.
- Room Temperature Treats: Allow frozen cups to sit at room temperature for a few minutes before enjoying them to restore a soft, pleasant texture.
- Experiment with Toppings: Feel free to mix in different nuts or seeds to your base for added flavor and a nutritional boost!
- Adjust Sweetness: If you prefer a sweeter treat, increase the amount of maple syrup or chocolate topping used according to your taste.
Make Ahead Options
These Peanut Butter Oat Cups are a fantastic option for meal prep enthusiasts! You can prepare the oat mixture and press it into the muffin tins up to 24 hours in advance. Just remember to refrigerate them until you’re ready to add the chocolate topping. When you’re set to finish, simply melt your chocolate chips and pour them over the bases, then chill until firm. For optimal quality, store the finished cups in an airtight container in the fridge for up to one week, or freeze them for longer storage. This way, you’ll always have a delicious and healthy snack on hand, perfect for busy weeknights!
Peanut Butter Oat Cups Variations
Feel free to customize these delicious oat cups to suit your taste, and let your creativity shine in the kitchen!
-
Nut-Free: Substitute creamy peanut butter with sunflower seed butter for a delightful nut-free option without compromising texture.
-
Crunchy Texture: Add chopped nuts or crispy rice cereal to the base mix for an additional crunch that contrasts beautifully with the smooth chocolate topping.
-
Vegan Sweetener: Use agave nectar instead of maple syrup to keep things vegan and explore a different layer of sweetness in your oat cups.
-
Protein Boost: Incorporate a scoop of protein powder into the oat mixture. Whether vanilla or chocolate, you’ll get an extra energy kick—perfect for post-workout!
-
Flavor Fusion: Mix in a dash of cinnamon or cocoa powder to the base for an aromatic twist that elevates the flavors, creating a cozy treat experience.
-
Fruit Additions: Toss in raisins or dried cranberries to the mix for a hint of natural sweetness and chewy texture. It’s like a delightful surprise in every bite!
-
Chocolate Topping: Melt white chocolate or dark chocolate instead of semi-sweet for a delightful variation—both options bring a unique flavor twist.
-
Spicy Kick: For the adventurous, consider adding a pinch of cayenne pepper or coconut flakes for a surprising heat that balances with the sweet properties beautifully.
And if you love experimenting in the kitchen, check out my Brown Butter Marshmallow or Apple Butter Pie recipes for more ideas!
Peanut Butter Oat Cups Recipe FAQs
What type of peanut butter should I use?
I recommend using creamy peanut butter for a rich and soft base; however, you can also opt for natural peanut butter. Just keep in mind that regular peanut butter maintains a firmer texture at room temperature, while natural varieties can be slightly more runny.
How should I store my peanut butter oat cups?
To keep your Peanut Butter Oat Cups fresh, store them in an airtight container in the fridge for up to one week. This way, they stay deliciously ready for a snack! For longer preservation, you can freeze them for up to three months—just make sure they are well-sealed.
Can I freeze peanut butter oat cups? How do I do it?
Absolutely! To freeze, simply place the peanut butter oat cups in a single layer on a baking sheet and freeze until solid—the process usually takes about an hour. Once frozen, transfer them to an airtight container or freezer bag. Remember to label your container with the date, so you can track how long they’ve been stored.
Why are my peanut butter oat cups crumbling when I try to remove them from the liners?
This can happen if the oat mixture isn’t packed tightly enough inside the muffin liners. Make sure to firmly press the mixture down using the back of a spoon. If you find yourself in a warm environment, I suggest returning the muffin tin to the freezer frequently during assembly to keep the shape intact.
Are these peanut butter oat cups suitable for special diets?
Yes! These cups are naturally vegan, but if you have nut allergies, you can easily substitute the peanut butter with almond butter or sunbutter. Be sure to check any additional ingredients like chocolate chips and choose allergy-friendly options if necessary.
Delicious Peanut Butter Oat Cups for Quick Healthy Snacking
Ingredients
Equipment
Method
- Line a standard muffin tin with paper or silicone liners for easy removal.
- In a large mixing bowl, combine creamy peanut butter, rolled oats, maple syrup, melted coconut oil, and vanilla extract. Stir until thick and sticky.
- Press the oat mixture firmly into the bottom of each muffin liner.
- Place the muffin tin in the freezer for about 10 minutes to firm up the base.
- Melt the chocolate chips with a small amount of coconut oil in a microwave-safe bowl.
- Pour the melted chocolate evenly over each cup.
- Sprinkle flaky sea salt on top if desired and return to the freezer to set for 20-30 minutes.
- Once set, remove from the muffin liners and store in an airtight container.
Leave a Reply