
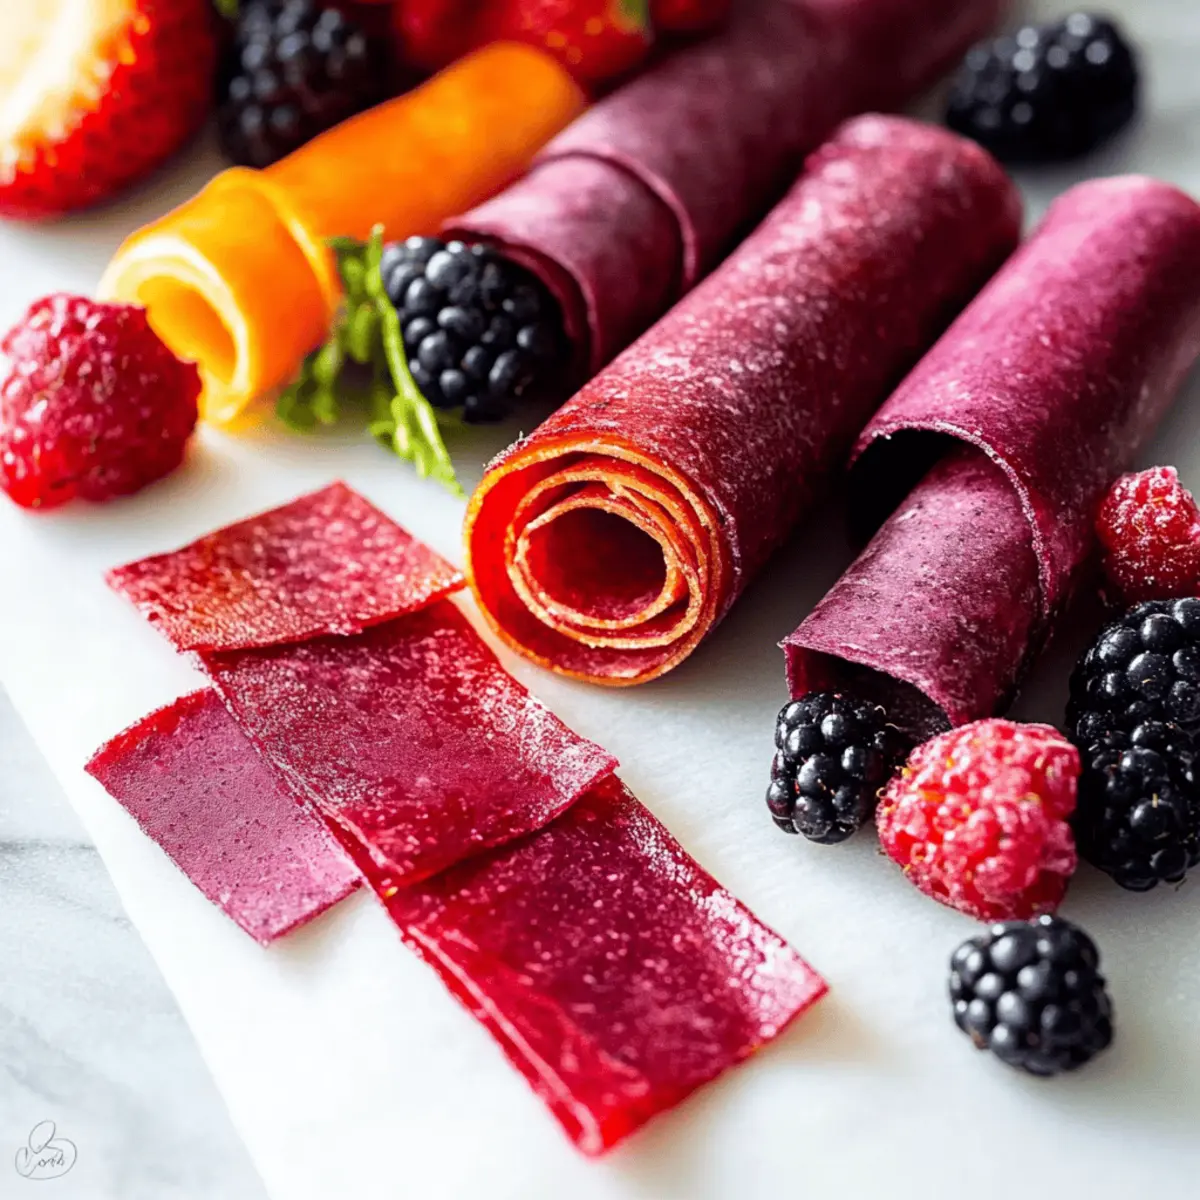
As summer settles in and the aroma of sun-ripened berries fills the air, I can’t help but think about the delightful activities that come with this season. One such joy is creating my own Homemade Fruit Roll-Ups, a simple yet transformative way to enjoy fresh fruit. With just three wholesome ingredients—berries, honey, and a touch of lemon juice—these snacks are not only packed with flavor but also free from added sugars, making them a guilt-free treat for the little ones. The best part? They’re incredibly easy to whip up, perfect for busy days when you want a refreshing pick-me-up after berry picking or a fun afternoon in the sun. What berry combination will you try first in your homemade goodies?
Why are Homemade Fruit Roll-Ups a must-try?
Simplicity at Its Best: With just three easy ingredients, you can whip up these delightful snacks in a snap, making them perfect for any busy day.
Natural Sweetness: Using fresh berries and honey, these roll-ups provide a sweet treat without any added sugars, a healthier choice for your family.
Kid-Friendly Fun: Kids will love helping to choose their favorite berries and watch the transformation into chewy, fruity snacks!
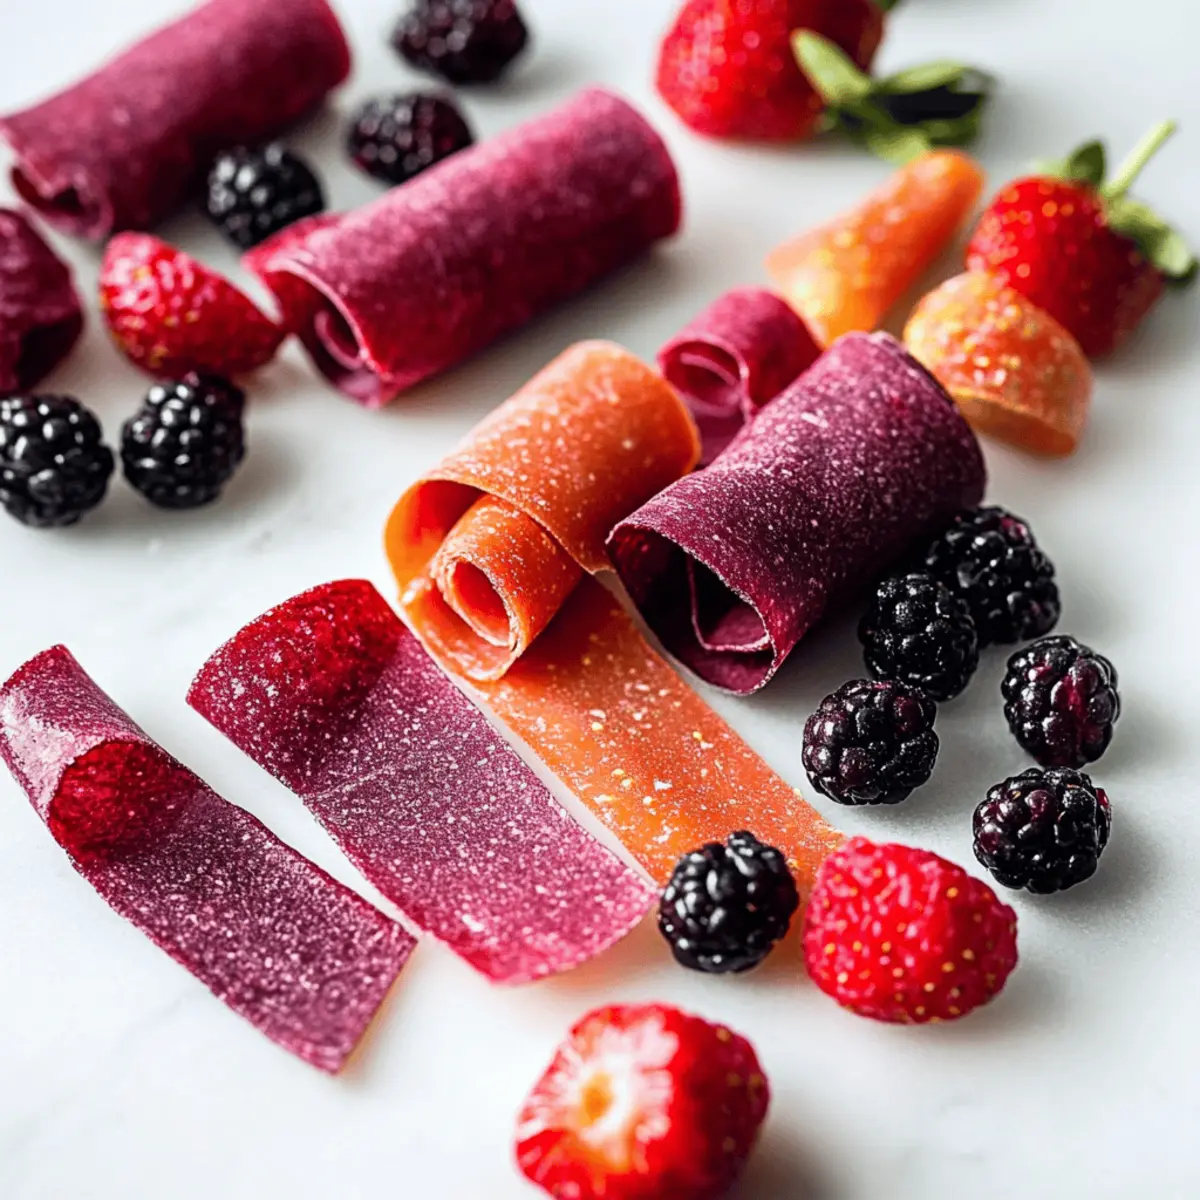
Versatile Options: Mix and match fruit combinations for endless flavor possibilities. Have you tried strawberry-blueberry or mango-peach?
Perfect for Meal Prep: Make them in advance, and enjoy them over two weeks—ideal for lunchboxes or after-school snacks! If you’re also interested in more healthy recipes, check out my Cheddar Herb Soda for a savory twist!
Homemade Fruit Roll-Ups Ingredients
For the Fruit Base
• Berries – Fresh berries like strawberries, raspberries, blueberries, or blackberries offer delightful natural sweetness and flavor; mix and match for unique combinations.
• Honey – A natural sweetener that adds moisture and richness; remember, honey should not be given to children under 1 year of age.
• Lemon Juice – Brightens and balances sweetness while enhancing the overall flavor; just a splash goes a long way in these homemade fruit roll-ups.
Step‑by‑Step Instructions for Homemade Fruit Roll-Ups
Step 1: Preheat the Oven
Begin by preheating your oven to 170°F (or its lowest setting). This low temperature is essential for slowly drying out your fruit mixture, turning it into delicious Homemade Fruit Roll-Ups without burning. Make sure to allow for ample time while you prepare your ingredients; the oven will be ready when you’re done!
Step 2: Prepare the Baking Pan
Line a 17×12 inch rimmed baking sheet with parchment paper or a silicone mat. This step ensures that your fruit puree won’t stick and helps create easy removal later on. Smooth out any wrinkles in the parchment so that the fruit spread evenly once it’s poured on, providing an ideal surface for drying.
Step 3: Rinse the Berries
Thoroughly rinse your choice of fresh berries under cool running water, ensuring they are clean and free from any dirt. Remove any stems or leaves to make them ready for blending. This step sets the foundation for vibrant and flavorful Homemade Fruit Roll-Ups, so take a moment to inspect each berry carefully.
Step 4: Blend the Ingredients
In a blender, combine the rinsed berries, a drizzle of honey, and a splash of lemon juice. Blend until the mixture is completely smooth, about 1-2 minutes. The bright colors and sweet aroma should fill your kitchen! This fruity puree forms the base of your roll-ups, and you can adjust the honey for sweetness to taste.
Step 5: Strain the Puree (Optional)
If you desire an ultra-smooth texture for your Homemade Fruit Roll-Ups, strain the blended mixture through a fine mesh strainer into a bowl. Use a spatula to press the puree through, catching any seeds. This optional step is worth it for those who prefer a silky finish in their tasty snacks.
Step 6: Spread the Puree
Carefully pour the strained fruit puree onto the prepared baking sheet. Using a spatula, spread the mixture evenly, aiming for about 1/8 inch thick. This uniform thickness is crucial for consistent drying; a smooth layer will ensure tasty results and prevent overly chewy spots later on.
Step 7: Bake the Fruit Puree
Place the baking sheet into the preheated oven and bake for 5-6 hours. Halfway through, rotate the sheet for even drying. Keep an eye on the roll-ups; they should become firm, no longer sticky, and have a slightly tacky feel when properly dried. Enjoy the enticing sweet scent wafting through your home!
Step 8: Cool Completely
Once the roll-ups are done baking, remove them from the oven and let them cool completely in the baking sheet. This cooling process will add to their pliability, ensuring they peel off easily without tearing. Patience is key here; give them time to set before moving to the next step.
Step 9: Cut and Store
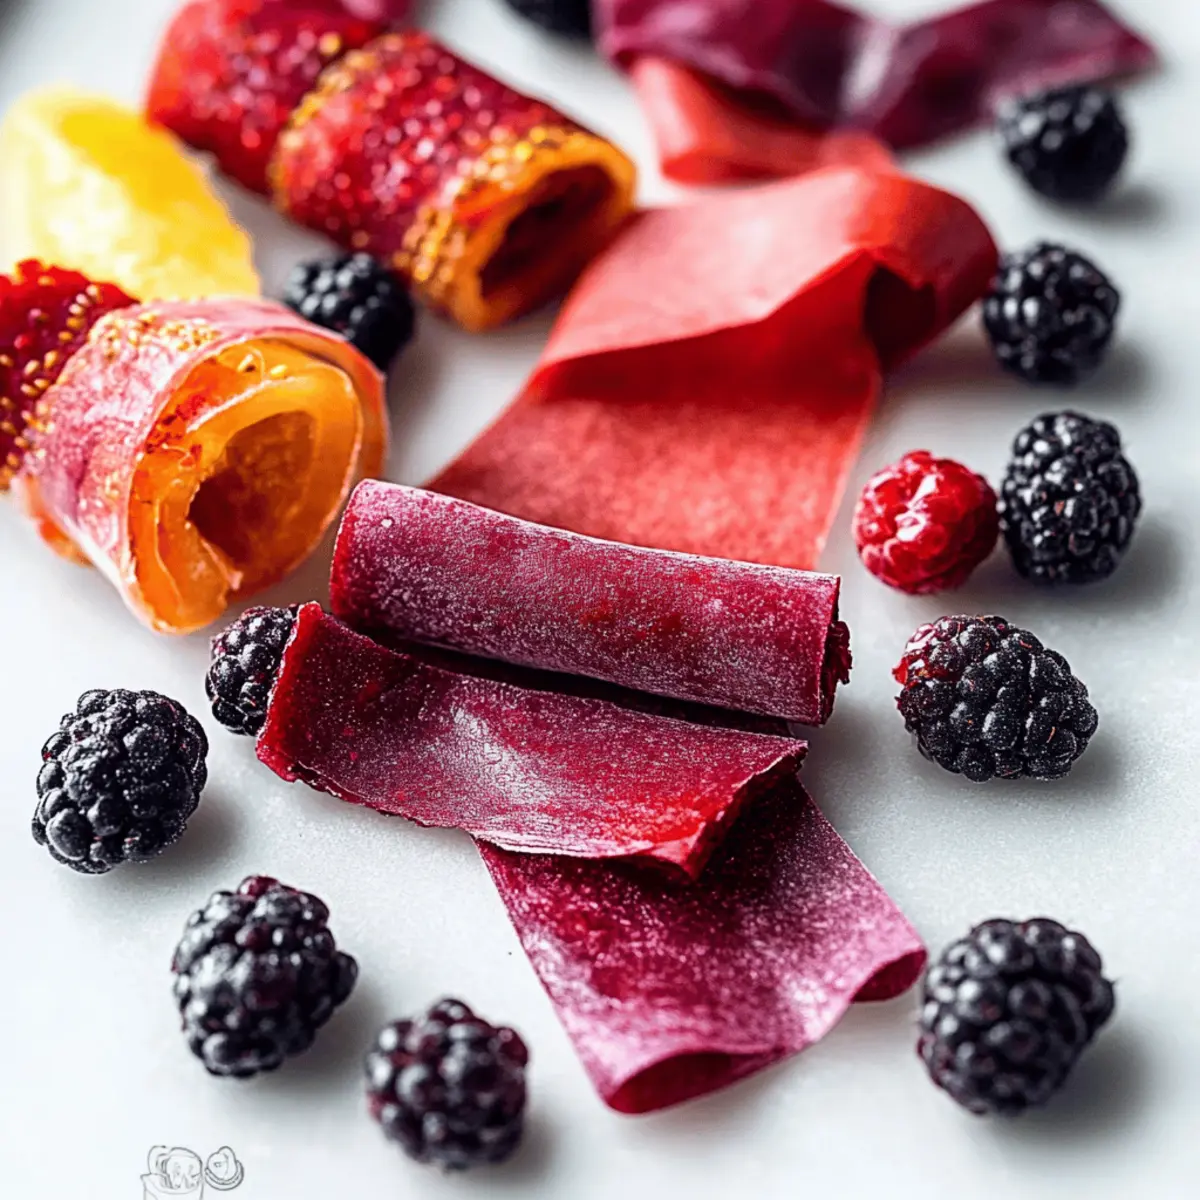
After cooling, carefully peel the fruit roll-ups off the parchment paper or silicone mat. Use kitchen scissors to cut the fruit leather into strips or desired shapes. Store your Homemade Fruit Roll-Ups in an airtight container, and they’ll stay fresh for up to two weeks, making these snacks perfect for on-the-go munching!
What to Serve with Homemade Fruit Roll-Ups
Elevate your homemade snack experience with these delightful pairing ideas that perfectly complement the fruity goodness of your roll-ups.
-
Creamy Yogurt Dip: A smooth, tangy yogurt dip pairs wonderfully for a creamy contrast, making each bite an indulgent treat!
-
Nut Butter: Slathering almond or peanut butter on the roll-ups adds a nutty richness and healthy fat, enhancing the flavor profile.
-
Fresh Fruit Salad: A colorful mix of seasonal fruits not only adds vibrancy to your spread but also keeps the meal light and refreshing.
-
Cheese Cubes: Sharp cheddar or mild mozzarella balances the sweetness of the roll-ups, creating a delightful sweet-and-savory profile.
-
Homemade Granola: A crunchy sprinkle of granola on the side introduces a delightful texture and further satisfies your snack cravings.
-
Herbal Iced Tea: Refreshing iced herbal tea beautifully complements the fruity flavors, enhancing the overall snacking experience.
-
Dark Chocolate Dipping Sauce: For a sweet touch, a drizzle of melted dark chocolate will elevate the indulgence; it’s a match made in snacking heaven!
-
Sparkling Water with Lime: A bubbly drink like sparkling water garnished with a twist of lime adds a zesty contrast to the chewy roll-ups.
-
Mini Muffins: Packed with flavor, a side of blueberry or banana mini muffins can turn your roll-ups into a more filling treat for kids.
-
Trail Mix: A mix of nuts and dried fruits provides an enjoyable crunch and a variety of flavors to round out your snack selection.
Expert Tips for Homemade Fruit Roll-Ups
• Fresh is Best: Always use the ripest, freshest berries for the most flavorful Homemade Fruit Roll-Ups. Overripe or mushy berries can lead to a poor texture.
• Honey Alternatives: If you need a vegan option, agave syrup or maple syrup can substitute honey nicely, maintaining the sweetness without compromising texture.
• Consistency Matters: Aim for a uniform thickness of about 1/8 inch when spreading the puree. Uneven layers can result in some sections being too chewy or not drying properly.
• Avoid Wateriness: When using frozen berries, ensure they are completely thawed and drained; excess moisture can prevent your roll-ups from drying out correctly.
• Storage Tips: Store your Homemade Fruit Roll-Ups in an airtight container at room temperature. If they become too sticky, a dusting of cornstarch can help, but only use sparingly.
Make Ahead Options
These Homemade Fruit Roll-Ups are ideal for meal prep! You can prepare the fruit puree up to 24 hours ahead; simply blend the ingredients and store the mixture in the refrigerator. To maintain the best flavor and texture, be sure to keep it in an airtight container to prevent oxidation. When you’re ready to make the roll-ups, pour the chilled puree onto the prepared baking sheet and bake as instructed. Additionally, once cooled, these roll-ups can be stored in an airtight container for up to two weeks, making them a perfectly convenient snack option for busy weekdays. Enjoy fresh, healthier treats with minimal effort!
How to Store and Freeze Homemade Fruit Roll-Ups
Room Temperature: Store in an airtight container at room temperature for up to 2 weeks; keep them in a cool, dry place to maintain freshness.
Freezer: For longer storage, freeze the roll-ups in individual strips separated by parchment paper; they can last up to 3 months when properly sealed.
Reheating: If they become too chewy after freezing, let them thaw at room temperature for about 30 minutes before enjoying your delightful Homemade Fruit Roll-Ups again.
Wrap Properly: To prevent sticking, wrap the roll-ups in parchment paper or wax paper before placing them in a container or freezer bag.
Homemade Fruit Roll-Ups: Delicious Twists
Feel free to unleash your creativity and customize these flavorful roll-ups with unique touches that suit your taste!
- Berry Medley: Combine strawberries, blueberries, and raspberries for a vibrant burst of flavor. This mix will delight both kids and adults alike!
- Vegan Sweetness: Swap honey for agave nectar or maple syrup to make a vegan version without losing sweetness. It’s as delicious as it is kind to our furry friends!
- Tropical Twist: Try adding mango or pineapple for an exotic flavor that’ll transport you to a sunny beach. Your next snack fiesta will never be the same!
- Cinna-Sweet: Sprinkle in a touch of ground cinnamon to give your fruit roll-ups a warm, cozy flavor. Perfect for those chilly summer evenings!
- Creamy Surprise: Blend in a spoonful of coconut cream to achieve a deliciously rich texture—your taste buds will be singing for joy!
- Chia Boost: Add a tablespoon of chia seeds into the puree for nutritious goodness. These little powerhouses will give your roll-ups a delightful crunch.
- Minty Fresh: For a refreshing kick, blend in a few fresh mint leaves. This zesty addition will make your fruit snack feel like a summer garden party!
- Savory Option: Mix in a pinch of salt or even a splash of balsamic vinegar for a unique sweet-savory balance that turns heads—give it a try with your next batch!
And if you find yourself loving these, don’t forget to explore my delightful Cheddar Herb Soda—a fantastic snack to complement any sweet treat!
Homemade Fruit Roll-Ups Recipe FAQs
What type of berries are best for Homemade Fruit Roll-Ups?
Absolutely! Fresh, ripe berries are ideal for Homemade Fruit Roll-Ups. You can use strawberries, raspberries, blueberries, or blackberries. Any combination works beautifully—mix and match to discover your family’s favorite flavor!
How long do Homemade Fruit Roll-Ups last?
Stored in an airtight container at room temperature, your Homemade Fruit Roll-Ups will stay fresh for up to 2 weeks. I always recommend keeping them in a cool, dry place to maintain their delicious chewiness.
Can I freeze Homemade Fruit Roll-Ups?
Yes! For longer storage, you can freeze your Homemade Fruit Roll-Ups. Simply cut them into strips, layer them with parchment paper to prevent sticking, and place them in a freezer-safe bag or container. They can last up to 3 months in the freezer. When you’re ready to enjoy them, just thaw at room temperature for about 30 minutes.
What if my Homemade Fruit Roll-Ups are too sticky?
When it comes to stickiness, there are a few tricks. If they’re still a bit tacky after baking, you can let them cool completely before peeling them off. If they remain sticky once stored, consider sprinkling a tiny bit of cornstarch on them or wrapping them in wax paper to help absorb moisture without altering the taste.
Are Homemade Fruit Roll-Ups safe for young children?
Yes, but it’s important to remember that honey is not appropriate for children under 1 year of age due to the risk of botulism. For kids older than 1, these homemade snacks are a much healthier option than store-bought, often loaded with sugar and preservatives! Just ensure you select berries your child enjoys.
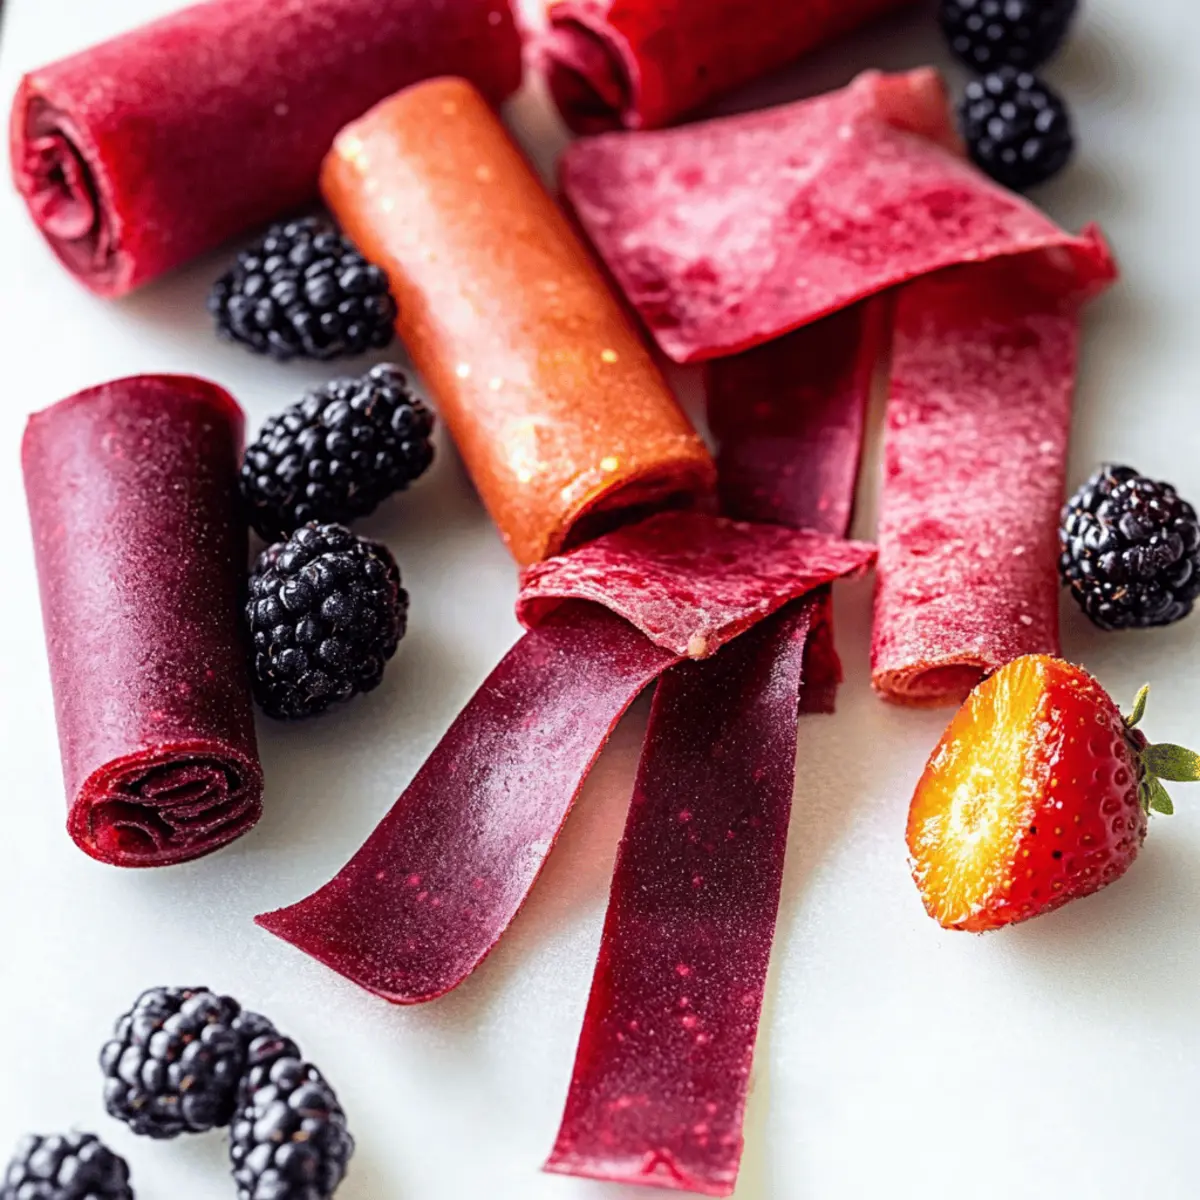
Delicious Homemade Fruit Roll-Ups: Real Fruit Snack Bliss
Ingredients
Equipment
Method
- Preheat your oven to 170°F (or its lowest setting).
- Line a 17x12 inch rimmed baking sheet with parchment paper or a silicone mat.
- Thoroughly rinse your choice of fresh berries under cool running water, removing any stems or leaves.
- In a blender, combine the rinsed berries, honey, and lemon juice. Blend until completely smooth, about 1-2 minutes.
- If desired, strain the blended mixture through a fine mesh strainer into a bowl.
- Carefully pour the strained fruit puree onto the prepared baking sheet and spread evenly, about 1/8 inch thick.
- Bake for 5-6 hours, rotating the sheet halfway through for even drying.
- Once done, remove from the oven and let cool completely in the baking sheet.
- After cooling, carefully peel the fruit roll-ups off the parchment paper and cut into strips or desired shapes.
Leave a Reply