
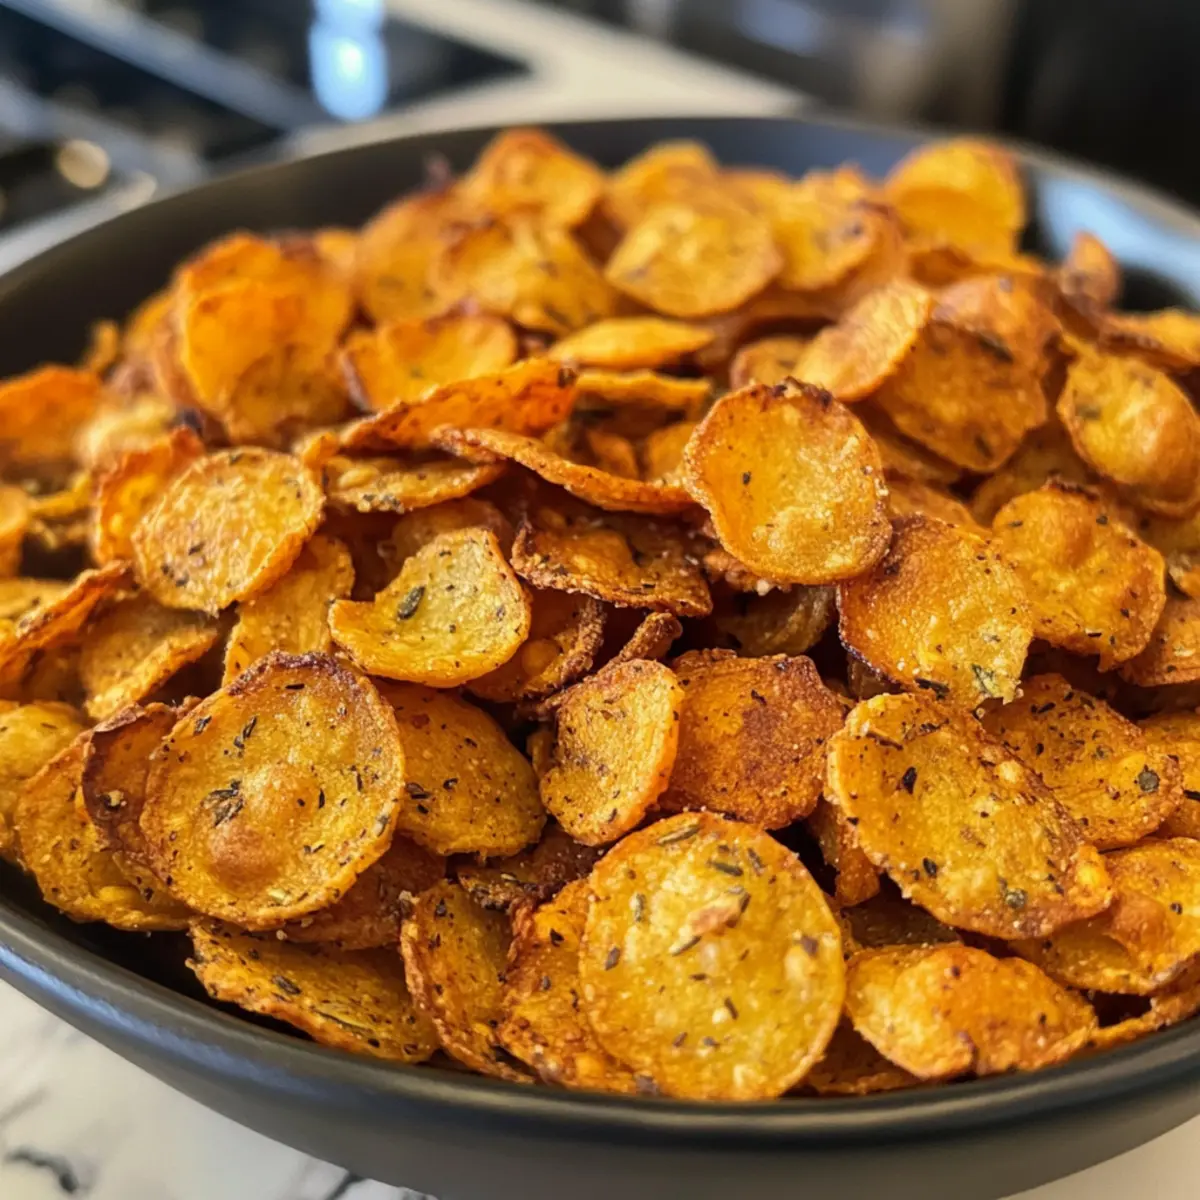
In a world where snacks often fall into the realm of unhealthy temptation, I stumbled upon a delightful revelation: Crispy Baked Chickpea Chips. Imagine satisfying your crunchy cravings without the guilt. These gluten-free and vegan chips are not only a breeze to whip up in just 40 minutes, but they also come packed with plant-based protein and fiber. What I love most is their versatility; you can easily customize them with your favorite herbs and spices, tailoring each batch to fit your mood or the occasion. Whether you’re hosting a gathering or simply looking for a quick nibble, these chips will impress both your guests and your taste buds. Are you ready to transform your snacking game with a little creativity? Let’s get started!
Why Are Crispy Chickpea Chips Amazing?
Healthier Alternative: These Crispy Chickpea Chips offer a guilt-free way to enjoy snacking without sacrificing taste.
Quick and Easy: You can whip them up in just 40 minutes, perfect for unexpected cravings!
Customizable Flavors: Experiment with your choice of herbs and spices for a personalized touch—garlic powder or smoked paprika will elevate them wonderfully.
Perfect for Any Occasion: Whether you’re entertaining or need a quick snack, these chips are sure to delight everyone.
Versatile Pairing: Serve with dips such as hummus or guacamole for a snack experience that will impress!
Transform your snack game with these delicious chips, and for more scrumptious options, check out my Air Fryer Chips or Jalapeno Fries.
Crispy Chickpea Chips Ingredients
Unlock the secret to your new favorite healthy snack with these simple ingredients!
For the Batter
- Chickpea Flour – Provides structure and a nutty flavor; substitute with rice flour for a different texture.
- Water – Binds the chickpea flour for a smooth batter, ensuring perfect consistency.
- Salt – Enhances flavor; adjust based on your taste preference for the best Crispy Chickpea Chips.
For Seasoning
- Herbs/Spices – Customize your chips with options like garlic powder, smoked paprika, or rosemary to elevate flavors and tailor to your palate.
Step‑by‑Step Instructions for Crispy Chickpea Chips
Step 1: Mix the Batter
In a mixing bowl, combine chickpea flour, salt, and water, whisking until the mixture is smooth and lump-free, about 2-3 minutes. Ensure the batter is thick yet pourable, achieving a silky texture that will create perfect Crispy Chickpea Chips. Set the mixture aside while you prepare the baking sheets.
Step 2: Preheat the Oven
Preheat your oven to 400°F (200°C) so it reaches the desired temperature while you prepare your baking sheets. Line two baking sheets with parchment paper to prevent sticking and make for easy cleanup. This step is crucial for achieving that golden brown finish on your crispy chips.
Step 3: Spread the Batter
Pour spoonfuls of the batter onto the prepared sheets, using the back of a spoon to spread each portion into circles approximately ¼ inch thick. Aim for an even thickness for uniform cooking, ensuring each Crispy Chickpea Chip has that delightful crunch you’re looking for.
Step 4: Season Your Chips
Sprinkle your chosen herbs and spices evenly over the batter circles, allowing the flavors to soak into the chips as they bake. Get creative with seasonings like garlic powder or smoked paprika to elevate your Crispy Chickpea Chips. This is your chance to infuse personality into your snack!
Step 5: Bake to Perfection
Place the baking sheets in the preheated oven and bake for approximately 10 minutes. Keep an eye on the chips; they should turn a beautiful golden brown at the edges. This is the stage where the magic happens, transforming your batter into crispy, delicious chips.
Step 6: Cool for Crispiness
Once the edges of your Crispy Chickpea Chips are golden, remove them from the oven and let them cool for 15-20 minutes. This cooling time is essential to allow the chips to set and achieve maximum crispiness, ensuring a satisfying crunch with each bite.
What to Serve with Crispy Baked Chickpea Chips
Elevate your snacking experience by pairing these crunchy delights with flavorful accompaniments that enhance every bite.
-
Creamy Hummus: This classic dip is rich and smooth, perfectly balancing the crispy texture of the chickpea chips.
-
Guacamole: Fresh, zesty, and creamy, guacamole adds a burst of flavor that complements the nutty taste of the chips beautifully.
-
Dairy-Free Queso: This cheesy alternative gives an indulgent flavor without the dairy, making it ideal for an exciting dipping experience.
-
Salsa Verde: Bright, tangy, and herbaceous, this salsa pairs wonderfully, bringing a refreshing kick to the crunch.
-
Spicy Mustard Dip: A zesty mustard sauce offers a unique tanginess, creating a delightful contrast to the chips’ flavor profile.
-
Charcuterie Board: Present the chickpea chips with an assortment of cheeses, nuts, and olives for a charming appetizer spread that appeals to everyone.
-
Roasted Vegetable Platter: Add a medley of roasted veggies for a colorful, healthy accompaniment that enhances the wholesome appeal of the chips.
-
Light Salad: A crisp green salad dressed with lemon vinaigrette adds fresh flavors and crunch, making each bite exciting and nutritious.
-
Sparkling Water: Pair your snack with a refreshing drink – sparkling water enhances the lightness of the chips and cleanses your palate beautifully.
Variations & Substitutions for Crispy Chickpea Chips
Feel free to mix it up with your very own seasoning twists to make these chips uniquely yours!
-
Herb-Infused: Add fresh herbs like parsley or cilantro to the batter for a vibrant flavor boost.
Imagine those savory notes melding together as they bake, creating an aromatic experience. -
Spicy Kick: Toss in a dash of cayenne pepper or chili flakes to level up the heat. Perfect for those who crave a little fire in their snacks!
-
Cheesy Flavor: Incorporate nutritional yeast into the batter for a cheesy, umami-like taste without the dairy. Let the cheesy vibes permeate each crunchy chip!
-
Nutty Twist: Combine chickpea flour with almond flour for a nutty flavor and different texture. This combo will surprise your taste buds with delight!
-
Crispy Cornmeal: Substitute half the chickpea flour with cornmeal for a yellow hue and grittier texture that snaps beautifully. Pair them with a zesty dip for an amazing experience!
-
Zesty Citrus: Add a squeeze of lemon or lime juice to the batter for a zesty brightness. Each chip will burst with a refreshing twist that’s simply irresistible.
-
Perfect Pairing: Serve it with a delightful hummus or dairy-free queso for a snack that will impress any gathering. This duo will take your appetizer game to new heights!
-
Taste of Latin America: Give your chips a Cuban flair by seasoning with cumin and lime zest—pair with Vaca Frita Taste for a delicious twist!
Dive into the world of flavor with these variations and enjoy customizing your Crispy Chickpea Chips to suit your every craving!
How to Store and Freeze Crispy Chickpea Chips
Airtight Container: Store your Crispy Chickpea Chips in an airtight container at room temperature for up to 4 days to maintain their crunchiness.
Re-Crisping: If they become less crispy over time, re-crisp them by placing the chips in a preheated oven at 350°F (175°C) for about 5 minutes.
Freezer Option: For long-term storage, freeze unbaked batter in a sealed bag or container for up to 2 months—easy to use whenever a snacking craving strikes!
Thawing Tip: When ready to bake from frozen, simply let the batter thaw in the fridge overnight before following the baking instructions.
Expert Tips for Crispy Chickpea Chips
-
Thin Batter: Ensure the batter is spread thinly on the baking sheets; thicker chips tend to bake chewy rather than crispy.
-
Watch the Clock: Keep an eye on your baking time to prevent burning; these chips can go from perfect to overdone quickly!
-
Complete Cooling: Don’t skip the cooling period after baking—letting the chips cool for 15-20 minutes enhances their crunch.
-
Seasoning Variety: Don’t hesitate to explore different seasoning blends; mixing herbs and spices will help you discover unique flavors for your Crispy Chickpea Chips.
-
Storage Savvy: Store leftover chips in an airtight container for up to 4 days, and re-crisp any that lose crunch in a warm oven.
Make Ahead Options
These Crispy Chickpea Chips are perfect for meal prep enthusiasts! You can prepare the batter up to 24 hours in advance by mixing chickpea flour, water, and salt, then refrigerating it in an airtight container to prevent drying. Additionally, you can pre-measure and combine your chosen herbs and spices for instant flavor when you’re ready to bake. When you’re ready to enjoy your chips, simply spread the chilled batter onto prepared baking sheets, season with your spice mix, and bake as directed. This not only saves you time but also ensures your chips are just as delicious and crispy as if made fresh!
Crispy Chickpea Chips Recipe FAQs
How do I select the best chickpea flour for my Crispy Chickpea Chips?
Absolutely! When choosing chickpea flour, look for a fine texture and a light yellow color. Organic brands are often a good option as they tend to be fresher. Check the package for a good expiration date, and avoid flour that looks clumpy or has an off odor—it should smell nutty and earthy, not stale.
How should I store my Crispy Chickpea Chips?
To maintain their delightful crunch, store your Crispy Chickpea Chips in an airtight container at room temperature for up to 4 days. Ensure the container is completely sealed to prevent moisture from making them soggy. For extra crunch, you can reheat them in a preheated oven at 350°F (175°C) for about 5 minutes if they start to lose their crispiness.
Can I freeze the batter for my Crispy Chickpea Chips?
Yes! You can freeze the unbaked batter for up to 2 months. Pour the batter into a resealable freezer bag, making sure to remove as much air as possible before sealing. When you’re ready to bake, simply thaw the batter overnight in the fridge, then follow the baking instructions as you normally would. This makes it convenient for whenever a snack craving hits!
What should I do if my Crispy Chickpea Chips turn out chewy?
If your chips end up chewy, it’s likely because the batter was spread too thick or the baking time was insufficient. For next time, be sure to spread the batter into circles that are no more than ¼ inch thick and keep a close eye on them while baking. If you notice they aren’t browning within 10 minutes, consider leaving them in for an additional 1-2 minutes, but watch out for burning!
Are these Crispy Chickpea Chips pet-friendly?
While chickpeas are generally safe for dogs in moderation, avoid seasoning the chips with garlic or onion powder, as these can be harmful to pets. If you want to share with your furry friend, consider making a plain version without any added seasonings. Always consult with your veterinarian if you have any concerns about your pet’s diet.
Can I make these chips gluten-free?
Absolutely! The main ingredient, chickpea flour, is naturally gluten-free. Just be sure to double-check that the chickpea flour and any additional spices or seasonings you use are labeled gluten-free, especially if you have severe allergies or sensitivities. Enjoy crafting this delicious and healthy snack worry-free!
Crispy Chickpea Chips: Your New Favorite Healthy Snack
Ingredients
Equipment
Method
- In a mixing bowl, combine chickpea flour, salt, and water, whisking until smooth and lump-free, about 2-3 minutes.
- Preheat your oven to 400°F (200°C) while preparing the baking sheets.
- Pour spoonfuls of the batter onto the prepared sheets, spreading into circles approximately ¼ inch thick.
- Sprinkle your chosen herbs and spices evenly over the batter circles.
- Place the baking sheets in the preheated oven and bake for approximately 10 minutes.
- Once golden at the edges, remove from the oven and let cool for 15-20 minutes to achieve maximum crispiness.
Leave a Reply