
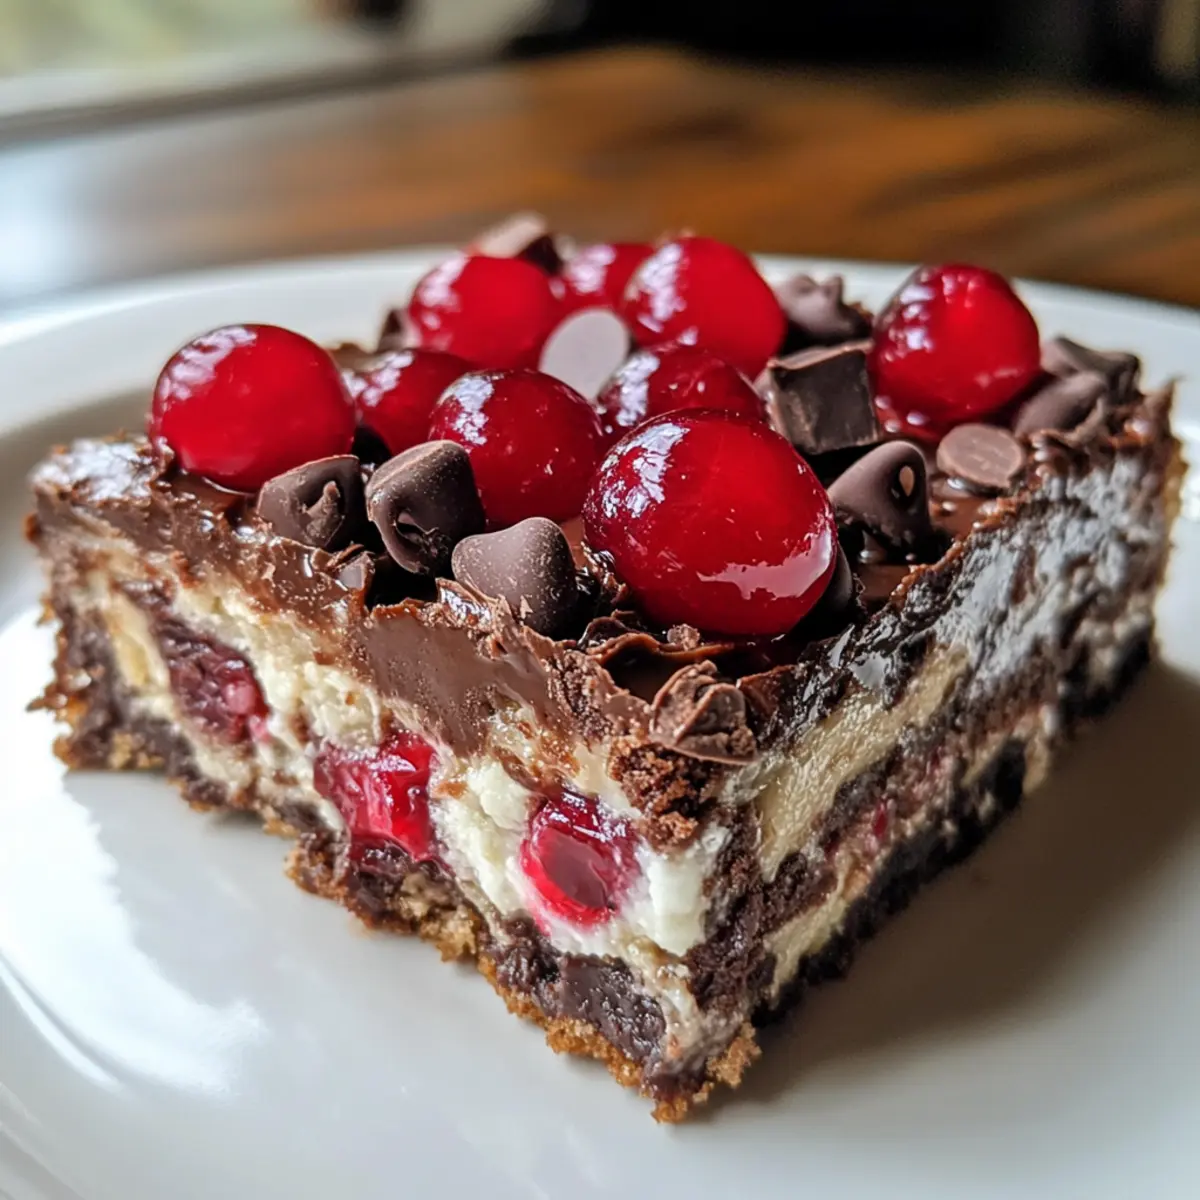
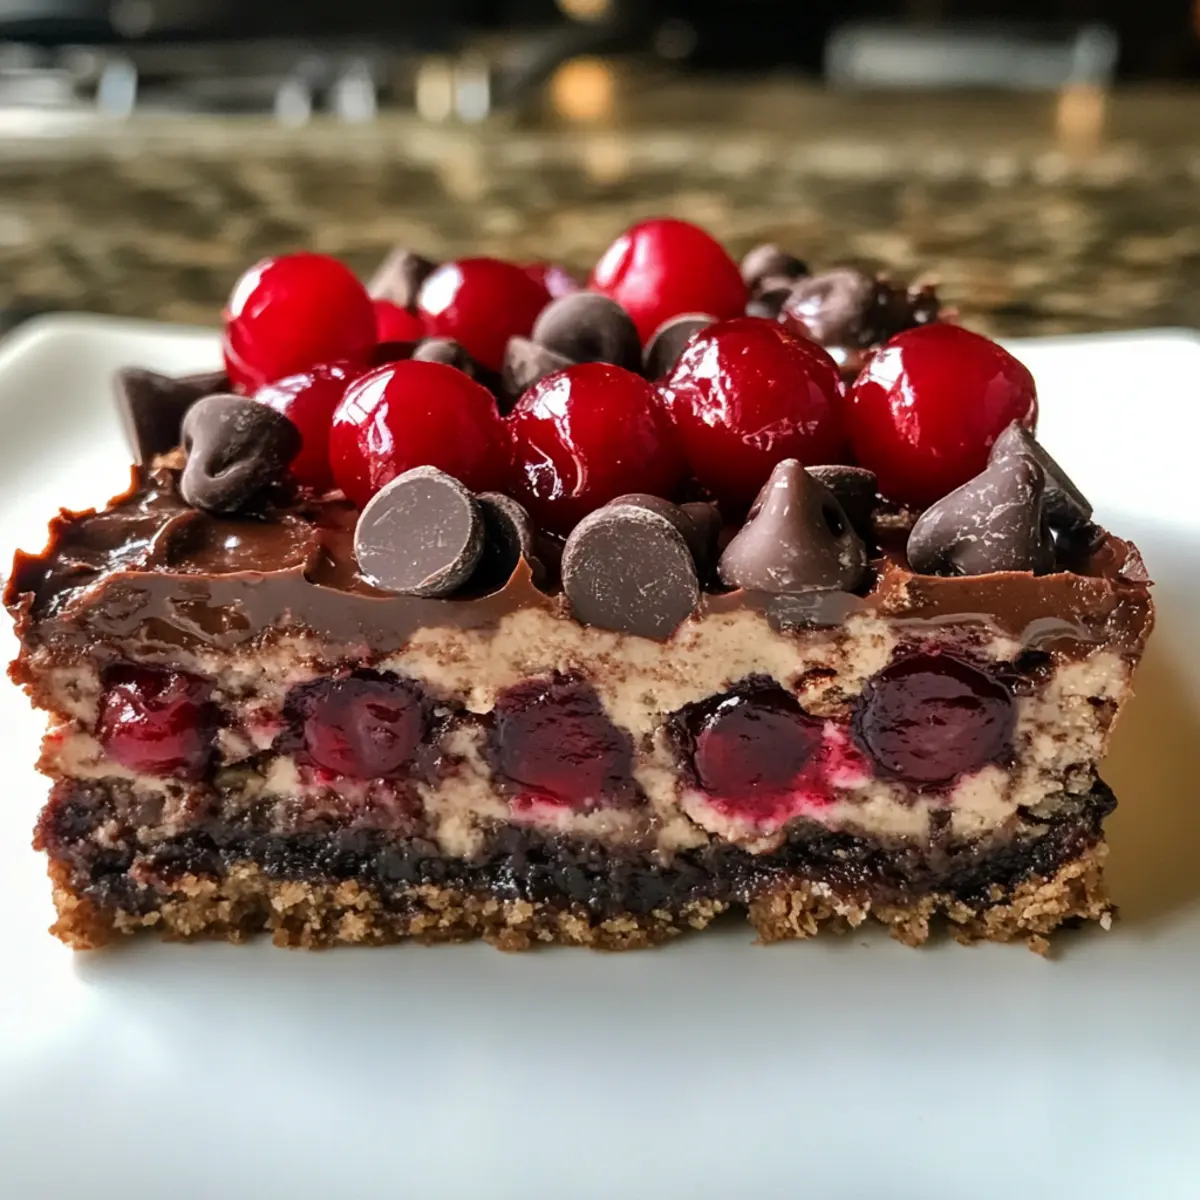
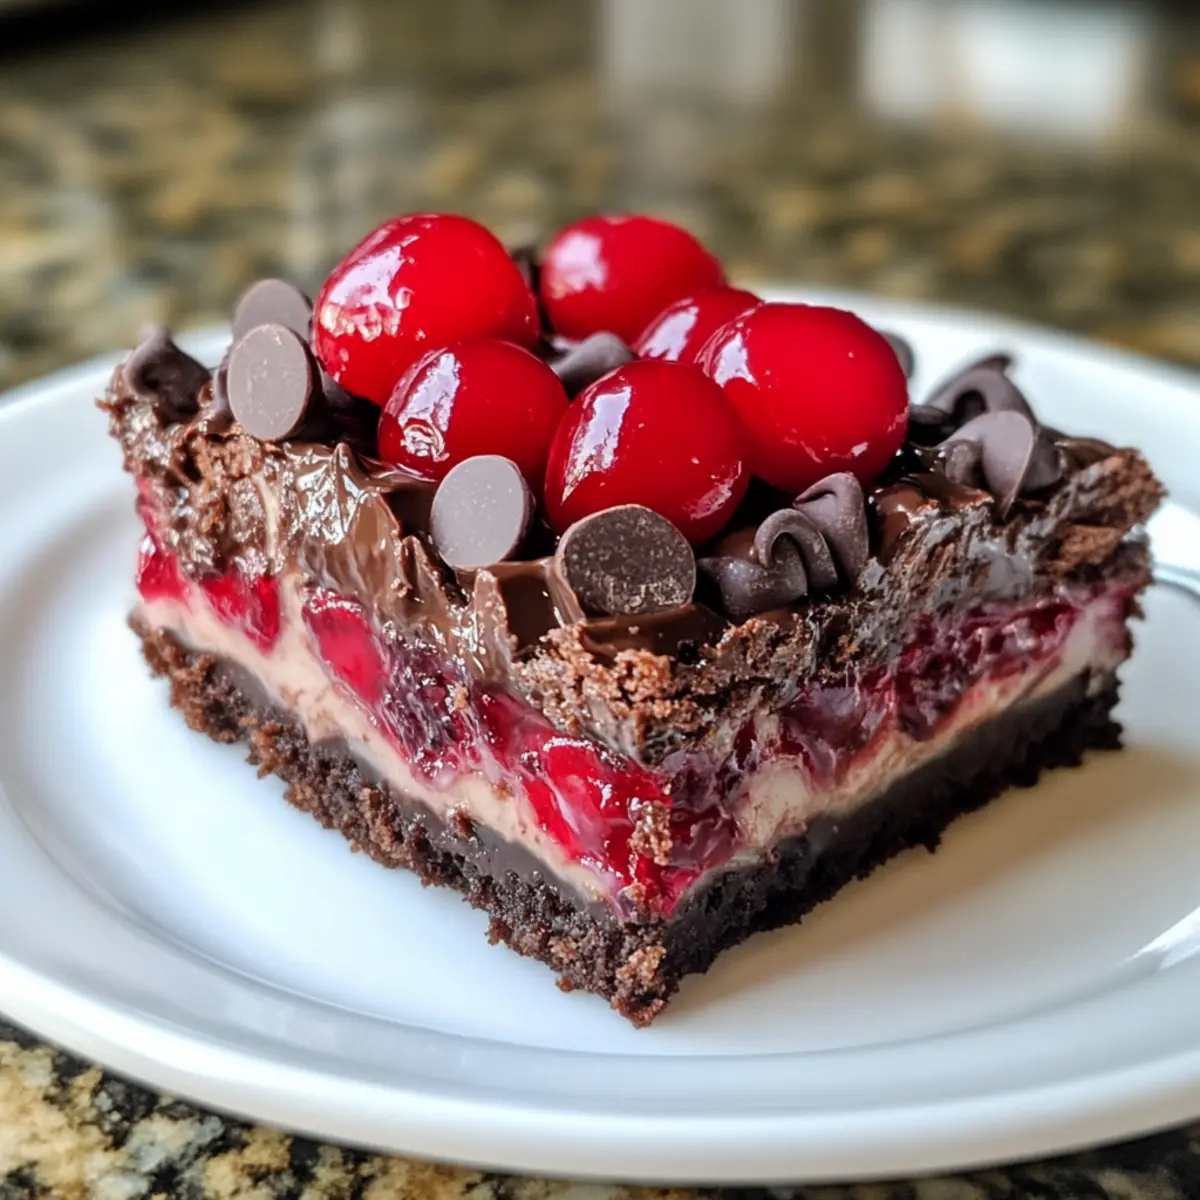
As I stood in my warm kitchen, the rich aroma of melting chocolate filled the air, instantly transporting me to my childhood memories of baking with Grandma. Today, I’m excited to share my recipe for Chocolate Covered Cherry Magic Bars—an easy-to-make dessert that whisks you away on a bittersweet journey. With their fudgy chocolate base layered with tangy maraschino cherries and creamy chocolate chips, these bars are not only a delightful indulgence, but they’re also a quick solution for gatherings or cozy nights in. Plus, they actually taste even better the next day, making them an irresistible treat for anyone looking to impress guests or simply indulge in a sweet moment. Are you ready to dive into a slice of this mouthwatering magic?
Why are these bars a must-try?
Irresistible Flavor: The harmonious blend of fudgy chocolate and tangy cherries creates a taste sensation that will have everyone asking for seconds.
Quick to Make: With just a handful of simple ingredients, you can whip up these magic bars in no time, making them perfect for last-minute gatherings.
Crowd-Pleaser: Their delicious layers appeal to all ages, ensuring that no one can resist joining in on the sweet fun!
Versatile Options: Feel free to switch maraschino cherries for fresh ones or try different chocolate chips for a personalized twist. For more delightful recipes, check out these Cereal Bars Deliciously or White Chocolate Mousse.
Make Ahead: These bars not only store well but also taste even better the next day, making them ideal for preparing in advance. Give them a try, and enjoy the delicious magic!
Chocolate Covered Cherry Magic Bars Ingredients
For the Base
• All-Purpose Flour – Provides structure for the bars; can substitute with a 1:1 gluten-free flour blend for a gluten-free option.
• Granulated Sugar – Adds sweetness to the base; reduce by 1/4 cup for a less sweet treat.
• Cocoa Powder – Contributes rich chocolate flavor; ensure it’s unsweetened for the best results.
• Baking Powder – Helps the bars rise slightly during baking.
• Salt – Enhances overall flavor balance in the dessert.
• Butter – Adds moisture and richness; melt and let cool slightly before mixing.
For the Topping
• Semi-Sweet Chocolate Chips – Used for topping to boost chocolate flavor; feel free to mix different types of chocolate chips for variation.
• Vanilla Extract – Enhances the overall flavor, adding depth to the bars.
• Eggs – Binds ingredients together and adds moisture; use room temperature eggs for better incorporation.
• Maraschino Cherries – Provides a sweet and tangy contrast to the chocolate; drain well to avoid excess moisture. Consider dried cherries soaked in water as a substitute for a unique flavor twist.
• Sweetened Condensed Milk – Creates a gooey topping that binds the layers together and adds sweetness.
With these luscious ingredients, you’re on your way to crafting the most delightful Chocolate Covered Cherry Magic Bars! Enjoy the process and the magic that unfolds in your kitchen!
Step‑by‑Step Instructions for Chocolate Covered Cherry Magic Bars
Step 1: Preheat the Oven
Begin by preheating your oven to 350°F (175°C). While the oven warms up, prepare a 9×13-inch baking pan by lining it with parchment paper, leaving some overhang for easy removal later. Lightly grease the parchment paper with cooking spray or butter to ensure your Chocolate Covered Cherry Magic Bars release effortlessly after baking.
Step 2: Mix Dry Ingredients
In a large mixing bowl, whisk together the all-purpose flour, granulated sugar, cocoa powder, baking powder, and salt. This mixture will create the foundation of your fudgy base. Look for a uniform color and texture, ensuring the dry ingredients are well combined before moving on to the next step in preparing your magic bars.
Step 3: Melt Butter and Chocolate
In a microwave-safe bowl, melt the butter along with 1/4 cup of semi-sweet chocolate chips, heating in short bursts of 20 to 30 seconds to avoid scorching. Once melted, let the mixture cool slightly. Incorporate the room temperature eggs and vanilla extract, whisking until smooth and glossy. This step adds richness and depth to your Chocolate Covered Cherry Magic Bars.
Step 4: Combine Wet and Dry Ingredients
Pour the melted chocolate mixture into the bowl of dry ingredients, stirring until a thick batter forms. Mix until no dry streaks remain, but be careful not to overmix. Spread the batter evenly into the prepared baking pan, ensuring it reaches all corners. The base should look slightly glossy before moving on to layering your bars with cherries.
Step 5: Arrange the Cherries
Take your well-drained maraschino cherries, halve them if desired, and evenly distribute them over the chocolate base. Gently press them into the batter to nestle them in place, creating delicious bursts of flavor in each bite. The bright red cherries will add a sweet and tangy contrast against the rich chocolate underneath.
Step 6: Add Toppings
Sprinkle the remaining semi-sweet chocolate chips over the arranged cherries, letting them fall into the nooks and crannies. Next, drizzle sweetened condensed milk generously across the top, creating a gooey layer that binds everything together. The combination of chocolate chips and condensed milk will ensure your Chocolate Covered Cherry Magic Bars are truly irresistible.
Step 7: Bake the Bars
Place the baking pan in the preheated oven and bake for about 25-30 minutes. The edges should be set, while the center remains slightly jiggly; this is key for the fudgy texture. You’ll see a golden, bubbly top creating an inviting visual that signals it’s time to pull the bars from the oven and let them cool.
Step 8: Cool and Slice
After baking, allow the bars to cool completely in the pan at room temperature. Once cooled, refrigerate for at least 2 hours to achieve perfect slicing. The chilling period helps the Chocolate Covered Cherry Magic Bars solidify, ensuring neat, professional-looking pieces that are ready to serve and enjoy.
Make Ahead Options
These delectable Chocolate Covered Cherry Magic Bars are perfect for meal prep, allowing you to savor their luscious flavors without the last-minute rush! You can prepare the chocolate base and arrange the cherries up to 24 hours in advance. Simply bake the bars and let them cool completely, then refrigerate for at least 2 hours before slicing for the cleanest cuts. For best results, cover them tightly with plastic wrap or store in an airtight container to maintain their fudgy texture. When you’re ready to enjoy, simply drizzle the condensed milk on top and bake as directed for restaurant-quality results that are just as delicious, if not better, after a day in the fridge!
Expert Tips
-
Measure Flour Properly: Use the scoop and level method to avoid compacting the flour, which can lead to dense Chocolate Covered Cherry Magic Bars.
-
Cool Before Cutting: Make sure to let the bars cool completely before slicing. Chilling in the fridge for a couple of hours helps achieve neat, clean slices.
-
Adjust for Sweetness: If you prefer a less sweet bar, reduce the granulated sugar in the base by 1/4 cup to balance out the overall flavor.
-
Melt Chocolate Carefully: When melting chocolate, do it in short intervals to prevent seizing. Take your time to achieve a smooth consistency without overheating.
-
Drain Cherries Well: To avoid a soggy bottom layer, ensure that maraschino cherries are thoroughly drained and dried before adding them to the batter.
How to Store and Freeze Chocolate Covered Cherry Magic Bars
Room Temperature: Keep the bars in an airtight container at room temperature for up to 5 days. This allows the fudgy texture to remain delightful and accessible for snacking.
Fridge: Store in the refrigerator for up to 1 week—just make sure they’re in an airtight container to maintain their freshness. Chilling also intensifies the flavors!
Freezer: If you want to enjoy these magic bars later, freeze them in individual slices or in a container for up to 3 months. Make sure to double-wrap them for optimal protection against freezer burn.
Thawing: When you’re ready to enjoy your Chocolate Covered Cherry Magic Bars, simply remove them from the freezer and let them thaw in the fridge overnight for the best taste and texture!
Chocolate Covered Cherry Magic Bars Variations
Feel free to tailor these delicious bars to suit your taste buds and dietary needs!
-
Fresh Cherries: Substitute maraschino cherries with fresh pitted and chopped cherries mixed with a sprinkle of sugar for a fruity twist. This adds a burst of freshness that elevates the bars.
-
Dark Chocolate Delight: Use dark chocolate chips instead of semi-sweet for a richer, more intense chocolate flavor. This can be a delightful choice for chocolate lovers seeking depth in each bite.
-
Nutty Add-In: Add chopped walnuts or pecans to the chocolate base for an irresistible crunch that complements the fudgy texture. The added nuttiness creates a lovely contrast with the sweet cherries.
-
Adult Twist: Soak cherries in cherry brandy or rum before folding them into the batter for a fun, spirited version of the bars. This twist transforms your dessert into an elegant treat for gatherings; perfect for delighting friends.
-
Gluten-Free Option: Swap out all-purpose flour with a gluten-free flour blend at a 1:1 ratio. This ensures those with dietary restrictions can indulge without compromise.
-
Minty Freshness: Add a few drops of peppermint extract to the chocolate mixture for a refreshing mint flavor that complements the chocolate and cherries beautifully. Perfect for holiday gatherings!
-
White Chocolate Swirl: Incorporate white chocolate chips in addition to the semi-sweet ones or drizzle melted white chocolate on top for a visually stunning and delicious contrast. The sweetness of white chocolate balances well with the tart cherries.
For more culinary adventures, you can find inspiration with these delightful Chocolate Chip Cookie recipes or whip up something light like Cereal Bars Deliciously. Enjoy experimenting and discovering your favorite combination!
What to Serve with Chocolate Covered Cherry Magic Bars
Indulging in a slice of these Magic Bars is just the beginning; let’s craft a meal that’s equally delightful!
-
Creamy Vanilla Ice Cream: This classic pairing adds a cool contrast and creamy texture that balances the rich chocolate and tangy cherries perfectly.
-
Fresh Berries Salad: A mix of strawberries, blueberries, and raspberries adds brightness and freshness, making for a delightful explosion of flavors with each bite.
-
Whipped Cream Topping: A dollop of fresh whipped cream crowns the bars beautifully, enhancing their indulgence while providing a light, airy texture.
-
Chocolate Drizzle: Drizzling a bit of melted chocolate over the top offers an extra layer of richness that chocolate lovers will adore.
-
Coffee or Espresso: Serve alongside a warm cup of coffee or espresso to complement the decadent flavors, while also making for the perfect pairing after dinner.
-
Dessert Wine: A chilled dessert wine, like a port or moscato, contrasts well with the sweetness, creating an elegant touch for gatherings or special occasions.
These combinations promise to elevate your dessert experience into a memorable celebration of flavors and textures!

Chocolate Covered Cherry Magic Bars Recipe FAQs
How do I choose the best maraschino cherries?
Absolutely! When selecting maraschino cherries, look for brightly colored cherries without dark spots all over. Ensure they are well-drained before using to avoid excess moisture that can make your bars soggy. If you’re open to alternatives, fresh pitted cherries can work beautifully too—just toss them with a bit of sugar to enhance their sweetness.
How should I store my Chocolate Covered Cherry Magic Bars?
Store your bars in an airtight container at room temperature for up to 5 days. Alternatively, they will stay fresh in the refrigerator for up to a week, where the flavors will even deepen. Just remember to keep them well-covered so they don’t absorb other odors!
Can I freeze Chocolate Covered Cherry Magic Bars?
Yes! You can freeze these delightful bars for up to 3 months. I recommend slicing them into individual pieces before freezing, then wrapping each slice in plastic wrap followed by aluminum foil, or placing them in a freezer-safe container for protection against freezer burn. When you’re ready to enjoy them, simply thaw them in the fridge overnight for the best texture.
What should I do if my bars are too dry?
If your Chocolate Covered Cherry Magic Bars turn out too dry, it could be due to overbaking or not measuring the flour correctly. Always use the scoop and level method for flour and keep an eye on them during the final minutes of baking. If you find yourself with dry bars, consider drizzling some extra sweetened condensed milk over the top or serving them with whipped cream for added moisture.
Are these bars suitable for those with dietary restrictions?
Very! You can make a gluten-free version by substituting all-purpose flour with a 1:1 gluten-free flour blend. Additionally, be sure to check the labels for any ingredients with potential allergens, such as chocolate chips, which can sometimes contain gluten or dairy. Enjoying treats without dietary restrictions is possible with a few thoughtful adjustments!
Irresistibly Fudgy Chocolate Covered Cherry Magic Bars
Ingredients
Equipment
Method
- Preheat your oven to 350°F (175°C) and prepare a 9x13-inch baking pan with parchment paper.
- In a large mixing bowl, whisk together flour, sugar, cocoa powder, baking powder, and salt until well combined.
- Melt the butter with 1/4 cup of chocolate chips. Allow to cool, then whisk in eggs and vanilla extract.
- Combine the melted mixture with the dry ingredients, mixing until a thick batter forms. Spread into the prepared pan.
- Evenly distribute halved cherries over the chocolate base and press gently.
- Sprinkle remaining chocolate chips on top and drizzle with sweetened condensed milk.
- Bake for 25-30 minutes until edges are set and center is slightly jiggly.
- Allow bars to cool completely in the pan, then refrigerate for at least 2 hours before slicing.
Leave a Reply