
As the air turns crisp and the leaves begin to fall, I’m reminded of cozy gatherings filled with laughter and delicious bites. That’s where these Cheesy Halloween Breadstick Bones come in—a spooktacular addition to your Halloween spread. Not only are they a treat for the eyes, with their playful bone shape, but they also deliver a gooey, cheesy goodness that turns snacking into a festive occasion. This recipe is wonderfully simple, making it perfect for those busy October nights or last-minute gatherings. Plus, you can easily customize the flavors with different cheeses or dipping sauces, keeping your culinary creativity alive. So, who’s ready to make creepy yet delightful snacks that will enchant both kids and adults alike?
Why are These Breadstick Bones a Must-Try?
Fun to Make: Kids will love getting involved in shaping these spooky snacks, making them the perfect family activity.
Gooey Goodness: The melty mozzarella clouds every bite in cheesy bliss, ensuring your taste buds are delighted.
Creative Customization: Mix and match different cheeses or serve with unique dipping sauces like ranch or pesto for extra flair.
Quick & Easy: With just a few ingredients and simple steps, you can whip up these treats in no time—perfect for last-minute Halloween parties or cozy nights in.
Crowd-Pleasing: Whether you’re hosting goblins and witches or enjoying a night in, these breadsticks are sure to be a hit with everyone, just like my Cheesy Texas Toast or Pepperoni Pizza Bombs.
Cheesy Halloween Breadstick Bones Ingredients
For the Dough
- All-purpose flour – Perfect for dusting to prevent sticking; feel free to use cornmeal for a delightful crunch.
- Pizza dough (1 pound) – The base of your creation; store-bought offers convenience, but homemade provides a personal touch.
For the Topping
- Unsalted butter (2 tablespoons, melted) – Enhances flavor and helps achieve a golden, crispy crust; olive oil can be used for a lighter alternative.
- Grated Parmesan cheese (½ cup) – Adds a salty, savory touch that elevates the breadsticks; swap with Pecorino Romano for a bolder flavor.
- Shredded mozzarella cheese (1 cup) – The star of the show for that melty, stretchy texture; essential for those cheesy bites—other melting cheeses are fine too, but mozzarella reigns supreme.
For Dipping
- Marinara sauce – Ideal for dipping; consider other options like ranch dressing or pesto for a fun twist!
These Cheesy Halloween Breadstick Bones are a fantastic vegetarian-friendly treat that makes your Halloween festivities extra special!
Step‑by‑Step Instructions for Cheesy Halloween Breadstick Bones
Step 1: Preheat the Oven
Begin by preheating your oven to 375°F (190°C). While the oven warms, prepare two baking sheets by lining them with parchment paper to prevent sticking. This simple preparation ensures your Cheesy Halloween Breadstick Bones bake evenly and come out beautifully golden.
Step 2: Prepare the Dough
Take the refrigerated pizza dough out of the fridge and let it sit at room temperature for about 15 minutes—it will be easier to handle. Meanwhile, dust your countertop lightly with all-purpose flour to prevent the dough from sticking as you work your magic in creating your spooky breadstick shapes.
Step 3: Divide the Dough
Once the pizza dough is warm and pliable, divide it into 10 equal pieces. Each piece will form part of your Cheesy Halloween Breadstick Bones! Gently roll each piece into a ball, then flatten it slightly before rolling it into an 8-inch long rope, resembling a bone.
Step 4: Shape the Bones
To create the bone-like appearance, form thicker ends on each rope. Use kitchen shears to snip each end about 1 inch deep, then gently pull the snipped portions apart. This playful shaping makes your Cheesy Halloween Breadstick Bones not only delicious but fun and festive.
Step 5: Arrange the Breadsticks
Carefully place each shaped breadstick onto the prepared baking sheets, leaving space between them to allow for rising during baking. This step is crucial to prevent the Cheesy Halloween Breadstick Bones from sticking together, ensuring each piece has its own crispy edge.
Step 6: Add the Toppings
Brush the tops of each breadstick generously with melted butter, ensuring a rich flavor and golden crust. Following that, sprinkle grated Parmesan cheese over the tops, allowing the delicious flavors to combine as they bake to perfection and enhance the cheesy goodness within each of the breadsticks.
Step 7: Bake the Breadsticks
Place the baking sheets in the preheated oven and bake for 15 minutes. Keep an eye on them; you’re looking for a puffed appearance and a light golden color. Once they reach this stage, remove them from the oven, preparing for that delightful cheesy topping.
Step 8: Melt the Mozzarella
Sprinkle shredded mozzarella cheese evenly over the top of each breadstick. Return them to the oven for an additional 5-7 minutes, watching carefully until the cheese has melted and becomes bubbly and golden. This final touch transforms your breadsticks into the comforting Cheesy Halloween Breadstick Bones you crave.
Step 9: Cool and Serve
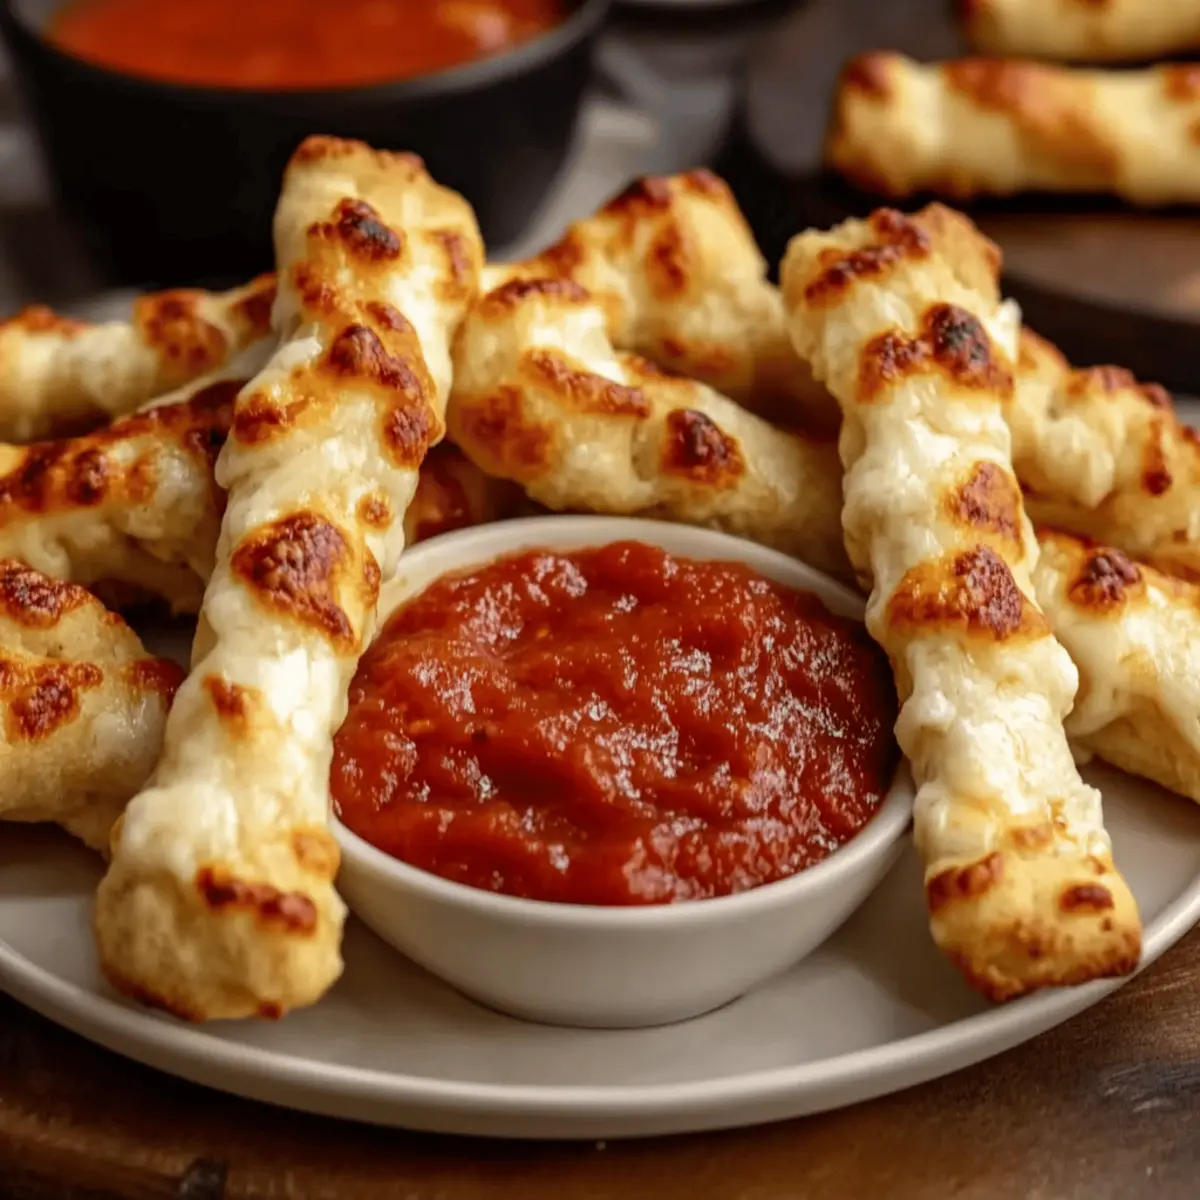
Once baked to perfection, remove the breadsticks from the oven and let them cool slightly on the baking sheets. When ready, serve warm with a bowl of marinara sauce for dipping, and enjoy a spooktacular treat that will delight kids and adults alike during Halloween festivities!

What to Serve with Cheesy Halloween Breadstick Bones
There’s nothing like a festive spread to elevate your Halloween gatherings, and these delightful snacks are just the beginning!
- Crispy Seasonal Salad: A fresh mix of greens, apples, and walnuts tosses in a tangy vinaigrette, adding a crunchy contrast to the gooey breadsticks.
- Roasted Pumpkin Soup: Serve this creamy, autumn-spiced soup alongside breadsticks for a comforting combination that warms the heart.
- Spooky Fruit Platter: Arrange assorted fruits like mandarin oranges and grapes to mimic spooky eyeballs, balancing the savory flavors with sweet bites.
- Garlic Herb Dip: A creamy and fragrant dip made with Greek yogurt and fresh herbs provides a refreshing complement to the cheesy goodness.
- Warm Apple Cider: This sweet, spiced beverage fills your home with cozy aromas and pairs beautifully with the savory snacks.
- Chocolate Mousse: Finish your spooky dinner on a sweet note with this rich, velvety dessert that hides a delightful surprise beneath its dark exterior.
- Pumpkin Spice Latte: Extend the Halloween spirit with this seasonal favorite, which adds rich and aromatic spices to your meal.
- Candy Corn Bark: As a playful dessert, this sweet treat made with chocolate and candy corn ties in perfectly with your Halloween theme.
- Cheesy Spinach Dip: This creamy dip adds another layer of cheesy goodness that everyone will love, especially when paired with your breadstick bones.
- Cranberry Spritzer: A refreshing drink option that combines tart cranberry juice with soda water, providing a light counterbalance to your feast.
Expert Tips for Cheesy Halloween Breadstick Bones
- Dough Temperature: Allow the pizza dough to sit at room temperature for 15 minutes for easier handling and shaping into bones.
- Spacing Matters: Make sure to space the breadsticks apart on the baking sheets to prevent them from sticking together while baking.
- Master the Crisp: For crunchiness, avoid overloading with cheese on top and consider reheating leftovers in the oven instead of the microwave.
- Themed Presentation: To enhance your Halloween vibe, decorate your serving area with spooky decorations alongside your Cheesy Halloween Breadstick Bones for a festive look.
Make Ahead Options
These Cheesy Halloween Breadstick Bones are perfect for meal prep, making your Halloween festivities easier and less stressful! You can shape the breadsticks and keep them in the refrigerator for up to 24 hours before baking. To do this, prepare the dough as directed, shape each bone, and place them on a lined baking sheet. Cover with plastic wrap and refrigerate. When you’re ready to enjoy, simply preheat your oven and bake as instructed, adding a few extra minutes if needed. This advance preparation means you can serve warm, cheesy delights with minimal effort, ensuring your spooky snack time is just as delicious and festive!
Cheesy Halloween Breadstick Bones Variations
Feel free to unleash your creativity and personalize these cheesy delights for a truly unique spooky snack experience!
-
Cheese Medley: Mix in different cheeses, such as Cheddar or Gouda, for exciting flavor twists.
-
Whole Wheat Dough: Use whole wheat pizza dough for a healthier spin without losing the fun.
-
Gluten-Free Option: Substitute with gluten-free pizza dough, ensuring everyone can enjoy these festive treats.
-
Spicy Kick: Add red pepper flakes or a dash of hot sauce to the melted butter to create a fiery topping that will warm both your heart and your palate.
-
Sweet Surprise: Drizzle a bit of honey or maple syrup over the baked breadsticks for a sweet twist that pairs beautifully with savory toppings.
-
Dipping Delight: Serve with various dipping sauces like ranch dressing or pesto, each adding its own character to the snacking experience. Imagine delighting in a cheesy bite alongside the creamy richness of ranch!
-
Herb Infusion: Sprinkle dried herbs like oregano or garlic powder into the dough for an aromatic flavor boost that will enchant your taste buds.
-
Spooky Shapes: Instead of bones, consider shaping the dough into other Halloween-themed figures, like ghosts or pumpkins, for even more festive fun!
With these creative touches, your Cheesy Halloween Breadstick Bones can delight every ghost and goblin at your gathering, making them reminiscent of other festive favorites like Halloween Vampire Bite Cupcakes that can charm your guests!
How to Store and Freeze Cheesy Halloween Breadstick Bones
Room Temperature: Store partially cooled breadsticks in an airtight container at room temperature for up to 1 day for optimal freshness.
Fridge: If you have leftovers, place them in an airtight container and refrigerate for up to 3 days. Reheat in the oven for the best texture.
Freezer: For longer storage, individually wrap baked breadsticks in foil, then place them in a freezer-safe bag for up to 1 month. Reheat directly from frozen in the oven.
Reheating: To retain crispness, reheat the Cheesy Halloween Breadstick Bones in the oven at 350°F for 5-7 minutes until hot and bubbly.

Cheesy Halloween Breadstick Bones Recipe FAQs
How do I select the best pizza dough for this recipe?
Absolutely! For Cheesy Halloween Breadstick Bones, you can choose between store-bought or homemade pizza dough. If you opt for store-bought, look for a high-quality brand that uses minimal preservatives. If you’re feeling adventurous, a homemade dough made from just flour, water, yeast, and salt can add a personal touch and fresher flavor.
How should I store leftover Cheesy Halloween Breadstick Bones?
Leftovers can be stored in an airtight container at room temperature for up to 1 day. If you want to keep them a bit longer, refrigerate them in an airtight container for up to 3 days. To maintain their delicious texture, it’s best to reheat them in the oven at 350°F for about 5-7 minutes until they’re warm and crispy again.
Can I freeze Cheesy Halloween Breadstick Bones?
Certainly! To freeze your breadstick bones, first let them cool completely after baking. Then, individually wrap each breadstick in foil and place them in a freezer-safe bag. They can be frozen for up to 3 months. When you’re ready to enjoy them, simply reheat directly from frozen in the oven at 350°F for about 10-12 minutes until heated through and crispy.
What should I do if the dough is too sticky to work with?
Very! If your pizza dough feels sticky, don’t worry. Simply sprinkle a little extra flour on your countertop and your hands to help reduce the stickiness while shaping the breadsticks. If it’s still tough to manage, let it rest for an additional 5-10 minutes to allow the gluten to relax, making it easier to shape into those playful bone forms.
Are these breadsticks safe for my kids with dairy allergies?
If you’re making Cheesy Halloween Breadstick Bones for someone with a dairy allergy, it’s best to substitute the cheeses with dairy-free alternatives available at most grocery stores. There are excellent products made from almond, cashew, or coconut cheese that melt well and will keep the essence of this snack intact. Always check labels to ensure they meet your dietary requirements.

Cheesy Halloween Breadstick Bones for Spooky Snack Time Fun
Ingredients
Equipment
Method
- Preheat the Oven: Preheat your oven to 375°F (190°C) and prepare two baking sheets lined with parchment paper.
- Prepare the Dough: Take the pizza dough out of the fridge and let sit at room temperature for 15 minutes, dusting the countertop with flour.
- Divide the Dough: Divide the dough into 10 equal pieces and roll each into an 8-inch long rope.
- Shape the Bones: Form thicker ends on each rope, snip each end about 1 inch deep, and pull the snipped portions apart.
- Arrange the Breadsticks: Place each shaped breadstick onto the baking sheets, leaving space for rising.
- Add the Toppings: Brush the tops with melted butter and sprinkle with grated Parmesan cheese.
- Bake the Breadsticks: Bake for 15 minutes until puffed and golden, then remove from the oven.
- Melt the Mozzarella: Sprinkle shredded mozzarella over each breadstick and return to the oven for 5-7 minutes until melted.
- Cool and Serve: Let the breadsticks cool slightly, then serve warm with marinara sauce for dipping.
Leave a Reply