
Amidst a whirlwind morning rush, I found myself facing the ultimate dilemma: breakfast or the snooze button? This is when I stumbled upon my lifesaver—3-Ingredient Healthy Cereal Bars. These delightful bars combine a chewy texture with just the right amount of crunch, transforming chaotic mornings into satisfying starts. The beauty of this recipe lies not only in its simplicity but also in its versatility, allowing for endless flavor combinations like chocolate, peanut butter, or even fruity twists. With just a handful of ingredients, you can whip up a quick breakfast or a snack that keeps everyone going all day. Plus, they cater to every dietary preference, so whether you’re vegan or just looking for something wholesome, these bars have you covered. Curious about how to make these little wonders? Let’s dive into the recipe!
Why Are These Cereal Bars Perfect?
Simplicity at Its Core: With just three ingredients and minimal preparation, these cereal bars are a breeze to whip up, making them ideal even for busy mornings.
Endless Variations: Whether you crave chocolate, strawberry, or cookie dough, these bars can be customized to satisfy any taste.
Healthy on the Go: Packed with nutritious ingredients, they offer a wholesome breakfast or snack option that’s way better than fast food.
No-Bake Delight: Forget the oven; simply mix, press, and freeze for effortless treats that anyone can make.
Family-Friendly Appeal: Kids will love them, and adults will appreciate the guilt-free indulgence—what’s not to love? For more ideas and inspiration, don’t forget to check out our guide on healthy snacks.
Cereal Bar Ingredients
• Discover the key ingredients for deliciously easy cereal bars!
For the Base
- Cereal of Choice – Select smaller flake cereals like Cheerios or Rice Krispies for the best texture in your cereal bars.
For Binding
- Peanut Butter or Nut Butter of Choice – This acts as the binding agent, adding creaminess; swap for almond or sunflower butter if you need a nut-free option.
For Sweetness
- Agave, Honey, or Brown Rice Syrup – These sweeteners add moisture and sweetness; for a vegan-friendly cereal bar, opt for agave or brown rice syrup.
Optional Ingredients
- Optional Salt – A pinch can enhance the flavor balance, so adjust to your taste preferences.
- Optional Protein Powder – Boosts nutritional value, making your cereal bars even more satisfying.
Now you’re all set to create deliciously customizable cereal bars that your whole family will adore!
Step‑by‑Step Instructions for Cereal Bars
Step 1: Prepare Your Pan
Start by lining an 8-inch square pan with wax or parchment paper, allowing some overhang for easy removal later. This will ensure your cereal bars don’t stick. Press the paper into the corners and edges so that it fits snugly in the pan, creating a solid base for your delicious cereal bars.
Step 2: Warm the Nut Butter
If your chosen nut butter is too thick, gently warm it in the microwave for 20-30 seconds until it’s easily stirrable. This step is crucial as it helps combine it smoothly with other ingredients. Make sure to stir it well after heating so there are no lumps, creating a creamy texture ideal for binding your cereal bars.
Step 3: Mix Ingredients
In a large mixing bowl, combine your cereal, nut butter, and chosen sweetener. Stir the mixture vigorously until the cereal is evenly coated and the ingredients form a sticky blend. If you’re adding optional ingredients like salt or protein powder, fold them in now to ensure every bite of your cereal bars is flavorful and nourishing.
Step 4: Transfer Mixture to the Pan
Pour the sticky cereal mixture into the prepared pan. Using a spatula or the back of a spoon, press down firmly and evenly into the corners and edges. This step is essential for compacting the mixture, ensuring your cereal bars hold together nicely once set and making it easier to slice later.
Step 5: Freeze to Set
Place the pan in the freezer for about 30 minutes, or until the mixture is firm to the touch. You’ll know it’s ready when you can easily cut into it without the bars crumbling. Freezing helps the ingredients meld together and creates that perfect chewy texture you love in homemade cereal bars.
Step 6: Slice and Store
Once the bars are set, pull the mixture out of the pan using the parchment overhang. Slice into squares or rectangles, depending on your preferred size. Store the cereal bars in an airtight container; they can be kept in the fridge for up to a week or at room temperature in a cool place for a quick snack any time of day.

Make Ahead Options
These deliciously easy cereal bars are perfect for meal prep, allowing you to streamline your busy mornings! You can prepare the mixture up to 24 hours in advance by making it and pressing it into the pan as per the recipe instructions. Simply cover the pan with plastic wrap and refrigerate overnight to let the flavors meld together. When you’re ready to enjoy, pop the mixture in the freezer for about 30 minutes to firm up, slice, and your cereal bars will be just as delightful! This approach not only saves time but ensures you have wholesome snacks ready whenever you need them.
How to Store and Freeze Cereal Bars
Fridge: Store your cereal bars in an airtight container in the fridge for up to a week. This reduces the chance of them becoming too soft and maintains their chewy texture.
Freezer: For longer storage, wrap each bar individually and place them in the freezer for up to 3 months. Just thaw them overnight in the fridge for a quick snack.
Room Temperature: If you prefer keeping them at room temperature, place them in a cool, dry spot for up to 3 days. Make sure to wrap them well to prevent them from drying out.
Reheating: If you enjoy them warm, pop the bars in the microwave for about 10-15 seconds for a delightful treat without sacrificing their original flavor.
Expert Tips for Cereal Bars
• Press Thoroughly: Firmly pressing the mixture into the pan is crucial to avoid crumbly bars. This helps them hold together beautifully.
• Storage Preference: For best texture, store cereal bars in the refrigerator. They can also be kept at room temperature in a cool place but might become a bit softer.
• Customize Wisely: When using a thinner sweetener, increase the nut butter slightly to maintain the structure of your cereal bars. This keeps them from falling apart!
• Flavor Experimentation: Don’t hesitate to mix flavors! Combine chocolate and peanut butter or try adding dried fruits to discover your favorite cereal bars variations.
• Nutritional Boost: Consider incorporating protein powder or seeds to enhance the nutritional value, making these treats not just delicious but also filling.
What to Serve with Cereal Bars
These flavorful cereal bars are perfect for creating a delightful and nourishing breakfast or snack experience.
- Fresh Yogurt: A creamy side that balances the chewy texture, adding protein and probiotics for a nutritious boost.
- Sliced Bananas: The sweetness of bananas complements the bars wonderfully, providing extra fiber and potassium for energy.
- Berries Medley: A mix of strawberries, blueberries, and raspberries brings freshness and vibrant color, enhancing the overall taste and presentation.
- Nut Milk: Almond or oat milk creates a complete breakfast pairing, refreshing your palate while delivering essential nutrients.
- Nut Butter Dip: Serve with a side of extra peanut or almond butter for those who prefer an indulgent, protein-packed option that’s deeply satisfying.
- Granola Topping: Sprinkle some crunchy granola on top of yogurt or yogurt parfaits to add an extra layer of texture and flavor.
- Fruit Smoothie: A smoothie can be a refreshing drink complementing the bars, contributing vitamins and hydration without overpowering the flavors.
- Dark Chocolate Drizzle: For a treat, drizzle melted dark chocolate over the bars before serving for an added decadent twist.
These pairings not only complement the cereal bars’ delightful flavors but also bring variety and nutrition to your table!
Cereal Bars: Endless Customization!
Get ready to elevate your cereal bars with delightful variations that cater to every craving and dietary need.
- Chocolate Delight: Mix in cocoa powder or dip the bars in melted chocolate for a rich, decadent treat.
- Nutella Bliss: Swap nut butter with Nutella for a creamy, hazelnut-infused flavor that’s simply irresistible.
- Cookie Dough Indulgence: Use cashew butter and fold in mini chocolate chips to capture the nostalgic taste of cookie dough.
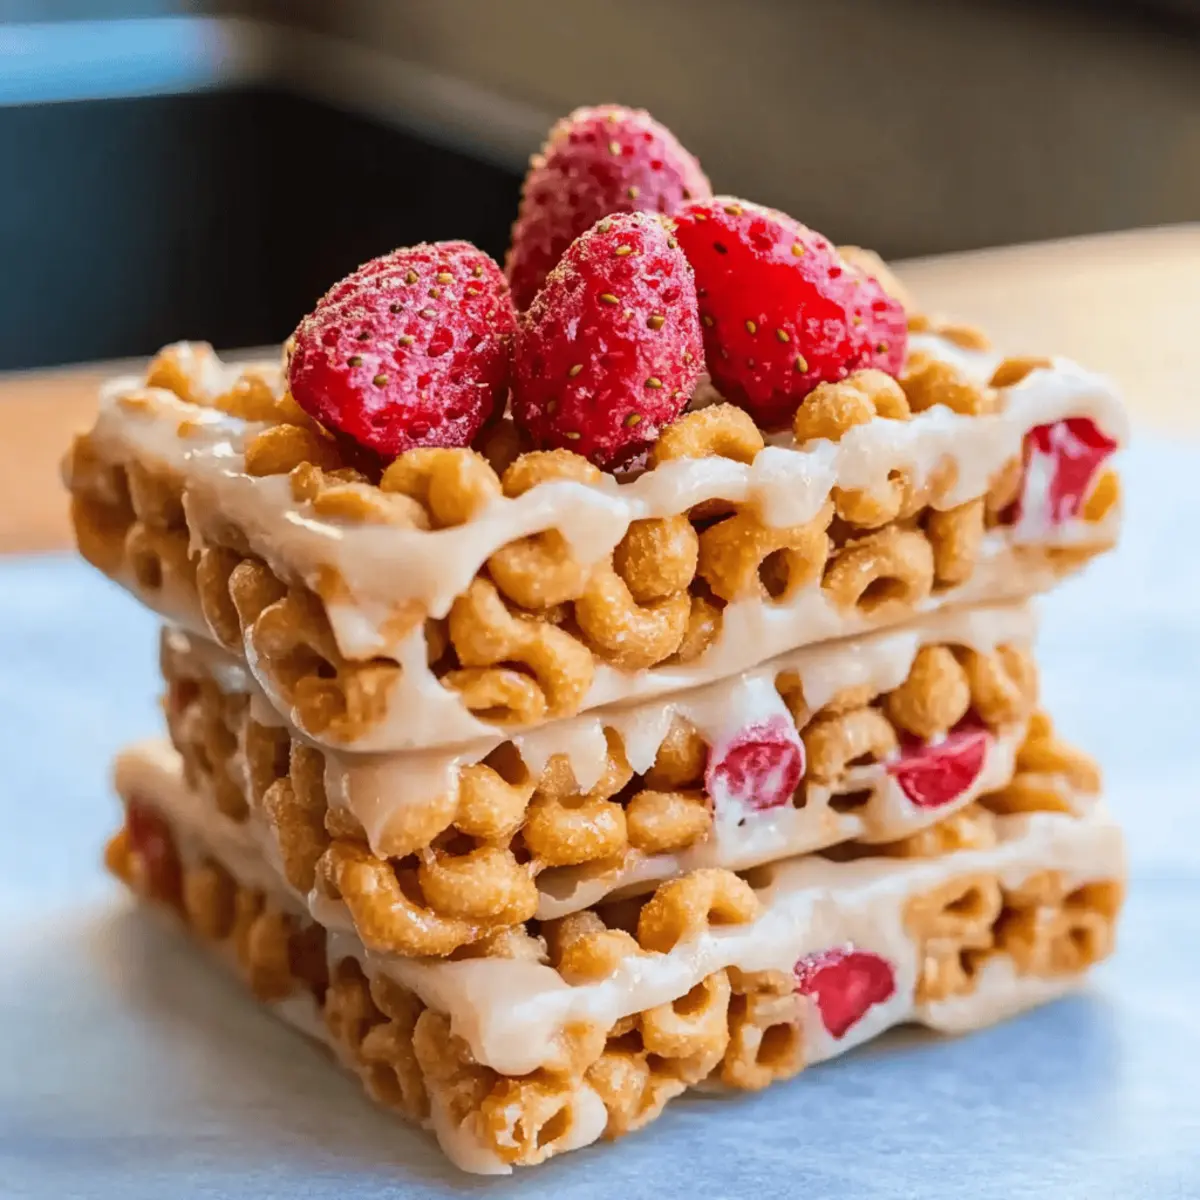
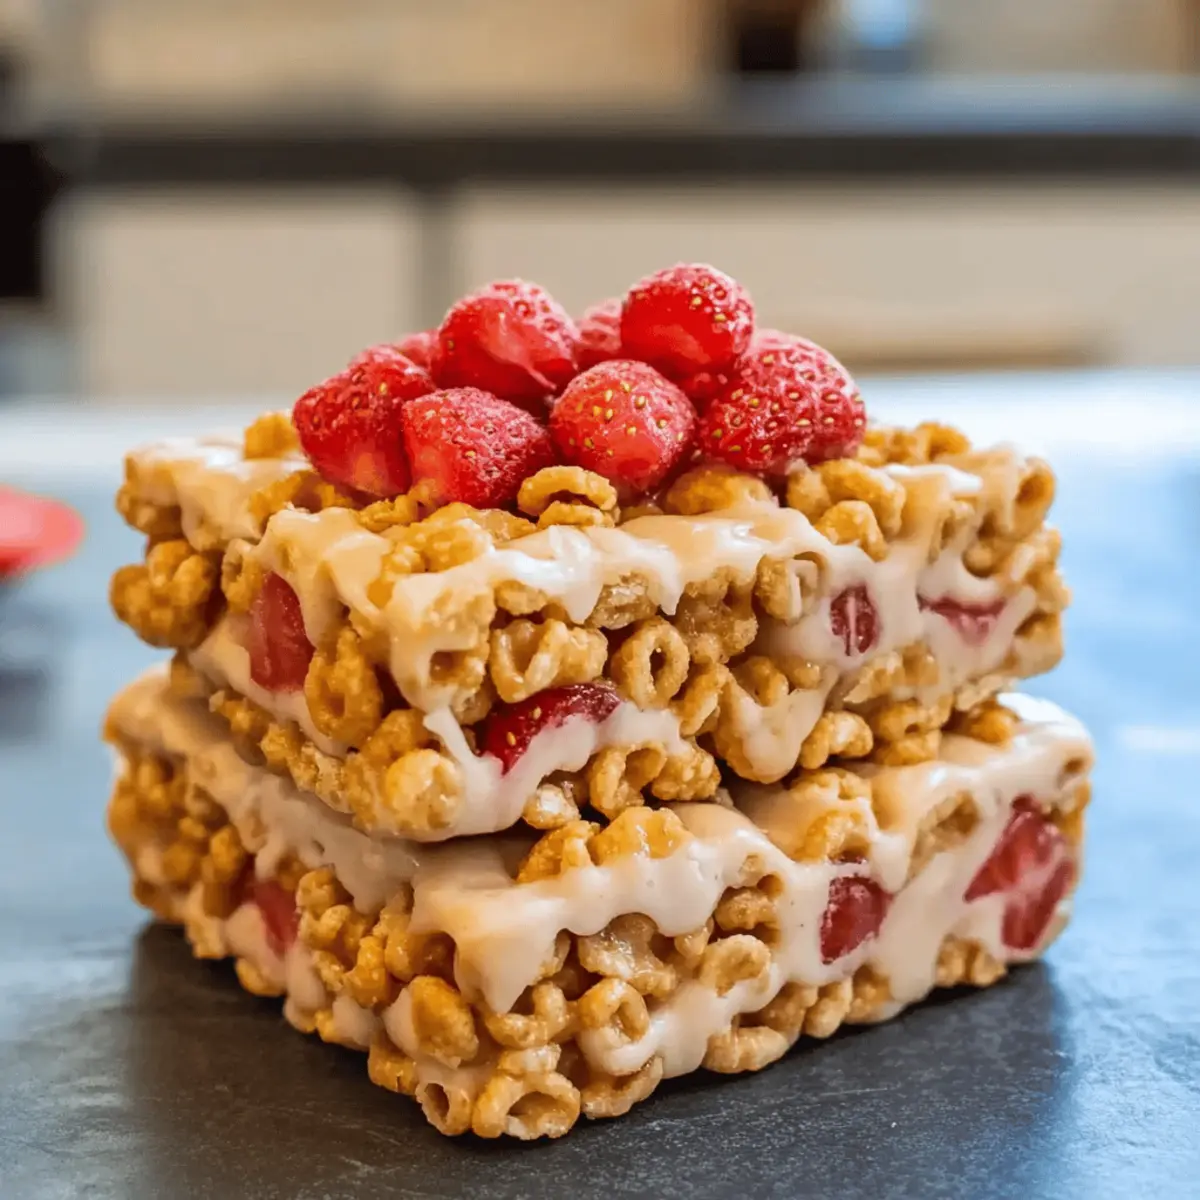
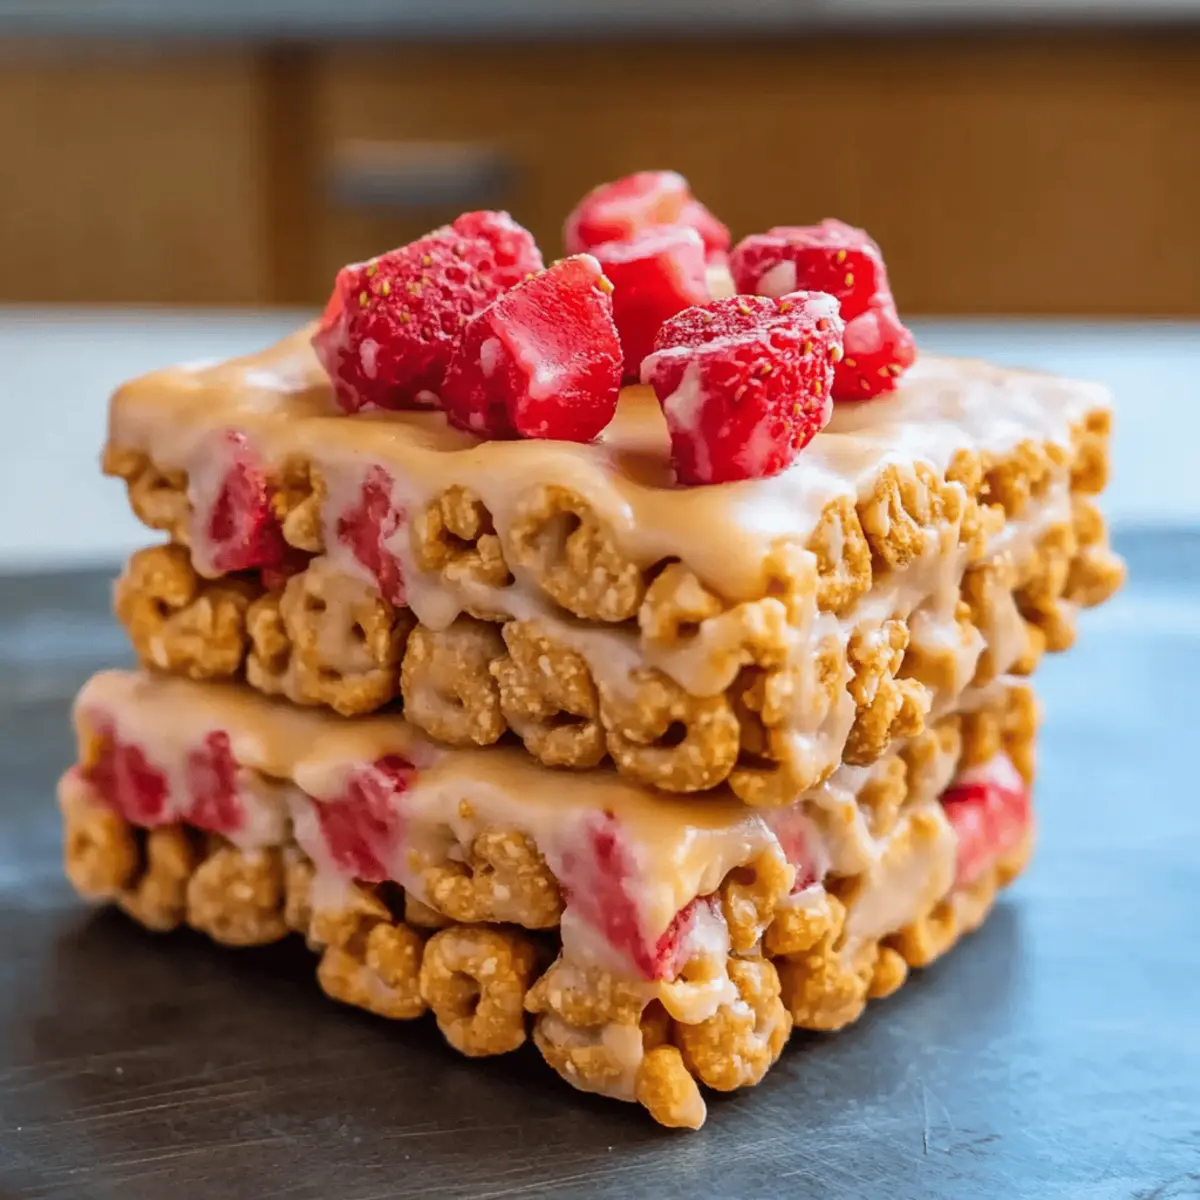
- Fruity Explosion: Add freeze-dried strawberries or other fruits for a burst of natural sweetness and vibrant color.
- Peanut Butter Marshmallow: Incorporate mini marshmallows for added sweetness and a gooey texture, reminiscent of childhood s’mores.
- Vegan Switch: Use maple syrup instead of honey and coconut oil instead of nut butter for a fully vegan-friendly option.
- Spiced Pumpkin: Add pumpkin puree and pumpkin spice for a seasonal twist that screams fall flavors.
- Granola Crunch: Include chopped nuts or seeds to enhance the texture and nutritional value, making them heartier.
Feel free to explore these variations, and don’t forget to check out our guide on healthy snacks for more inspiration!
Cereal Bars Recipe FAQs
How do I know if my cereal is fresh?
Absolutely! Look for cereals without any dark spots or stale odor. Fresh cereal should be light and crispy. If your cereal falls flat when you squeeze it, it might not be fresh anymore—use only the best for your cereal bars!
What’s the best way to store leftover cereal bars?
You can store your cereal bars in an airtight container in the fridge for up to 1 week. Just wrap them individually in parchment or wax paper to maintain their freshness and prevent sticking. If you prefer a softer texture, you can leave them at room temperature in a cool spot for up to 3 days.
Can you freeze cereal bars? How?
Certainly! To freeze, wrap each cereal bar individually in plastic wrap or aluminum foil, then place them in a freezer-safe bag or container. They can be frozen for up to 3 months. When you’re ready to enjoy, simply thaw them overnight in the fridge for a quick snack!
What should I do if my cereal bars crumble when sliced?
If your cereal bars are crumbling, it could be due to not pressing the mixture firmly enough into the pan. Next time, use a clean spatula or your hands to press down hard to ensure they’re compact. Also, if you’ve used a thinner sweetener, try adding an extra spoonful of nut butter next time to bind everything together better.
Are there any allergen considerations I should be aware of?
Very! Always check ingredient labels to avoid any allergens, especially nut allergies if you’re using peanut or almond butter. For nut-free options, you can use sunflower butter instead. Additionally, make sure to select cereals that are gluten-free if anyone has gluten sensitivities, ensuring everyone can enjoy these delicious cereal bars!
Deliciously Easy Cereal Bars: Customizable 3-Ingredient Treats
Ingredients
Equipment
Method
- Prepare Your Pan: Line an 8-inch square pan with wax or parchment paper, pressing into the corners for a snug fit.
- Warm the Nut Butter: If thick, warm nut butter in the microwave for 20-30 seconds until stirrable.
- Mix Ingredients: Combine cereal, nut butter, and sweetener in a bowl until evenly coated.
- Transfer Mixture to the Pan: Pour into the prepared pan and press down firmly into the corners.
- Freeze to Set: Place in the freezer for about 30 minutes until firm.
- Slice and Store: Pull out the mixture using the parchment overhang, slice, and store in an airtight container.
Leave a Reply