
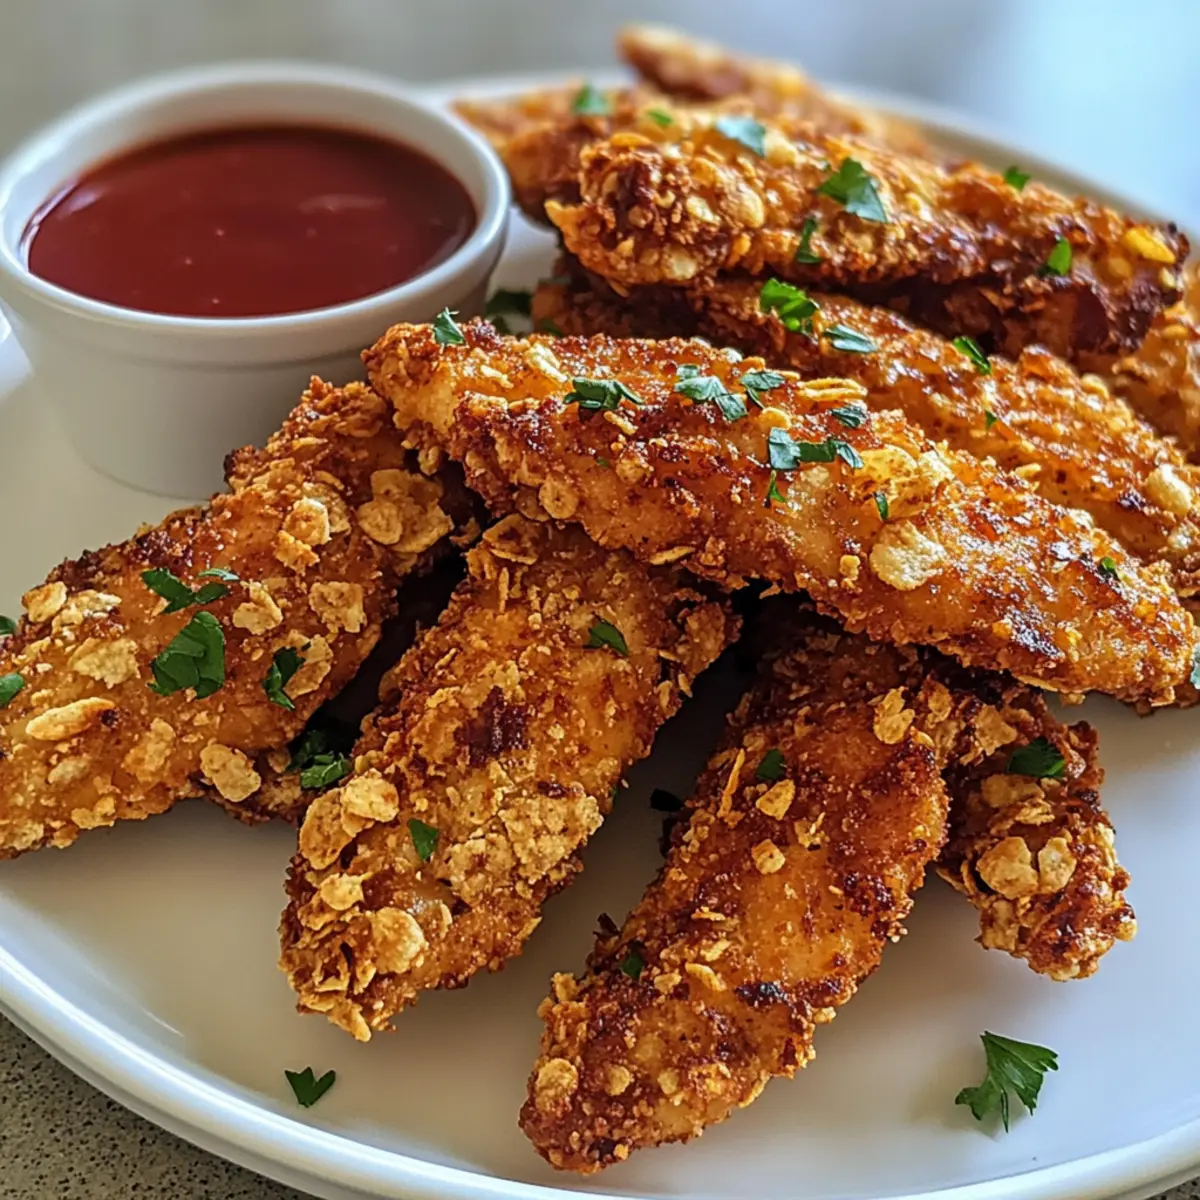
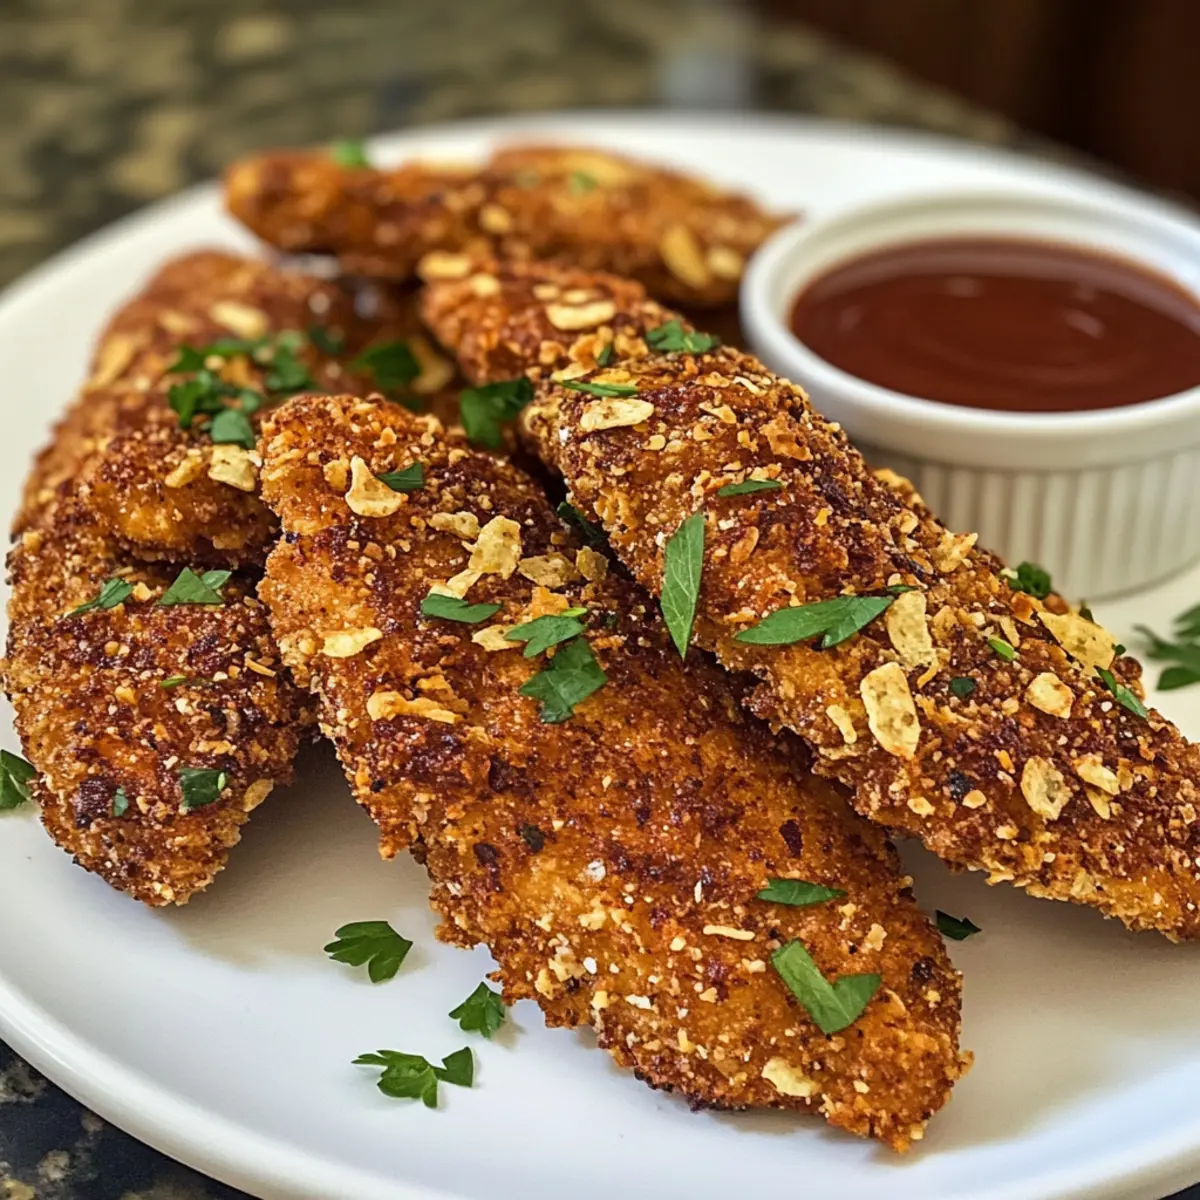
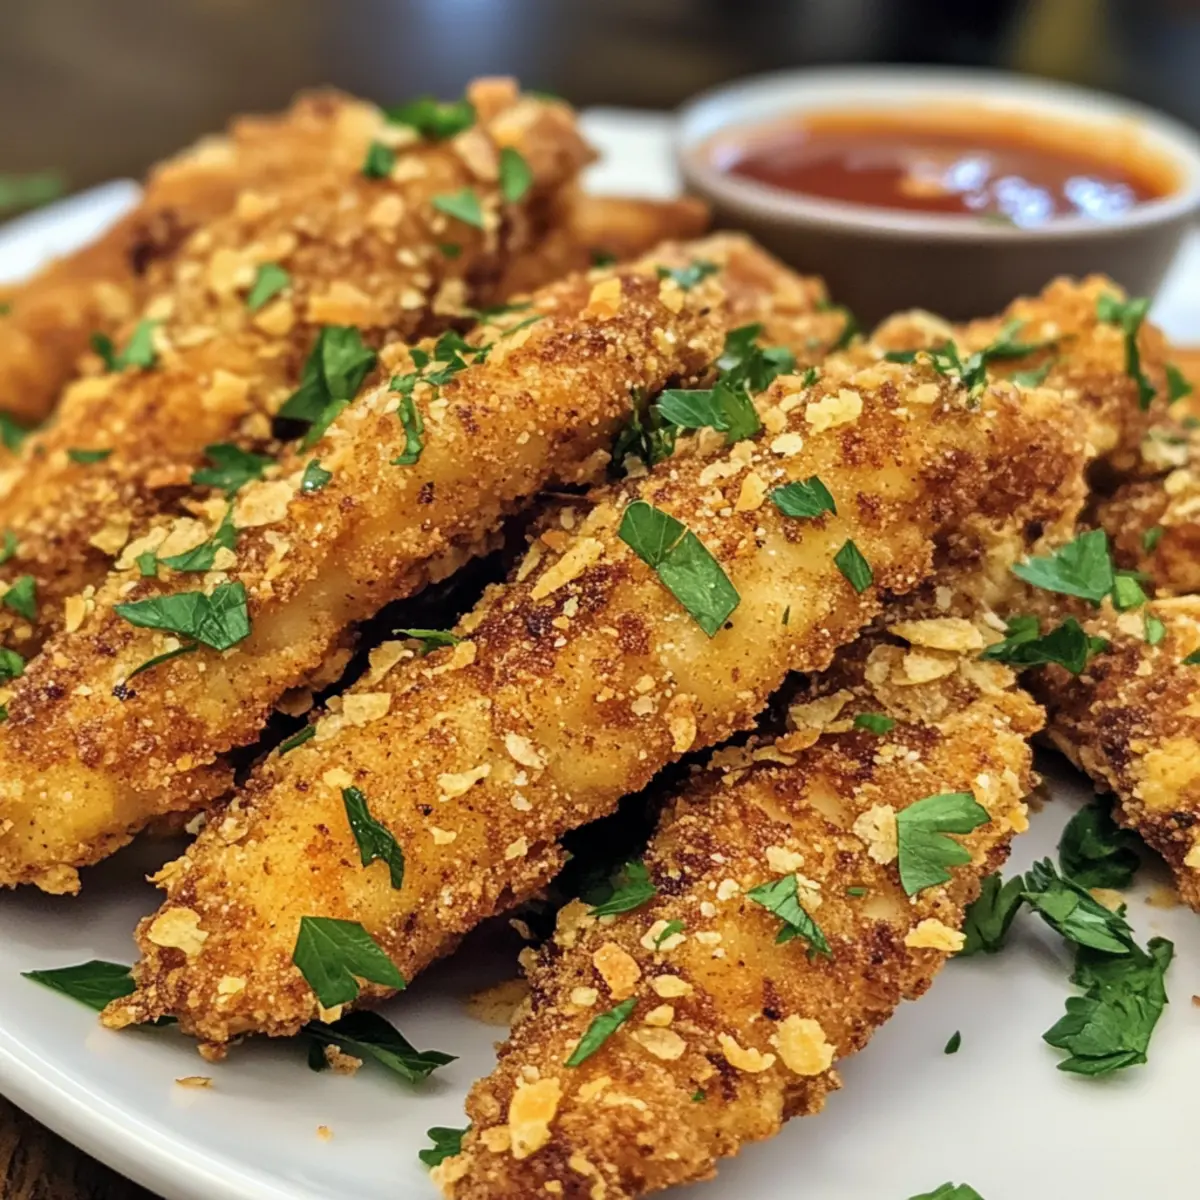
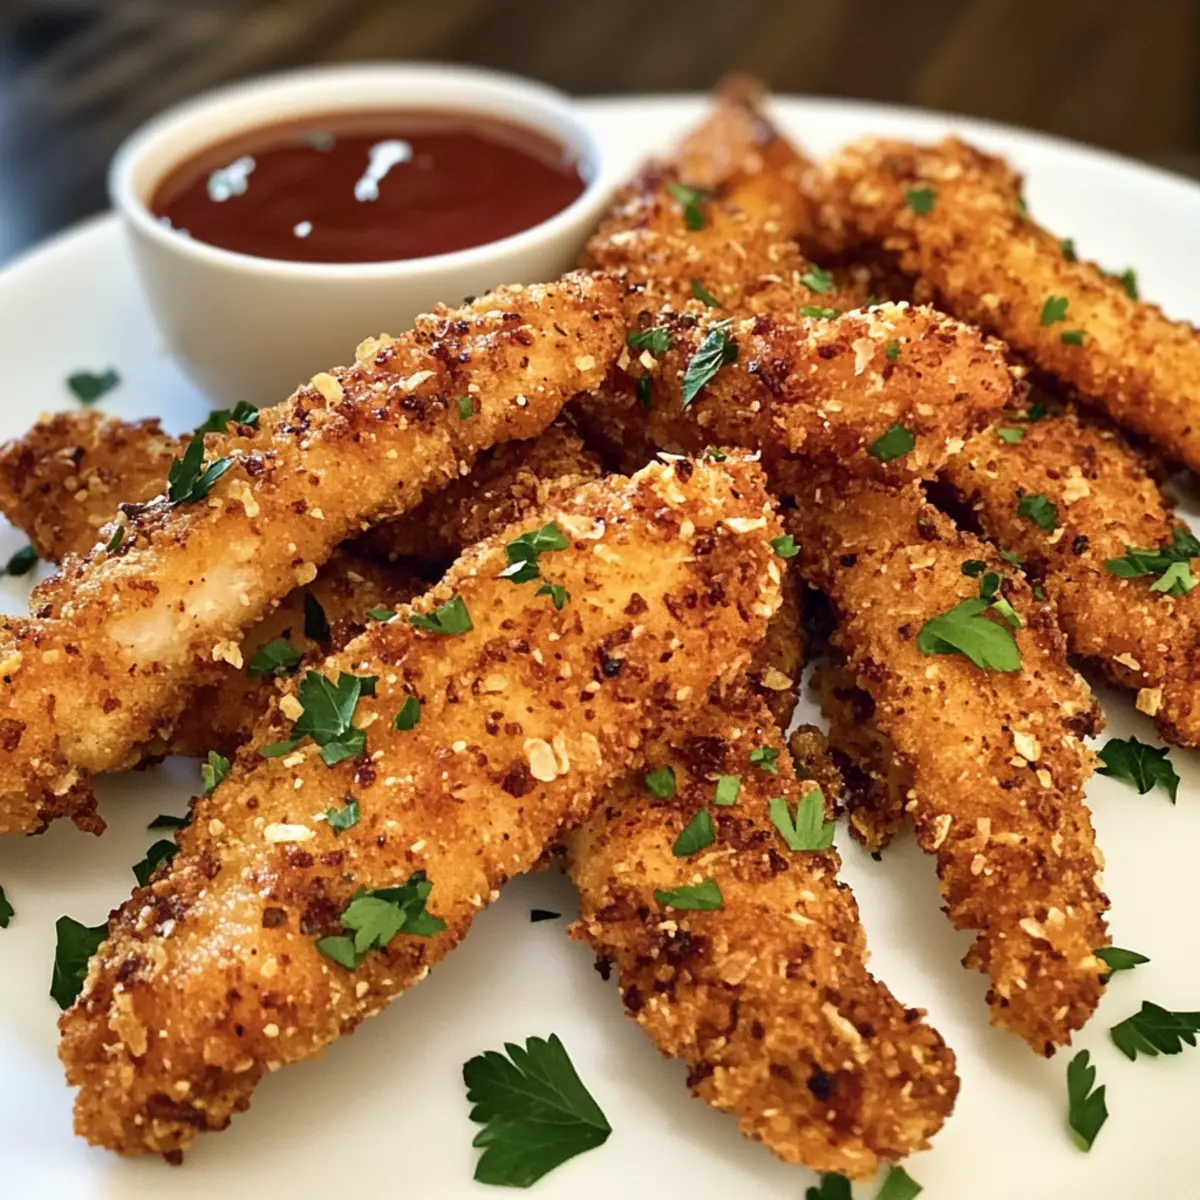
As the clock ticks towards dinnertime, I often find myself in a culinary tight spot, trying to please everyone at the table. That’s where these Crispy Kettle Chip Chicken Strips come to the rescue—an easy weeknight dinner that’s truly a game changer! Coated with a crunchy layer of kettle chips, these baked strips offer that irresistible texture and flavor you crave, without the fuss of frying. They’re not just a hit with the kids; they make a fantastic appetizer for gatherings too. Plus, with minimal prep time, you’ll have more moments to savor with family and friends. Curious about how these delightful strips come together? Let’s dive into the recipe!
Why Are Kettle Chip Chicken Strips Amazing?
Irresistible Crunch: The kettle chip coating creates a unique and satisfying crunch that elevates classic chicken strips to a whole new level.
Kid-Approved: Perfectly kid-friendly, these strips make for a fun dinner that even the pickiest eaters will love.
Easy Prep: With straightforward instructions, you can whip these up in no time—ideal for busy weeknights when you need a quick, delicious meal.
Versatile Flavor: Experiment with different kettle chip flavors or serve with a variety of dipping sauces, from ranch to spicy aioli, to tailor each meal to your tastes.
Crowd-Pleaser: Whether it’s a family dinner or a get-together with friends, these baked strips are a hit everyone will rave about! Consider pairing them with a refreshing side salad or your favorite fries for a complete meal.
Kettle Chip Chicken Strips Ingredients
For the Chicken Strips
• Boneless, Skinless Chicken Breasts – The main protein source; ensures easy prep and tenderness.
• Salt – Enhances flavor, adjust to your taste.
• Black Pepper – Provides a mild heat; freshly ground adds the best flavor.
• Paprika – Offers color and a mild pepper essence; smoked paprika gives a deeper note.
• Garlic Powder – Adds savoriness; fresh garlic can intensify flavor but needs different handling.
For the Coating
• All-Purpose Flour – Forms a base coating; substitute with gluten-free flour to cater to dietary needs.
• Eggs – Helps the coating stick; a flax egg works well for vegan options.
• Kettle Chips – The star of the crust, providing that essential crunchy texture; classic salted is recommended for beginners but feel free to explore other flavors!
These Kettle Chip Chicken Strips bring a fun and flavorful twist to your family dinners or gatherings! Enjoy their delightful crunch and flavor that makes weeknight meals an exciting event.
Step‑by‑Step Instructions for Kettle Chip Chicken Strips
Step 1: Preheat and Prepare
Begin by preheating your oven to 400°F (200°C). While it warms up, line a baking sheet with parchment paper to ensure the Kettle Chip Chicken Strips don’t stick, making cleanup a breeze. The parchment will also help the strips bake evenly, resulting in that perfect golden crunch you’re aiming for.
Step 2: Cut Chicken
Next, take your boneless, skinless chicken breasts and slice them into 1-inch wide strips. This size allows for even cooking and ensures each strip gets that delightful crunch. As you cut, maintain a consistent width for uniform baking, which will help all the pieces finish at the same time.
Step 3: Season the Chicken
In a small bowl, blend together salt, black pepper, paprika, and garlic powder. Once mixed, sprinkle this seasoning generously over the chicken strips, tossing them to coat thoroughly. This seasoning is crucial for infusing flavor, so make sure every piece is well-covered to enhance the taste of your Kettle Chip Chicken Strips.
Step 4: Set Up the Breading Station
Prepare your breading station by setting up three shallow dishes. Fill the first with all-purpose flour, the second with beaten eggs, and the last with crushed kettle chips. This assembly line will streamline the coating process, ensuring each chicken strip transitions smoothly from flour to eggs and finally to that crispy kettle chip crust.
Step 5: Coat the Chicken Strips
Take a seasoned chicken strip and first dip it into the flour, making sure to coat it lightly. Next, transfer it into the beaten eggs, ensuring it’s fully submerged; this step helps the kettle chips adhere. Finally, finish by rolling the strip in crushed kettle chips, pressing gently to ensure a generous, even coating for optimal crunch.
Step 6: Arrange on Baking Sheet
Carefully place each breaded chicken strip on the prepared baking sheet. Keep a bit of space between each strip to allow hot air to circulate, which will help achieve that ideal golden brown color while baking. Make sure none of the strips are touching to avoid sogginess as they cook.
Step 7: Bake to Perfection
Slide the baking sheet into the preheated oven and let the Kettle Chip Chicken Strips bake for 20-25 minutes. You’ll know they’re done when they turn golden brown and reach an internal temperature of 165°F (74°C). Keep an eye on them; if they brown too quickly, simply cover with foil to prevent burning.
Step 8: Serve and Enjoy
Once baked to perfection, remove the chicken strips from the oven and let them cool slightly. Serve these crispy Kettle Chip Chicken Strips hot alongside your favorite dipping sauce, whether it’s ranch, BBQ, or a spicy aioli. Enjoy this family-friendly dish that’s sure to be a hit at your dining table!
What to Serve with Crispy Kettle Chip Chicken Strips
Nothing complements these flavorful strips like a side dish that enhances their delightful crunch and baked goodness.
-
Crispy French Fries: A classic pairing, these golden fries offer a comforting contrast and provide that all-American vibe that kids and adults crave.
-
Creamy Coleslaw: The coolness of coleslaw contrasts beautifully with the warm, crispy chicken, adding a refreshing twist to every bite.
-
Garlic Mashed Potatoes: Rich and creamy, these mashed potatoes offer a satisfying heaviness that balances the lightness of your chicken strips perfectly.
-
Iceberg Wedge Salad: Crisp, crunchy lettuce topped with a tangy dressing brightens up your plate, providing a refreshing crunch alongside the savory strips.
-
Sweet Potato Fries: For a bit of sweetness, serve these lightly dusted with sea salt; their natural sugars caramelize beautifully when baked.
-
Barbecue Sauce: A tangy dipping sauce is essential; the smoky flavor perfectly complements the seasoned kettle chip coating while adding another layer of flavor.
-
Buttery Corn on the Cob: This sweet and juicy side is a seasonal delight that’s perfect for outdoor dining and adds a burst of sweetness to your meal.
-
Fruit Salad: A bowl of mixed fresh fruits provides a sweet, juicy contrast, lightening up the plate and adding a vibrant pop of color.
-
Sparkling Lemonade: Pair with a refreshing drink to cleanse your palate and enhance the meal’s overall enjoyable experience, making it perfect for family gatherings.
How to Store and Freeze Kettle Chip Chicken Strips
Fridge: Keep leftover Kettle Chip Chicken Strips in an airtight container for up to 3 days. This will help maintain their flavor and freshness.
Freezer: For longer storage, freeze the chicken strips in a single layer on a baking sheet until solid, then transfer to a freezer-safe bag for up to 3 months.
Reheating: When ready to enjoy leftovers, reheat in the oven at 375°F (190°C) for about 10-15 minutes to restore their crunchiness and warmth.
Thawing: If frozen, thaw the Kettle Chip Chicken Strips overnight in the fridge before reheating for the best texture.
Expert Tips for Kettle Chip Chicken Strips
• Uniform Cuts: Make sure to cut your chicken strips evenly. This ensures that they cook at the same rate, leading to perfectly crispy Kettle Chip Chicken Strips every time.
• Watch the Oven: Keep an eye on the baking process. If the strips appear to brown too quickly, loosely cover them with foil to prevent burning while allowing the inside to cook through.
• Double-Coating Magic: For an extra crunchy texture, consider double-coating your chicken. After the first egg and chip coating, repeat the process for an irresistible crunch that will have everyone coming back for more!
• Flavors Galore: Don’t hesitate to experiment with different kettle chip flavors or spices in the flour. This simple tweak can take your Kettle Chip Chicken Strips to the next level with exciting new tastes.
• Resist Overcrowding: When placing the breaded chicken strips on the baking sheet, ensure they have space in between. This allows hot air to circulate freely and prevents sogginess.
Kettle Chip Chicken Strips Variations
Feel free to explore these delicious twists and make the recipe your own!
-
Tortilla Chip Coating: Swap kettle chips for tortilla chips for a zesty crunch that’s perfect for taco nights. Adjust your seasonings to complement the flavor.
-
Herb-Infused Flour: Mix dried herbs like oregano or thyme into the flour for added flavor. A sprinkle of Italian seasoning can elevate these strips to new heights!
-
Spicy Option: Incorporate crushed red pepper flakes or cayenne into the flour for an extra kick. Perfect for those who enjoy a bit of heat in their meals.
-
Sweet and Spicy: Use BBQ-flavored kettle chips and a honey mustard dipping sauce for a delicious sweet and tangy pairing. A balance of flavors that will tantalize your taste buds!
-
Double-Crunch Technique: For even more texture, double-coat the strips—repeat the egg and chip process before baking. The added layer will ensure a satisfyingly crispy finish.
-
Different Dipping Sauces: Experiment with dipping sauces like spicy aioli or homemade ranch to discover unique pairings. Each flavor offers a new twist to enjoy with your strips.
-
Panko Breadcrumbs: For a unique crunch, substitute kettle chips with panko breadcrumbs for an ultra-light, crispy coating. They deliver a delightful texture that’s hard to resist.
These variations can make every meal special, whether you’re serving these Crispy Kettle Chip Chicken Strips for a cozy family dinner or a fun gathering with friends. Need more inspiration? Check out my Savory Chicken Wraps for another delightful recipe!
Make Ahead Options
These Crispy Kettle Chip Chicken Strips are perfect for meal prep, allowing you to save time on busy weeknights! You can season and bread the chicken strips up to 24 hours in advance. Simply follow the seasoning and coating steps, then place the breaded strips on a baking sheet lined with parchment paper and cover them tightly with plastic wrap before refrigerating. When you’re ready to serve, remove them from the fridge and let them sit at room temperature for about 15 minutes to ensure even cooking. Bake as directed, and you’ll have crispy strips just as delicious as if made fresh!
Kettle Chip Chicken Strips Recipe FAQs
What type of kettle chips should I use for the coating?
You can use any flavor of kettle chips, but I recommend starting with classic salted for beginners. The saltiness will enhance the chicken’s flavor without overpowering it. If you’re feeling adventurous, flavors like BBQ, cheddar, or even spicy varieties can add an exciting twist to the Kettle Chip Chicken Strips!
How should I store leftover chicken strips?
Place leftover Kettle Chip Chicken Strips in an airtight container and refrigerate them. They’ll stay fresh for up to 3 days. For the best taste and texture, eat them within this timeframe. When ready to reheat, pop them in the oven at 375°F (190°C) for about 10-15 minutes to restore their delicious crunchiness!
Can I freeze Kettle Chip Chicken Strips?
Absolutely! To freeze, arrange the chicken strips in a single layer on a baking sheet and freeze until solid. Then, transfer them to a freezer-safe bag or container. They will keep well for up to 3 months. When you’re ready to enjoy them, just thaw them overnight in the fridge before reheating.
What if my chicken strips are soggy after baking?
To prevent sogginess, make sure to give your chicken strips enough space on the baking sheet so hot air can circulate around them. If they do come out soggy, try baking them a little longer or placing them under the broiler for a minute or two to crisp them up. Monitoring the baking time is key; if they brown too quickly, cover with foil to cook through without burning.
Are there any dietary considerations to keep in mind for this recipe?
Definitely! If you’re cooking for anyone with dietary restrictions, you can substitute the all-purpose flour with gluten-free flour for those who are gluten-sensitive. For a vegan option, a flax egg can replace the traditional eggs for binding. Just mix 1 tablespoon of ground flaxseed with 2.5 tablespoons of water and let it sit until it thickens before using it in the recipe.
Crispy Kettle Chip Chicken Strips for Ultimate Crunch Joy
Ingredients
Equipment
Method
- Preheat your oven to 400°F (200°C) and line a baking sheet with parchment paper.
- Slice the chicken breasts into 1-inch wide strips.
- Blend together salt, black pepper, paprika, and garlic powder, then sprinkle it over the chicken strips.
- Prepare three shallow dishes: one with flour, one with beaten eggs, and one with crushed kettle chips.
- Dip each chicken strip into flour, then eggs, and finally roll in crushed kettle chips.
- Place each breaded chicken strip on the baking sheet with some space between them.
- Bake for 20-25 minutes until golden brown and cooked through at 165°F (74°C).
- Remove from the oven and let cool slightly before serving with your favorite dipping sauce.
Leave a Reply