
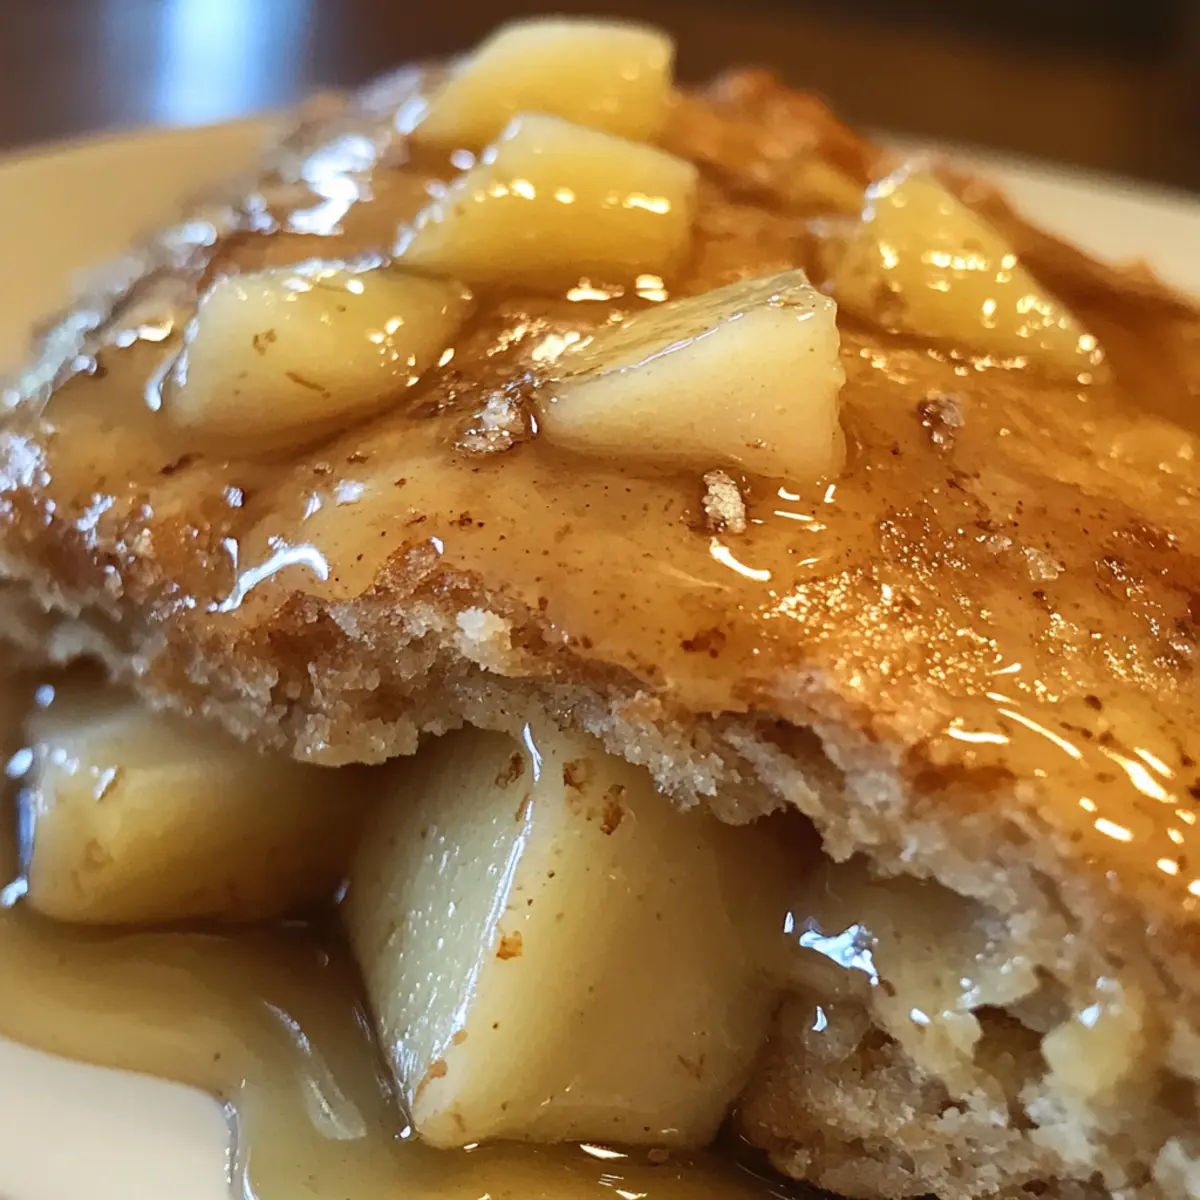
The moment I pulled these Roasted Pear and Vanilla Bean Scones from the oven, my kitchen transformed into a bakery, wrapped in the sweet scent of warm pears and aromatic vanilla. These delightful treats not only satisfy your cravings but also invite comfort into your mornings with their flaky texture and a unique salty honey glaze. Quick to whip up and made from simple ingredients, they’re perfect for a cozy brunch or a leisurely afternoon snack. Plus, with easy substitutions for gluten-free and dairy-free diets, everyone can enjoy this flavorful indulgence. Ready to bring some warmth and sweetness to your table? Let’s dive into this easy recipe!
Why Should You Bake These Scones?
Irresistible Aroma: There’s nothing like the smell of freshly baked scones wafting through your home, creating an enchanting atmosphere for friends and family.
Effortless Preparation: With just a few simple steps, you’ll have a delightful batch ready in no time—perfect for those busy mornings or when unexpected guests arrive.
Versatile Flavor: The combination of roasted pears and vanilla bean makes for a unique taste that can be easily adapted with your favorite fruits or spices.
Customizable Health Options: This recipe supports gluten-free and dairy-free options, ensuring that everyone can indulge in this scrumptious treat. Try pairing them with a refreshing salad, or for something sweet, consider serving with a dollop of whipped cream or alongside a cup of herbal tea, just like our Chai Pear Scones.
Crowd-Pleaser: These scones aren’t just a breakfast option—they’re perfect for brunch gatherings, afternoon tea, or even as a cozy dessert.
Roasted Pear and Vanilla Bean Scones Ingredients
For the Scones
- All-purpose flour – Provides structure; can be replaced with gluten-free flour for a GF version.
- Baking powder – Essential for leavening and creating a light texture.
- Salt – Enhances flavor and balances sweetness; use kosher salt for best results.
- Unsalted butter – Adds richness and creates flakiness; vegan butter can be used for a dairy-free option.
- Granulated sugar – Sweetens the dough; brown sugar offers a deeper flavor if preferred.
- Milk – Contributes moisture; any dairy or non-dairy milk works, including almond or oat milk.
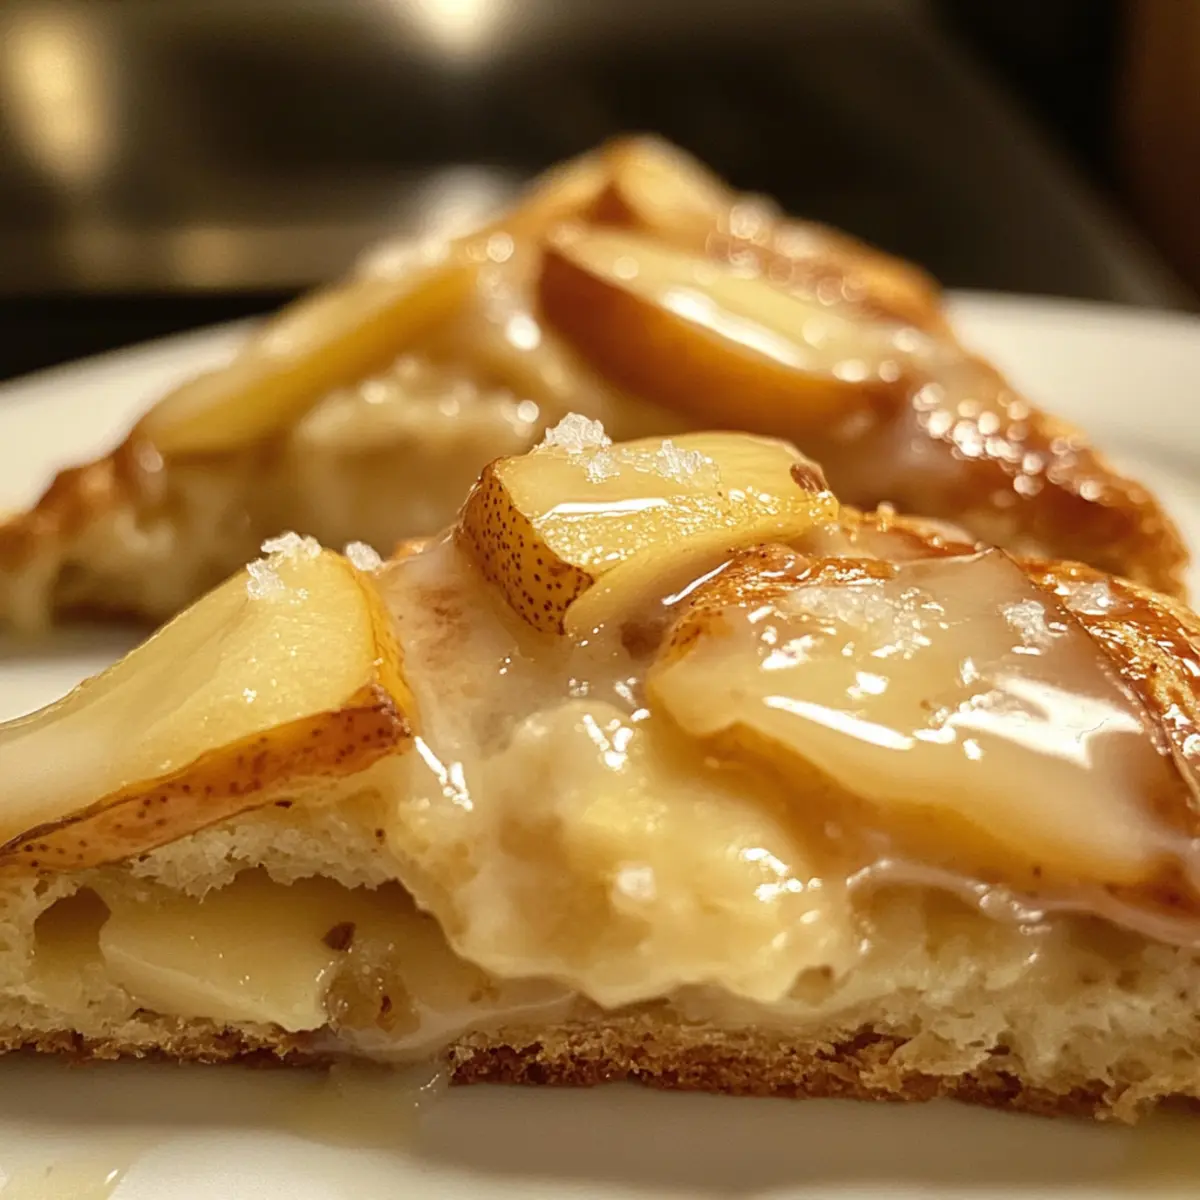
- Roasted pears – Adds natural sweetness and moisture; ripe pears yield optimal flavor.
- Vanilla bean (seeds or extract) – Provides aromatic depth; substitute with vanilla extract if necessary.
For the Salty Honey Glaze
- Honey – Key sweet component; adjust the amount to cater to your taste preference.
- Flaky sea salt – Enhances the sweet glaze; kosher salt can be used instead.
Step‑by‑Step Instructions for Roasted Pear and Vanilla Bean Scones
Step 1: Preheat Your Oven
Start by preheating your oven to 400°F (200°C). This step is crucial for achieving that golden, flaky exterior on your Roasted Pear and Vanilla Bean Scones. As you wait for the oven to heat up, prepare your baking sheet by lining it with parchment paper, which will prevent sticking and make cleanup easy.
Step 2: Roast the Pears
Next, dice your ripe pears into small chunks and spread them evenly on a baking sheet. Roast in the preheated oven for about 10-15 minutes until they are slightly softened and fragrant. Stir them halfway through to ensure even roasting, which will enhance their natural sweetness and create a delicious base for your scones.
Step 3: Mix the Dry Ingredients
In a large mixing bowl, whisk together 2 cups of all-purpose flour, 1 tablespoon of baking powder, and a pinch of salt. This dry mixture forms the foundation of your scone dough. Make sure to incorporate the ingredients well, as this will create the right texture for your Roasted Pear and Vanilla Bean Scones, resulting in a light and airy final product.
Step 4: Incorporate the Butter
Cold is key! Cut 6 tablespoons of unsalted butter into the dry mixture using a pastry cutter or your fingers until the mixture resembles coarse crumbs. The goal is to create a flaky texture, so work quickly to prevent the butter from melting. This step is essential for achieving the perfect buttery layers in your scones.
Step 5: Combine Wet Ingredients
Now, stir in 1/3 cup of granulated sugar, 1 cup of milk, the roasted pear chunks, and the seeds from half a vanilla bean—or 1 teaspoon of vanilla extract. Gently mix until just combined; be careful not to overmix. The mixture should be slightly sticky and will create the tender crumb necessary for your Roasted Pear and Vanilla Bean Scones.
Step 6: Shape the Dough
Turn the dough out onto a lightly floured surface and shape it into a 1-inch thick disc. Use a sharp knife to cut it into 8 wedges. Transfer the wedges onto the prepared baking sheet, making sure to leave a bit of space between them. This will allow the scones to rise and expand evenly as they bake.
Step 7: Bake the Scones
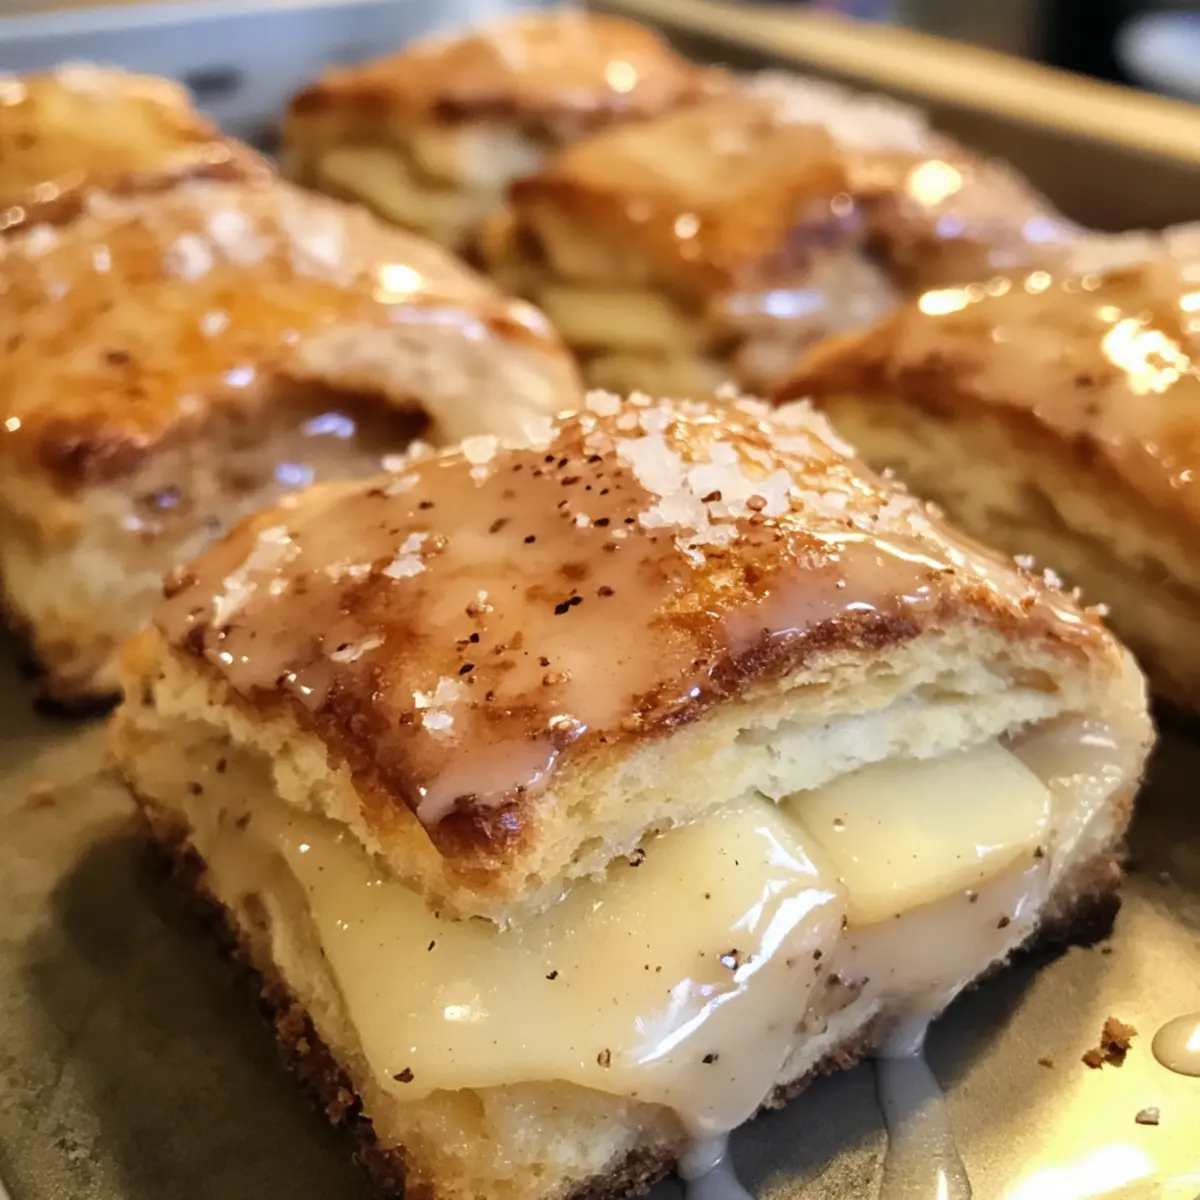
Place the baking sheet in the oven and bake the scones for about 20-25 minutes, or until they turn a lovely golden brown. You’ll know they’re done when they have risen beautifully and a toothpick inserted into the center comes out clean. This is the moment to soak in the delightful smell wafting through your kitchen!
Step 8: Prepare the Glaze
While the scones are baking, make the salty honey glaze. In a small bowl, whisk together 1/4 cup of honey and a pinch of flaky sea salt until smooth. This simple yet flavorful glaze will add a perfect finishing touch to your Roasted Pear and Vanilla Bean Scones once they cool slightly.
Step 9: Glaze the Scones
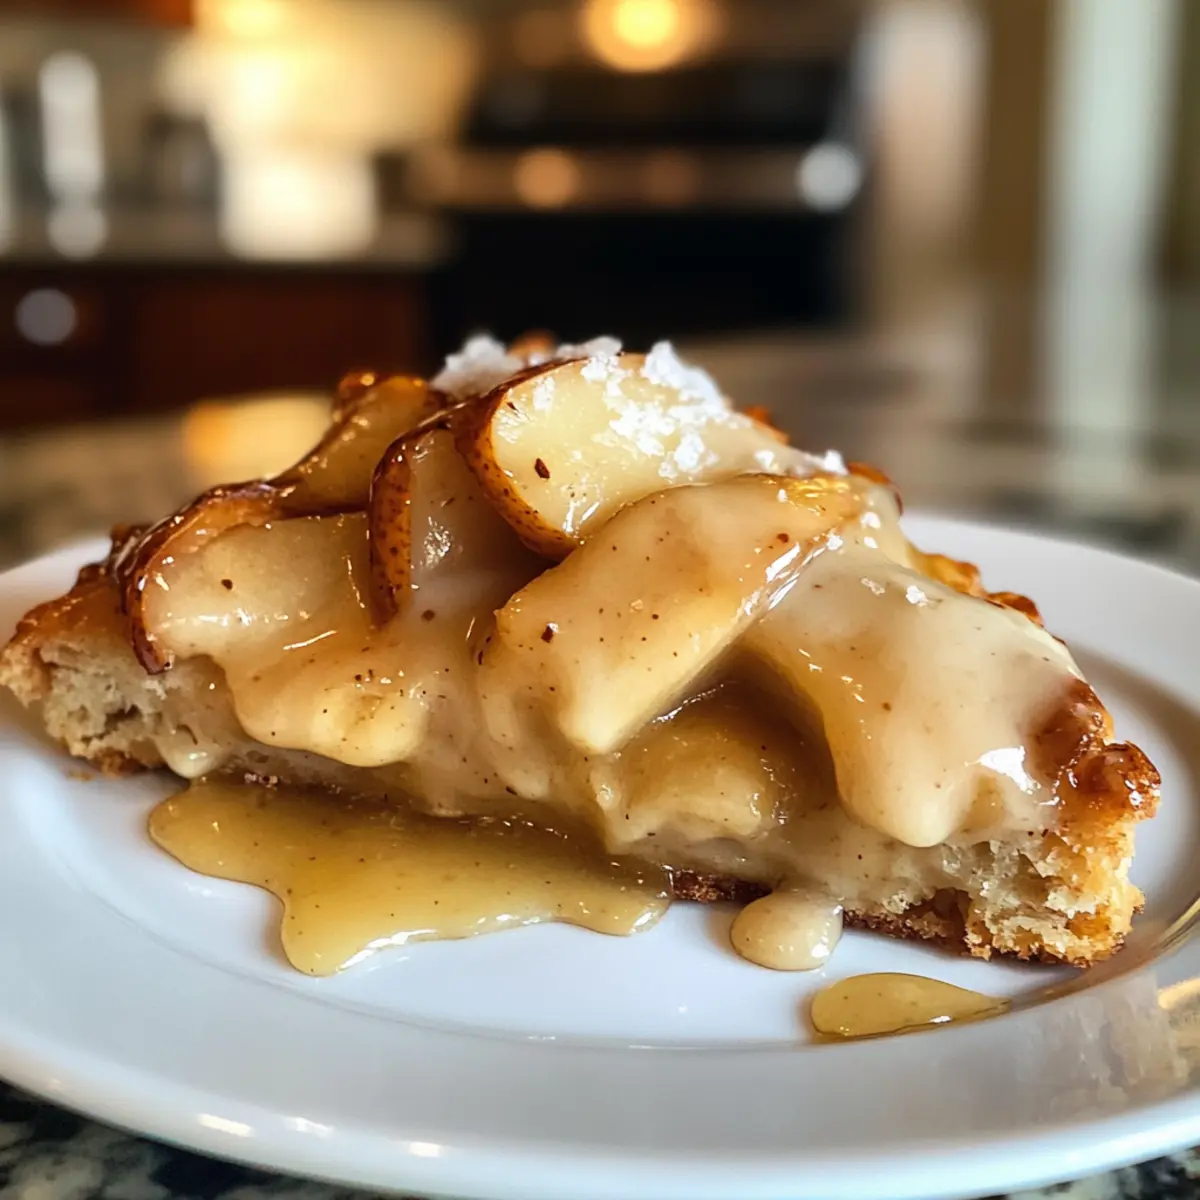
Once your scones have cooled for about 5 minutes, drizzle the salty honey glaze generously over the top of each scone. Let the glaze set for a moment, allowing it to soak into the warm scones and add that lovely sweetness. Your Roasted Pear and Vanilla Bean Scones are now ready to enjoy!
Roasted Pear and Vanilla Bean Scones Variations
Feel free to get creative with this recipe—let your taste buds guide you as you experiment with delightful twists!
-
Nut Addition: Stir in chopped walnuts or pecans for a delightful crunch that complements the sweet pears.
-
Fruit Swap: Change things up by substituting roasted pears with apples or juicy peaches for a seasonal touch. Each fruit brings its own flavor, enhancing your scone experience.
-
Spice it Up: Add a dash of cinnamon or nutmeg to the dough for cozy warmth and inviting aroma. Spice can transform these scones into a comforting treat!
-
Citrus Zest: Grate in some lemon or orange zest to brighten the flavor profile and add a refreshing twist that’s perfect for spring.
-
Custom Sweeteners: Swap granulated sugar with pure maple syrup or honey for natural sweetness. This change can bring a richer flavor depth.
-
Savory Option: Fold in crumbled goat cheese or feta. This savory twist balances the sweetness of the glaze perfectly and is a fantastic option for brunch.
-
Chocolate Drizzle: Top your scones with a silky drizzle of melted dark chocolate. It adds an indulgent touch that chocolate lovers will adore.
Feel inspired? These variations offer endless enjoyment, just like a spoonful of our flavorful Pear Potato Soup. And don’t forget to pair your scones with a delicious cup of warm tea or a fresh salad, like our Roasted Carrots and Apples, for a well-rounded meal. Enjoy your baking journey!
Expert Tips for Roasted Pear and Vanilla Bean Scones
- Chill Your Ingredients: Keeping your butter and milk cold until use ensures a flaky texture in your scones. Warm ingredients can lead to dense scones.
- Don’t Overmix: Mix until ingredients are just combined. Overmixing develops gluten and may yield tough scones instead of tender, airy bites.
- Roast Pears Perfectly: Ensure pears are roasted until just softened; overcooking can release too much moisture into the dough, making it soggy.
- Customize Sweetness: Adjust the amount of honey in the glaze to match your preference. A little goes a long way, especially if you prefer a subtle sweetness for your scones.
- Experiment with Flavors: Feel free to add spices like cinnamon or nutmeg or substitute fruits to give your Roasted Pear and Vanilla Bean Scones a twist!
Make Ahead Options
These Roasted Pear and Vanilla Bean Scones are perfect for busy cooks looking to save time! You can prepare the scone dough up to 24 hours in advance by mixing and shaping it, then cover it tightly in plastic wrap and refrigerate. The roasted pears can also be prepped ahead and stored in the fridge for up to 3 days, ensuring they are ready to go when you are. When you’re ready to bake, simply place the dough on a baking sheet and pop it into the oven, adding an extra few minutes to the baking time if it’s been chilled. This way, you can enjoy delicious, freshly-baked scones with minimal morning effort, just as delightful as if you made them from scratch that day!
How to Store and Freeze Roasted Pear and Vanilla Bean Scones
Room Temperature: Store scones in an airtight container at room temperature for up to 3 days to retain their delicious taste and texture.
Fridge: If you prefer to keep them longer, refrigerate for up to 5 days, but note this may affect their flakiness. Reheat gently in the oven for best results.
Freezer: For longer storage, freeze unglazed scones in a single layer, then transfer them to a freezer bag for up to 3 months. Bake from frozen, adding a few extra minutes to the cooking time.
Reheating: To enjoy later, reheat scones in a preheated oven at 350°F (175°C) for about 10 minutes to bring back their warm, flaky goodness.
What to Serve with Roasted Pear and Vanilla Bean Scones
Imagine a cozy brunch spread that pairs beautifully with your freshly baked scones, where every bite delivers warmth and delight.
- Whipped Cream: Light and airy, a dollop of whipped cream adds a luscious touch, balancing the sweetness of the scones.
- Fresh Fruit Salad: A medley of seasonal fruits brightens the plate and brings a refreshing contrast to the rich flavors of the scones.
- Herbal Tea: The aromatic notes of herbal tea perfectly complement the pears and vanilla, creating a soothing pairing for any time of the day.
- Sparkling Lemonade: A fizzy, citrusy drink adds a fun twist, enhancing the sweetness of the honey glaze while keeping your brunch lively.
- Chai Latte: The spices in chai accentuate the warm flavors of the scones, wrapping you in comfort with each sip.
- Creamy Yogurt: A side of yogurt, perhaps drizzled with a little honey or topped with nuts, introduces a creamy element to enjoy alongside each bite.
- Cheese Platter: Soft cheeses like brie or goat cheese introduce a savory note, creating a delightful contrast to the sweetness of the scones.
- Chocolate Drizzle: For an indulgent twist, drizzle some melted dark chocolate over the scones for an extra layer of flavor.
- Maple Syrup: A light drizzle of maple syrup enhances the scones’ sweetness and adds a beautiful shine, making them even more irresistible.
Roasted Pear and Vanilla Bean Scones Recipe FAQs
What kind of pears should I use for roasting?
Absolutely! For the best flavor, choose ripe pears that yield slightly to pressure but are not overly soft. Varieties like Bartlett or Anjou are perfect since they’ll become wonderfully sweet and juicy when roasted. Avoid pears that have dark spots all over, as these might be overripe.
How should I store the roasted pear and vanilla bean scones?
You can store your scones in an airtight container at room temperature for up to 3 days. If you decide to refrigerate them, they’ll last for about 5 days, though this may slightly alter their texture. Just remember to heat them gently in the oven to regain that fresh-baked taste!
Can I freeze the scones for later?
Very! To freeze your unglazed scones, lay them out on a baking sheet in a single layer and freeze until solid. Then, place them in a freezer bag for up to 3 months. When you’re ready to bake, simply pop them in the oven from frozen, adding a few extra minutes to the baking time. They’ll taste freshly made!
What if my dough turns out too sticky?
Don’t worry! If your scone dough is too sticky, it could be due to the moisture from the roasted pears. You can gently sprinkle a little more flour on your work surface as you shape the dough to make it more manageable. Remember, just a little extra flour can go a long way—so add it gradually until you feel comfortable working with the dough.
Are these scones safe for those with dietary restrictions?
Yes! This recipe is incredibly versatile. You can easily substitute all-purpose flour with a gluten-free blend and swap out unsalted butter for vegan butter to make it dairy-free. Always check the specific ingredients, like honey, if allergies are a concern. Everyone can enjoy these flavorful Roasted Pear and Vanilla Bean Scones!
Roasted Pear and Vanilla Bean Scones for Cozy Mornings
Ingredients
Equipment
Method
- Preheat your oven to 400°F (200°C) and line a baking sheet with parchment paper.
- Dice the pears into small chunks, spread them on a baking sheet, and roast for 10-15 minutes.
- In a mixing bowl, whisk together the flour, baking powder, and salt.
- Cut the butter into the dry mixture until it resembles coarse crumbs.
- Stir in the sugar, milk, roasted pears, and vanilla until just combined.
- Turn the dough out, shape into a disc, and cut into 8 wedges. Transfer to the baking sheet.
- Bake the scones for 20-25 minutes or until golden brown.
- Whisk together the honey and flaky sea salt to prepare the glaze.
- Drizzle the glaze over the scones after cooling for 5 minutes.
Leave a Reply