
As I rummaged through my kitchen, a mountain of leftover cake stared back at me, begging for a makeover. That’s when the idea hit—why not turn it into something delightfully spooky? Enter my Easy Halloween Cakesicles Recipe! These little treats are perfect for engaging your kids in some festive fun, and they couldn’t be simpler to whip up. With a soft, cake-and-frosting center nestled in a luscious chocolate coating, they provide a delicious way to celebrate the season. Plus, their customizable nature means you can mix and match flavors and toppings, making them a crowd-pleaser at any Halloween gathering. Are you ready to embark on a baking adventure and transform those leftovers into something magical? Let’s dive in!
Why are Halloween Cakesicles a must-try?
Engaging your kids in the kitchen has never been more fun! These Halloween cakesicles are a vibrant way to use leftover cake, transforming it into something whimsical. Customizable to your taste, you can swap frosting flavors and add festive sprinkles, creating unique treats. Easy to make, this recipe offers a delightful bonding experience without complicated steps. Crowd-pleasing and visually appealing, they’re perfect for parties and school functions. Plus, you can check out more fun treats like Halloween Vampire Bite Cupcakes for a complete spooky dessert table!
Halloween Cakesicles Recipe Ingredients
For the Cakesicle Filling
• Leftover Cake or Cupcakes – Any cake flavor works great; red velvet adds a festive touch!
• Frosting – Use cream cheese or buttercream for a moist and delicious bind.
For the Chocolate Coating
• Coating Chocolate or Candy Melts – Choose high-quality chocolate like Ghirardelli to ensure tasty treats, or use festive orange and black candy melts for Halloween vibes.
• Food Coloring (optional) – Enhance the chocolate with oil-based colors or powdered food color for extra spookiness!
For the Molding
• Cakesicle Molds – Having multiple molds helps speed up your creation process, allowing for lots of Halloween cakesicles to enjoy!
Step‑by‑Step Instructions for Halloween Cakesicles Recipe
Step 1: Prep Cake Mixture
Begin by crumbling your leftover cake or cupcakes in a large mixing bowl. Mix in enough frosting to bind the crumbs together, creating a dough-like consistency that holds its shape when pressed. This mixture should feel moist but not overly wet, ensuring a delightful center for your Halloween cakesicles.
Step 2: Fill Molds
Take your cakesicle molds and firmly press the cake mixture into each cavity, making sure to distribute it evenly and compactly. Use the back of a spoon or your fingers to pack the mixture tightly, preventing air pockets. Fill each mold to the top for the best results, preparing to create delightful Halloween cakesicles.
Step 3: Chill
Once your molds are filled, place them in the freezer for about 30 to 60 minutes. This chilling time is crucial, as it helps the cakesicles firm up enough to easily pop out of the molds later. Look for them to feel solid and firm to the touch before proceeding to the next step.
Step 4: Melt Coating Chocolate
While the cakesicles chill, prepare your coating chocolate or candy melts according to the package instructions. If desired, add food coloring to achieve vibrant spooky hues. Use a microwave in short bursts, stirring frequently until the chocolate is smooth and melted, creating a perfect coating for your Halloween cakesicles.
Step 5: Coat Cakesicles
Carefully remove the chilled cakesicles from the molds. Dip each one into the melted chocolate, allowing any excess to drip off. Aim for an even coating that thoroughly covers the entire surface, giving your Halloween cakesicles a delicious chocolate shell to complement the cake inside.
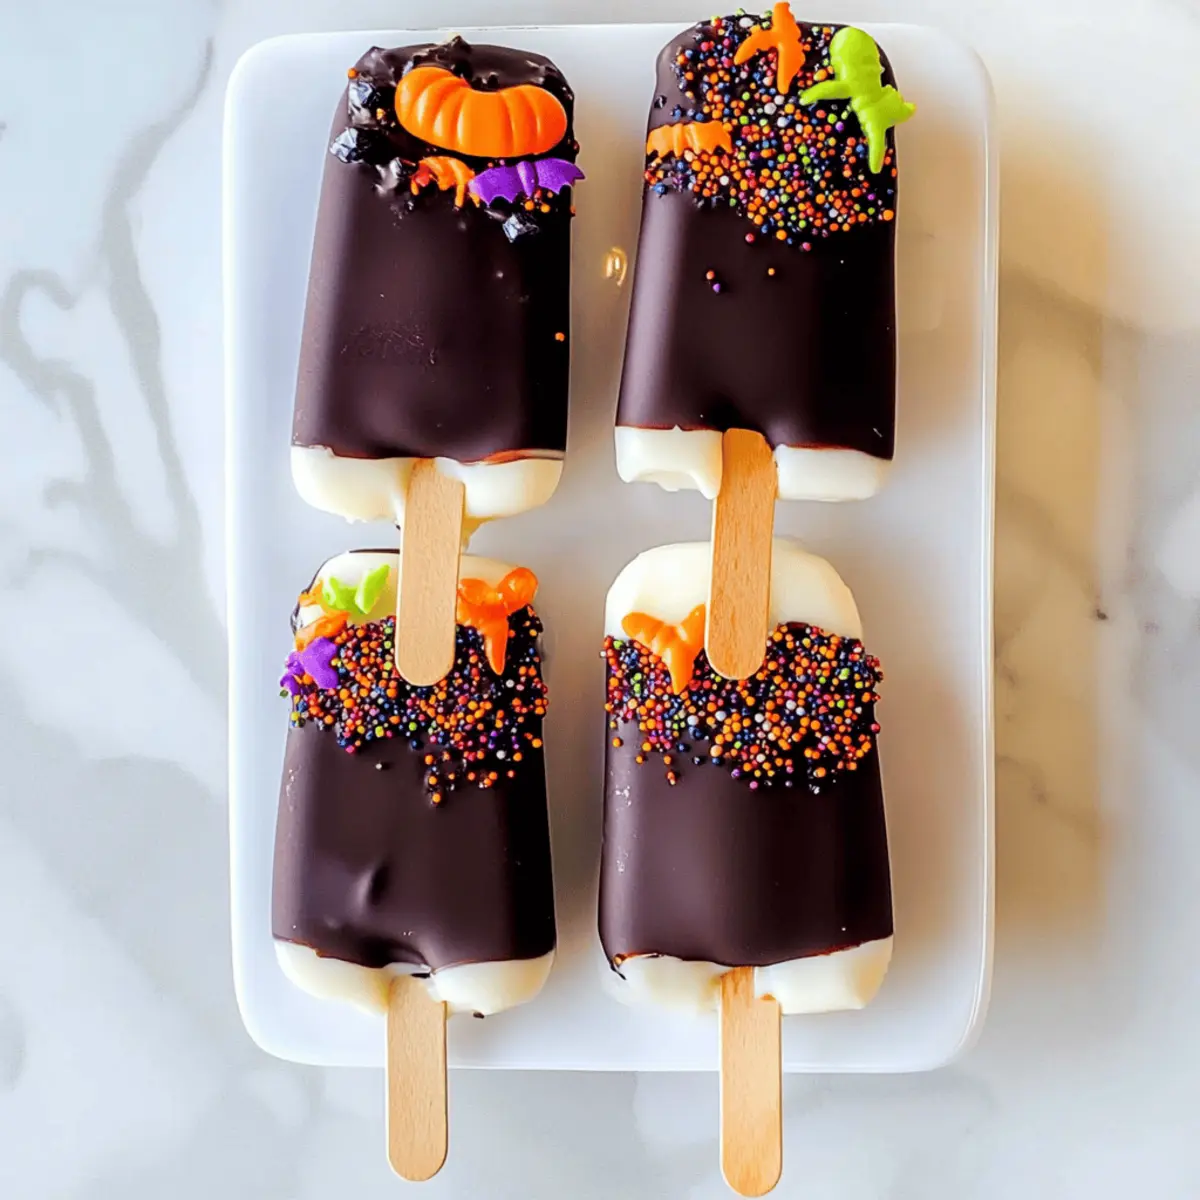
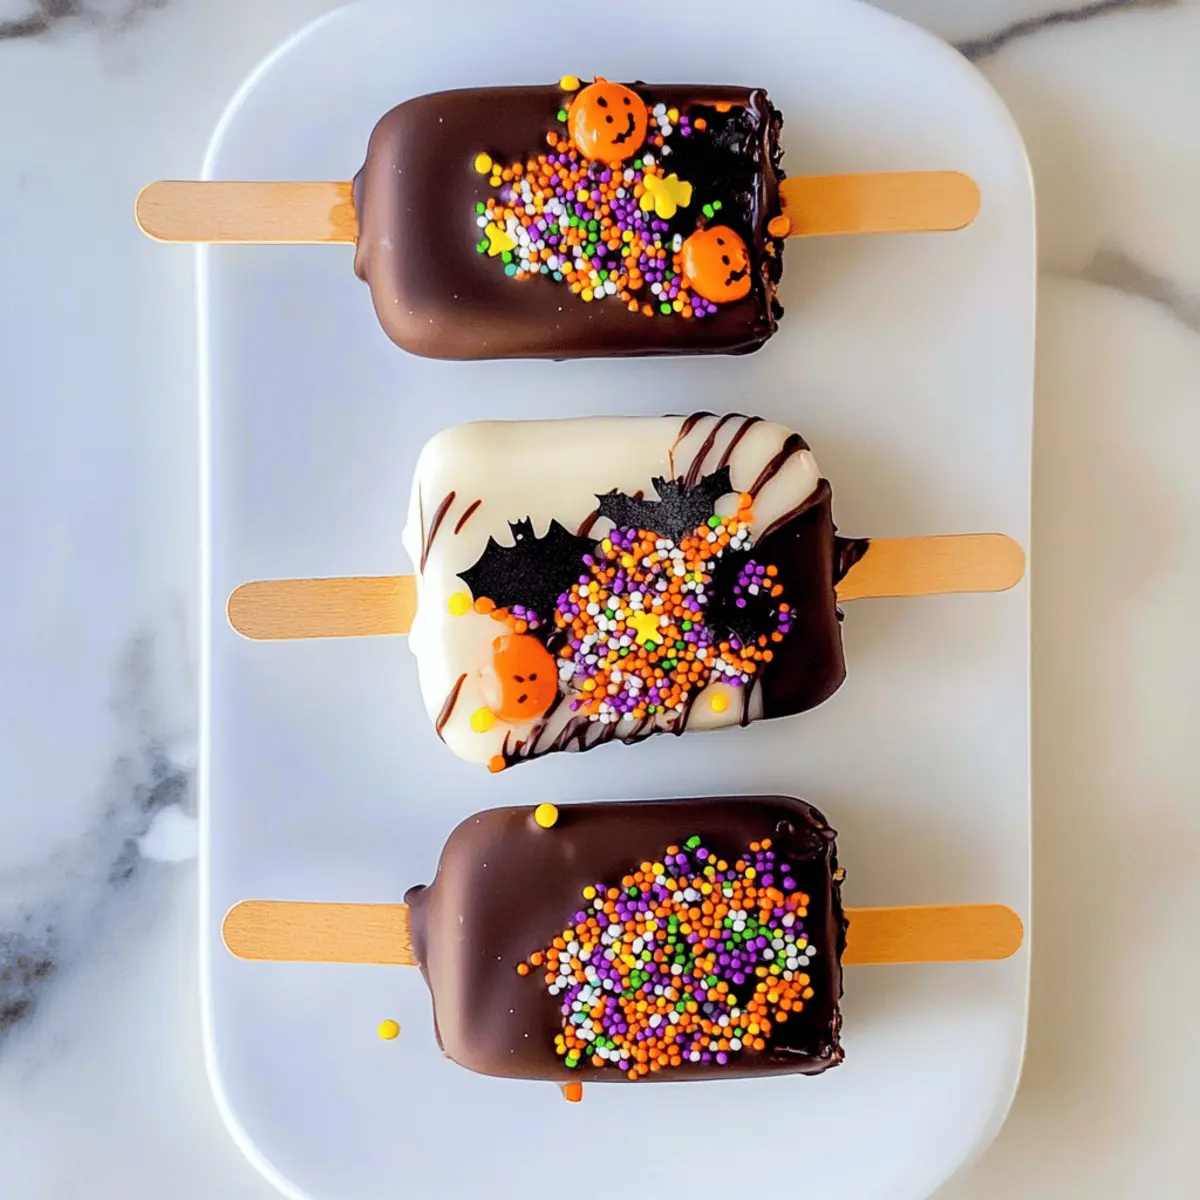
Step 6: Decorate
Before the chocolate coating sets, get creative! Sprinkle with Halloween-themed decorations, such as festive sprinkles or edible glitter. For added flair, use contrasting colored chocolate to drizzle designs over the top. This step allows you to personalize your Halloween cakesicles and make them extra special!
Step 7: Set and Serve
Allow the decorated cakesicles to set at room temperature until the chocolate hardens completely. This process won’t take long, but you can also refrigerate them for a quicker set. Once solid, your Halloween cakesicles are ready to serve and enjoy, making for a fun and tasty treat at any festive gathering!
Halloween Cakesicles Recipe Variations
Feel free to get creative with this Halloween cakesicles recipe and make it your own!
-
Flavor Swap: Change up your cake base to chocolate, vanilla, or funfetti for different themes. Each flavor offers a unique surprise in every bite, keeping things festive and exciting!
-
Frosting Twist: Use flavored frosting like orange cream or peanut butter for added richness. Matching frosting to your cake creates a harmonious balance of flavors that your family will rave about.
-
Crunchy Toppings: Add textures with crushed cookies, nuts, or candy. Sprinkle crushed Oreos on top for a fun Halloween look that adds both taste and crunch—the perfect way to impress at your next gathering!
-
Spicy Surprise: Incorporate a hint of cinnamon or nutmeg into the cake filling for a warm autumn flavor. This subtle heat can elevate an ordinary dessert into something special and seasonal.
-
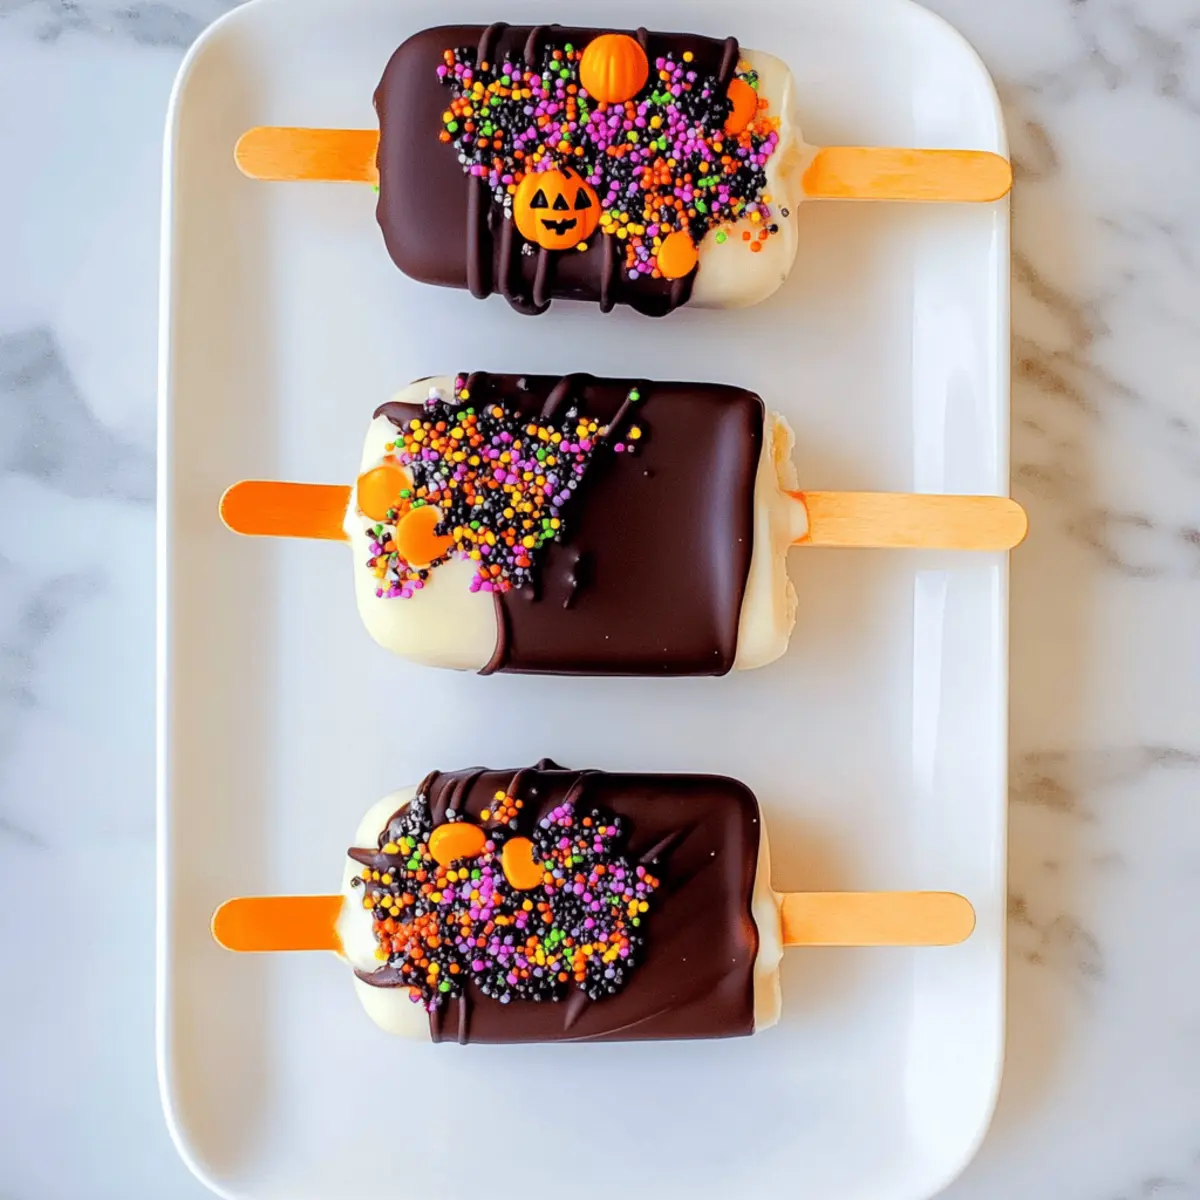
Themed Colors: Use colorful melted candy coats to match your party theme. Painting the cakesicles with shades of purple and green can bring an enchanting feel for Halloween festivities.
-
Healthier Option: Substitute regular chocolate with dark chocolate or sugar-free candies if you’re looking for a lighter treat. This way, you enjoy the deliciousness while still being mindful of health.
-
Mini Version: Create mini cakesicles using smaller molds for bite-sized treats. They’re perfect for kids’ hands and an adorable addition to dessert tables!
For more terrific treats, consider making Cheesy Halloween Breadstick or indulge in a cozy Oreo Cheesecake Cookie. Happy baking!
Expert Tips for Halloween Cakesicles Recipe
• Compact Mixture: Ensure the cake mixture is tightly packed in the molds. If it’s too loose, your cakesicles may crumble when dipped in chocolate.
• Chocolate Consistency: Avoid over-melting the chocolate. If it becomes too thick, it won’t coat smoothly, leading to unevenly covered Halloween cakesicles.
• Chill Well: Make sure to chill the molds for a full 30-60 minutes. This is key for firm cakesicles that pop out easily without breaking.
• Creative Decorations: Experiment with various toppings like crushed cookies or sprinkles. Halloween-themed decorations help make your cakesicles visually exciting and fun for kids!
• Flavor Mixing: Don’t hesitate to swap cake flavors and frostings based on your leftovers. Customization is what makes this Halloween cakesicles recipe a crowd-pleaser.
Storage Tips for Halloween Cakesicles
Fridge: Store your Halloween cakesicles in an airtight container in the refrigerator for up to 1 week. This keeps them fresh and delicious for your next spooky snack!
Freezer: For longer storage, freeze uncoated cakesicles by wrapping them tightly in plastic wrap, then placing them in a freezer-safe bag. They can last up to 3 months.
Reheating: If you prefer to enjoy them slightly warm, let the frozen cakesicles thaw in the fridge overnight before dipping them in melted chocolate for a freshly-made taste.
Decorations: If you’ve already decorated your cakesicles, let the chocolate set completely, then store them in the refrigerator. Consume within a week for the best flavor and texture from this delightful Halloween cakesicles recipe!
Make Ahead Options
These Halloween Cakesicles are perfect for busy home cooks looking to save time! You can prepare the cake mixture up to 24 hours in advance. Simply crumble your leftover cake with frosting, form it into the molds, and freeze. When ready to serve, remove the cakesicles from the freezer and dip them in melted chocolate, ensuring an even coat. For best results, decorate them right after coating and let them set at room temperature or refrigerate for a quicker firm up. By prepping in advance, you’ll have delicious Halloween cakesicles ready to impress with minimal last-minute effort, making your festive gathering hassle-free!
What to Serve with Easy Halloween Cakesicles?
Create a complete festive experience with these delightful treats that are perfect for celebrating Halloween!
-
Choco-Covered Pretzels: The sweet and salty combo complements the rich cakesicles, adding a crunchy texture to your dessert spread. Perfectly festive in orange and black!
-
Pumpkin Spice Latte: This warm, spiced drink brings cozy autumn flavors to your party, pairing beautifully with the sweet treats. It’s a true seasonal delight!
-
Spooky Fruit Kabobs: Fresh fruits like melon and strawberries cut into Halloween shapes add a refreshing contrast to the richness of cakesicles, making the plate colorful and fun.
-
Candy Corn Cupcakes: Embrace the quintessential Halloween treat with soft, fluffy cupcakes decorated in that iconic tri-color pattern. Their sweetness beautifully complements the flavors of your cakesicles.
-
Witch’s Brew Punch: Serve a vibrant, fruity punch that captures the Halloween spirit and quenches thirst. The lively color makes it a showstopper alongside your cakesicles.
-
Gummy Worms: These classic candies bring a fun and playful element to the dessert table, enhancing the festive spirit and satisfying sweet cravings.
-
Creamy Vanilla Ice Cream: Add a scoop of silky ice cream for a deliciously cold contrast to the chocolate coating on your cakesicles. This classic pairing is sure to be a hit!
-
Mummy Dog Appetizers: Savory mummies made from hot dogs wrapped in crescent dough offer a tasty, playful appetizer that balances the sweetness of your cakesicles perfectly.
Halloween Cakesicles Recipe FAQs
How do I choose the right leftover cake for my Halloween cakesicles?
Absolutely! Any leftover cake or cupcake flavor works wonderfully, so feel free to get creative. Red velvet is particularly festive, but chocolate, vanilla, or funfetti cakes will also make delicious cakesicles. Just ensure the cake is fresh and moist for the best texture in your treats.
What is the best way to store Halloween cakesicles?
To keep your Halloween cakesicles fresh, store them in an airtight container in the refrigerator for up to 1 week. This will help maintain their texture and flavor. If you want to extend their shelf life, you can freeze uncoated cakesicles: wrap them tightly in plastic wrap and place them in a freezer-safe bag; they can last up to 3 months!
Can I freeze Halloween cakesicles?
Very! Freezing cakesicles is a great option for making them ahead of time. To freeze, simply wrap uncoated cakesicles individually in plastic wrap. For best results, place them in a freezer-safe bag afterward. Whenever you’re ready to enjoy them, simply thaw in the refrigerator overnight and coat them in chocolate right before serving!
What if my cakesicles are sticking to the molds?
If your cakesicles are sticking, don’t worry! To prevent this for next time, make sure to pack the cake mixture tightly into the molds. If they stick, use a toothpick to gently pry them out. For easier release, consider lightly greasing the molds with non-stick spray before filling them up.
Are there any dietary considerations I should keep in mind?
Definitely! If you’re making Halloween cakesicles for a gathering, keeping dietary restrictions in mind is important. Be aware of potential allergies by asking guests about food sensitivities, especially regarding common allergens like gluten or dairy found in the cake and frosting. You can also adapt the recipe with gluten-free cake options or dairy-free frosting to cater to different dietary needs.
Can I customize the decorations on my cakesicles?
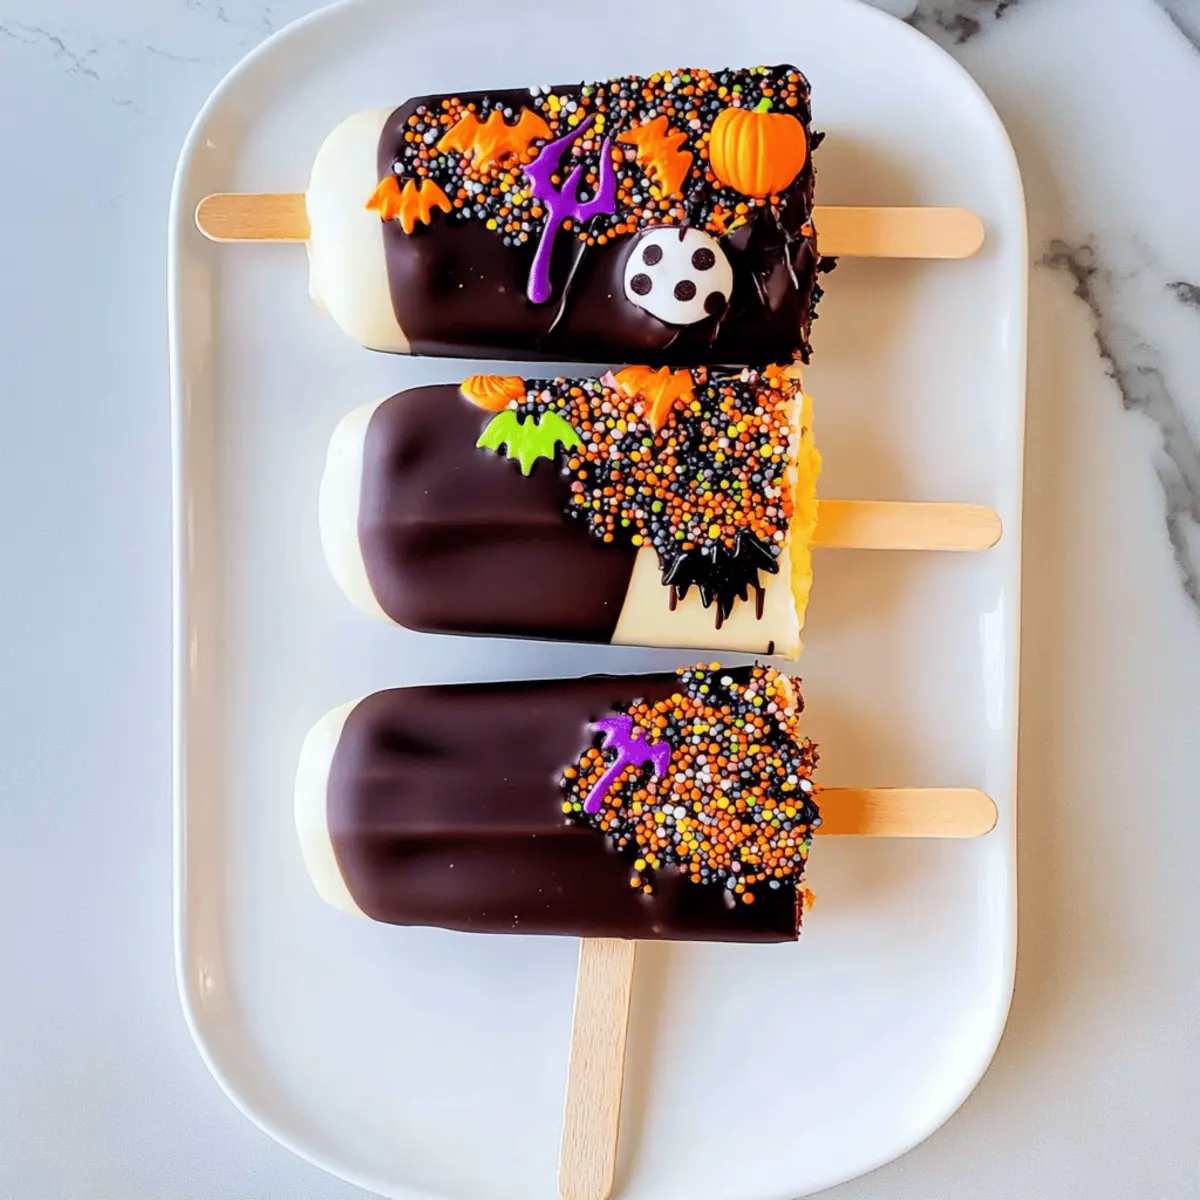
The more the merrier! Decorating your Halloween cakesicles can be as fun and creative as you like. Use seasonal sprinkles, edible glitter, or even crushed cookies for added texture. Don’t hesitate to drizzle different colored chocolate over the tops to create festive designs that match your Halloween theme!
Irresistible Halloween Cakesicles Recipe to Delight Everyone
Ingredients
Equipment
Method
- Begin by crumbling your leftover cake or cupcakes in a large mixing bowl. Mix in enough frosting to bind the crumbs together, creating a dough-like consistency.
- Take your cakesicle molds and firmly press the cake mixture into each cavity, distributing it evenly and compactly.
- Once your molds are filled, place them in the freezer for about 30 to 60 minutes to firm up.
- While the cakesicles chill, prepare your coating chocolate or candy melts according to the package instructions, stirring until smooth.
- Carefully remove the chilled cakesicles from the molds and dip each one into the melted chocolate.
- Before the chocolate coating sets, decorate with Halloween-themed decorations or contrasting chocolate designs.
- Allow the decorated cakesicles to set at room temperature until the chocolate hardens completely.
Leave a Reply