
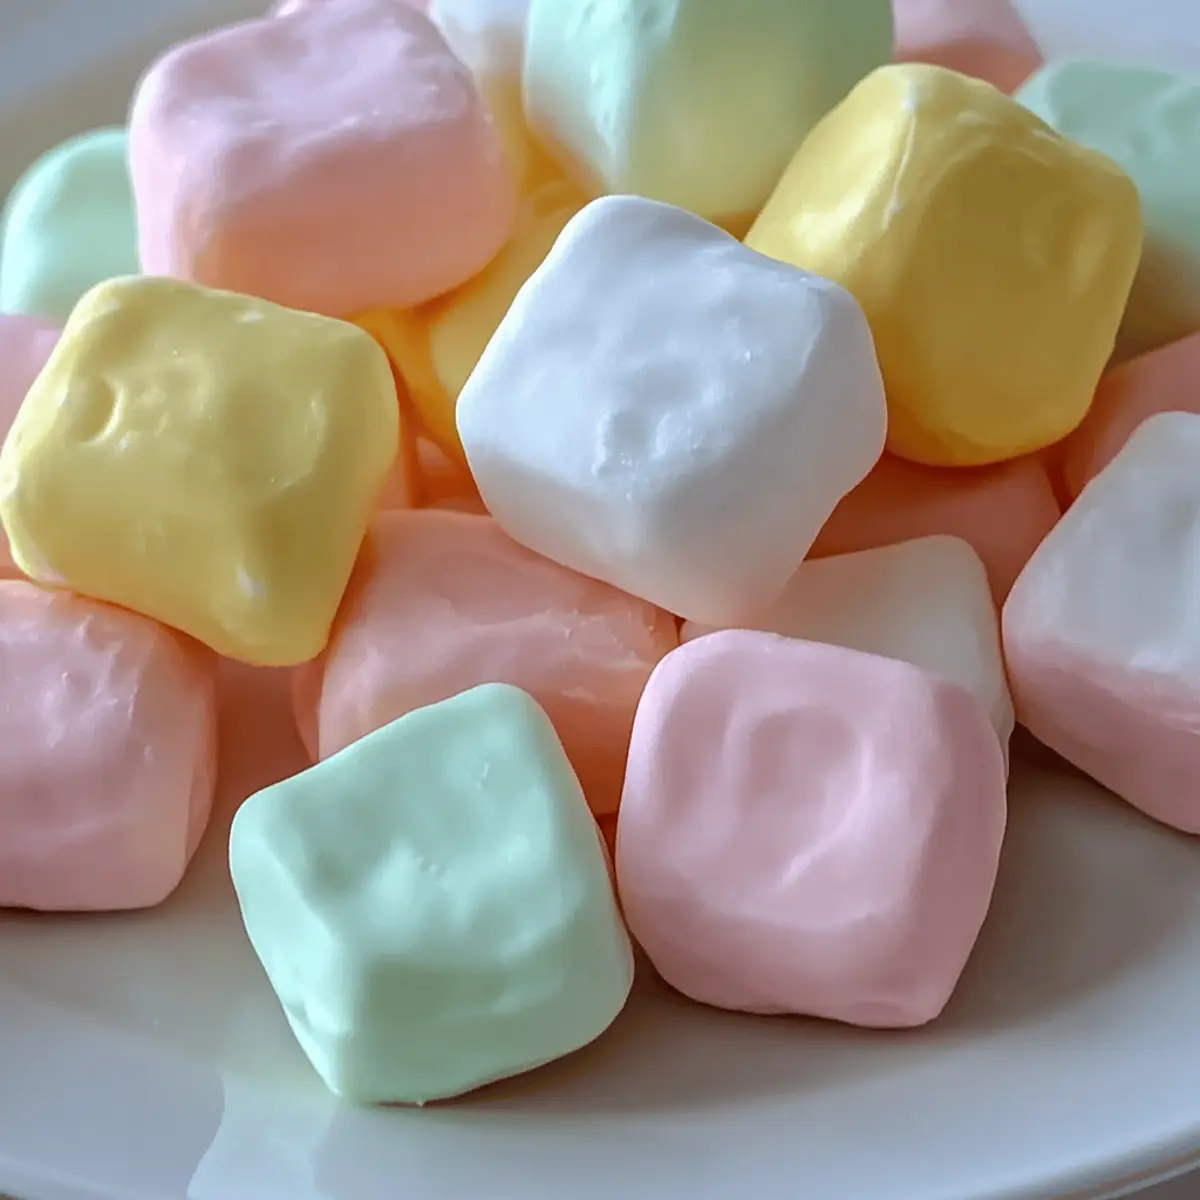
As I sat sipping my morning coffee, the aroma of peppermint filled the air, transporting me back to joyful days spent in my grandmother’s kitchen. Today, I’m excited to share my recipe for the Best Homemade Butter Mints, creamy candies that bring a delightful wave of nostalgia with every bite. These little treasures are not only simple to whip up, but they also make for a charming addition to any celebration—whether it’s a wedding or just a Tuesday afternoon craving. Easy to customize with vibrant food coloring, these mints will mesmerize both young and old alike. Are you ready to revisit those sweet memories and create your own batch?
Why Are Homemade Butter Mints Special?
Nostalgic Delights: These butter mints evoke cherished memories of childhood celebrations, making them a favorite at any gathering.
Easy to Make: With just a handful of ingredients, you can create these creamy candies without any advanced skills.
Perfect for Customization: Add vibrant colors or mix in your favorite extracts for a personal touch that impresses guests.
Great for Gifting: Pack them in a cute jar as thoughtful party favors or a delightful surprise for friends.
Long-Lasting Freshness: Store them effortlessly at room temperature or in the fridge for indulgent treats that last for weeks. Try pairing these mints with other homemade treats like Peanut Butter Oat Cups for a burst of flavor!
Best Homemade Butter Mints Ingredients
-
For the Candy Base
-
Unsalted Butter (½ cup) – Provides creaminess and richness; use salted butter for a different flavor profile.
-
Powdered Sugar (4 cups) – Sweetens the mints and gives them their soft texture; it is best to sift to avoid lumps.
-
Heavy Cream (2 tablespoons) – Adds moisture and helps achieve a dough-like consistency; can substitute with milk for lighter mints.
-
Peppermint Extract (¼ teaspoon) – Offers the characteristic mint flavor; vanilla extract can be used for a different taste.
-
Vanilla Extract (½ teaspoon) – Enhances flavor complexity; optional but recommended.
-
Pinch of Salt – Balances sweetness; omit if using salted butter.
-
For the Decoration
-
Food Coloring (optional) – Adds visual appeal; use gel-based colors for best results.
Step‑by‑Step Instructions for Best Homemade Butter Mints
Step 1: Cream the Butter
In a large mixing bowl, beat ½ cup of softened unsalted butter with a pinch of salt on medium speed until it achieves a smooth and creamy consistency, which should take about 2 minutes. Ensure your butter is fully softened for optimal mixing. A pale and fluffy texture is the visual signal that you’re ready to proceed to the next step.
Step 2: Incorporate the Sugar
Gradually add in 4 cups of sifted powdered sugar while mixing on low speed to prevent a sugary cloud. Continue mixing until the powdered sugar is fully integrated and forms a thick, cohesive mixture. This process might take around 3-5 minutes, and it should start to look like a dough, which is ideal for your Best Homemade Butter Mints.
Step 3: Add Flavorings and Cream
Mix in 2 tablespoons of heavy cream, ¼ teaspoon of peppermint extract, and ½ teaspoon of vanilla extract until a smooth dough forms. This step shouldn’t take longer than 2 minutes; the mixture will become more pliable and soft. Make sure all ingredients are well combined and the dough appears silky and full of flavor.
Step 4: Color the Dough (Optional)
If you wish to add visual flair, divide the dough into sections and knead in food coloring until you reach your desired shade. This can be done using your hands or a spatula until uniform color is achieved, which usually takes about 1-2 minutes per section. Be creative here—you can even create multiple colors to reflect different occasions.
Step 5: Shape the Mints
Roll the dough into ropes approximately ½ inch thick and cut them into small pieces, about ½ inch each. As you shape your Best Homemade Butter Mints, ensure uniformity in size; this will help them dry evenly. This process should take around 10 minutes, so keep your workspace organized for an effective shaping session.
Step 6: Dry the Mints
Place the cut mints on a parchment-lined baking sheet, ensuring they are spaced well apart for airflow. Allow the mints to dry at room temperature for at least 4 hours or, for best results, overnight. The visual cue will be their firm texture; properly dried mints will have a slightly matte finish and hold their shape beautifully.
Storage Tips for Best Homemade Butter Mints
Room Temperature: Store mints in an airtight container at room temperature for up to 2 weeks, ensuring they remain soft and delicious.
Fridge: For extended freshness, keep them in the refrigerator for up to 1 month. Just place them in a sealed container to prevent moisture.
Freezer: If you want to save them longer, freeze the mints for up to 3 months. Place them in a freezer-safe bag, separating layers with parchment paper to maintain shape.
Reheating: There’s no need to reheat these Butter Mints; simply enjoy them straight from the container for a refreshing burst of sweetness!
Best Homemade Butter Mints Variations
Feel free to explore these delightful variations that will elevate your homemade butter mints and tickle your taste buds!
- Flavor Twist: Experiment with almond extract instead of peppermint for a sweet, nutty spin. It brings a lovely warmth that’s perfect for festive occasions.
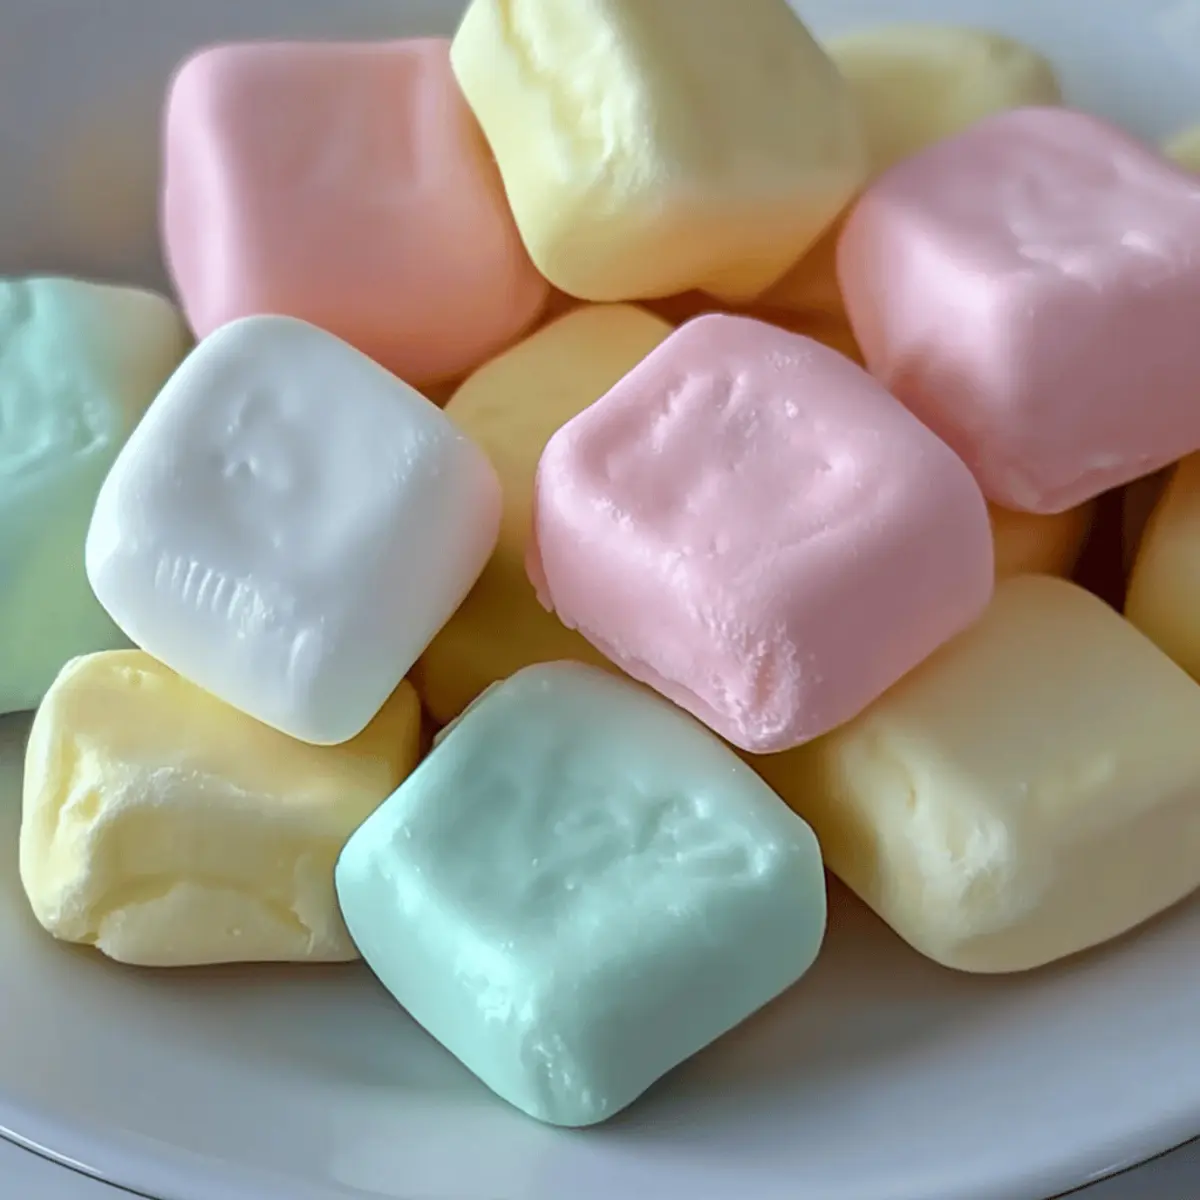
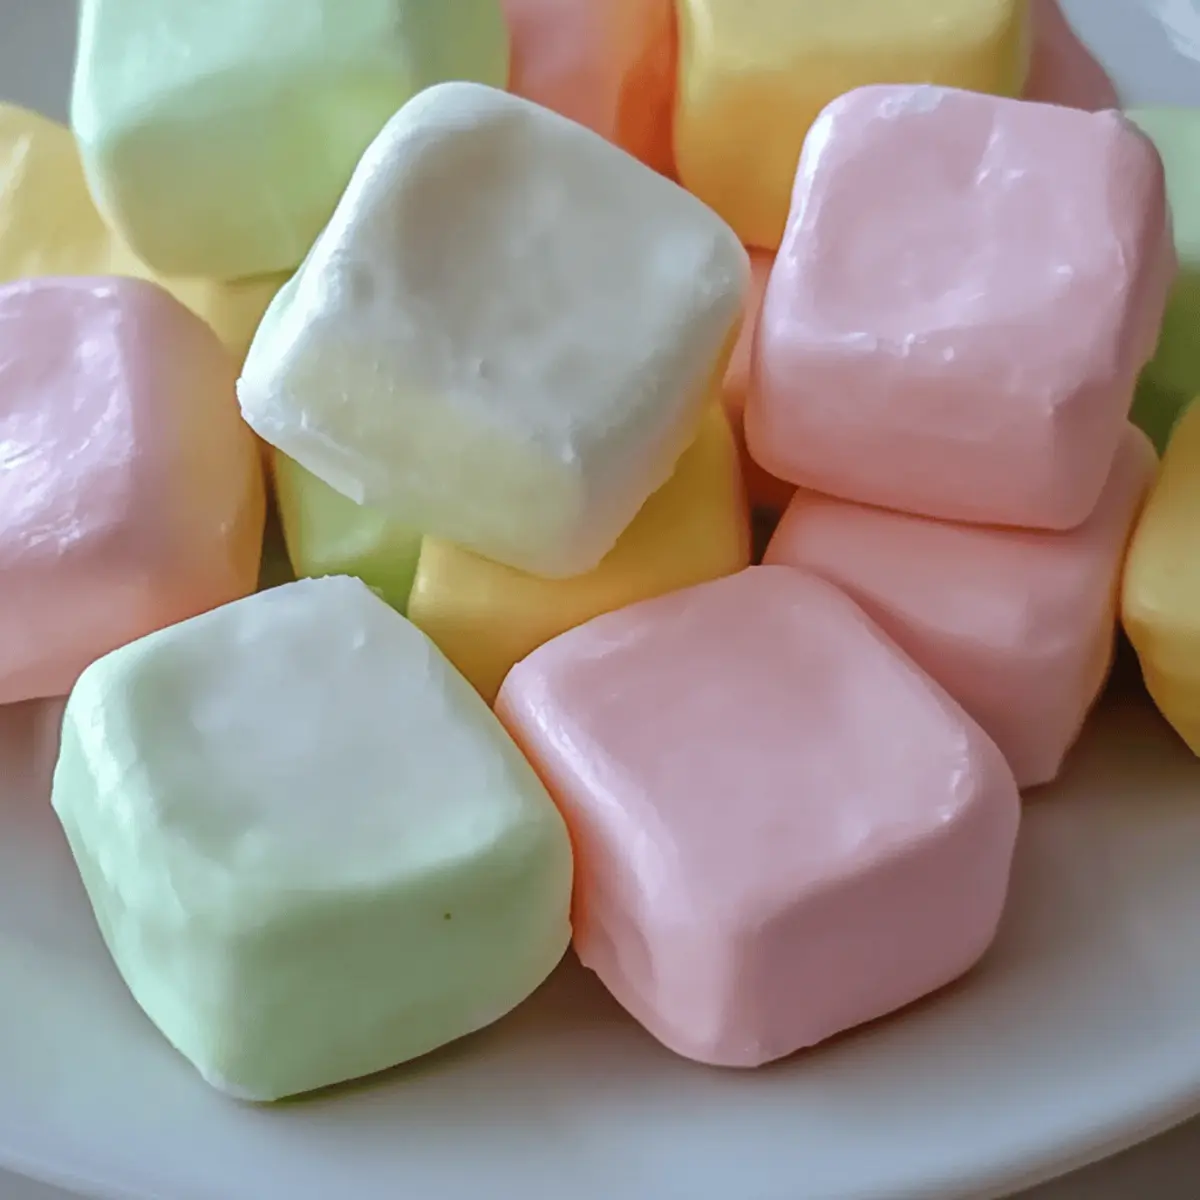
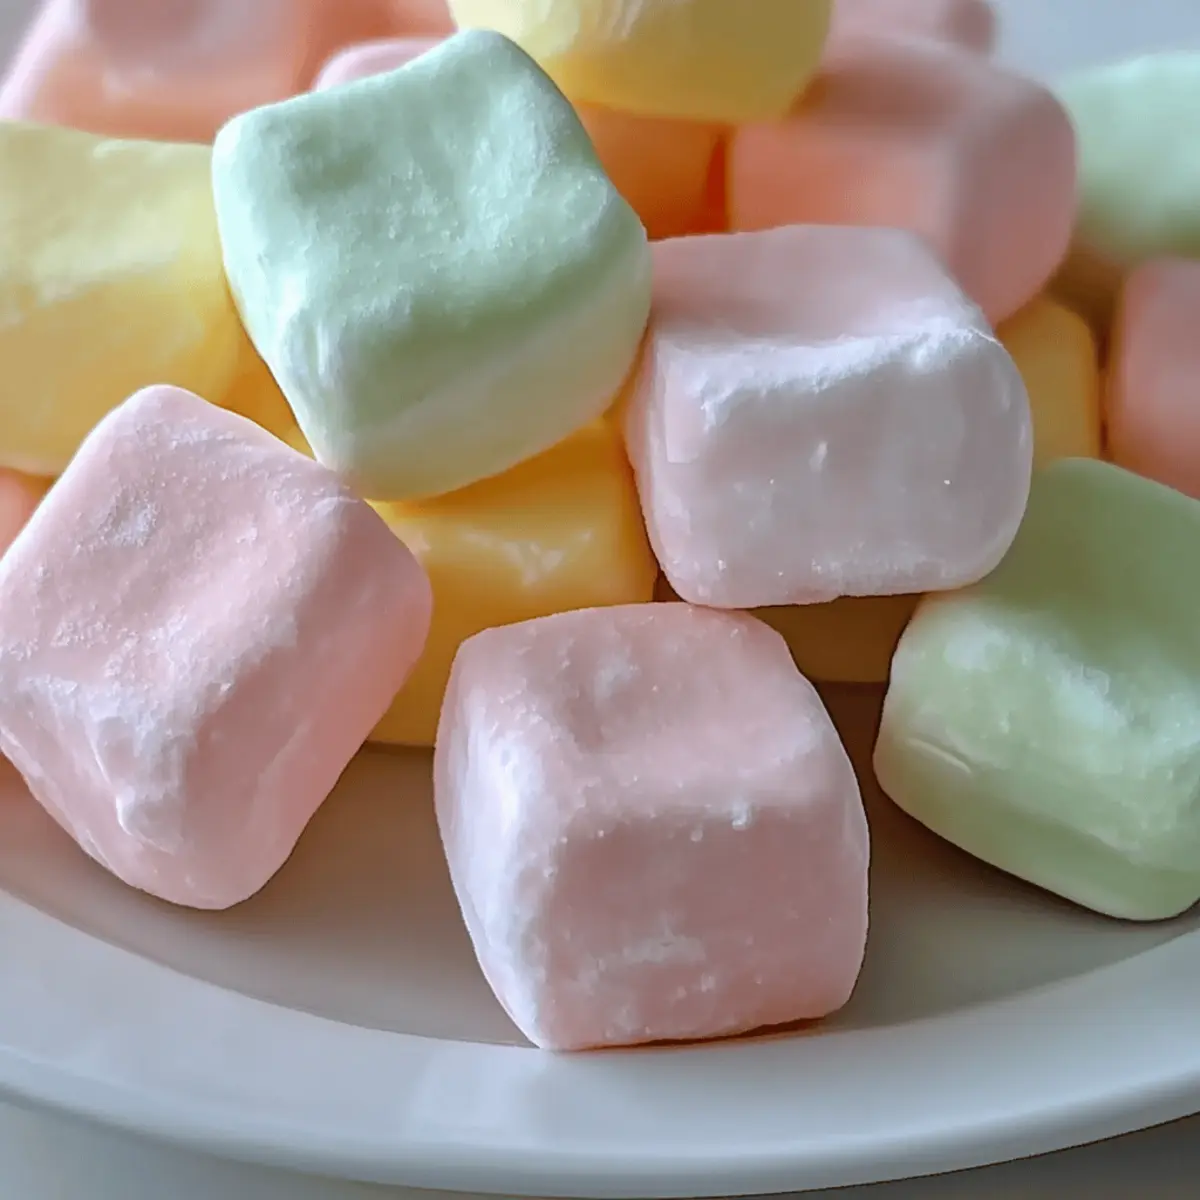
- Colorful Mints: Use seasonal colors of food coloring to celebrate holidays—think pastel shades for Easter or red and green for Christmas. Bright colors not only make your mints visually appealing but also set the mood for celebrations!
- Spiced Mints: Add a pinch of cinnamon or nutmeg to the mix for a warm, seasonal flavor. These spices can evoke a sense of warmth and nostalgia, instantly transporting you back to family gatherings during the holidays.
- Sugar-Coated Mints: Roll finished mints in granulated sugar before drying for an added crunch and sweetness. This technique gives your mints a delightful texture and an eye-catching sparkle, enhancing their charm.
- Layered Flavors: Incorporate different flavor extracts such as orange or spearmint for a refreshing twist on the classic mint. Creating a flavor explosion will surprise and delight your guests with something unexpected!
- Textured Mints: For a fun variation, fold in finely chopped nuts or crushed candies directly into your butter mixture. This addition not only adds crunch but also an exciting new flavor profile to each bite.
- Sugar-Free Option: Substitute powdered sugar with a blend of erythritol and tapioca starch for a healthier, sugar-free alternative. Perfect for accommodating those who are watching their sugar intake while still craving something sweet!
Looking to further satisfy your sweet tooth? Pair your homemade butter mints with delightful creations like Homemade Fruit Roll-ups or wonderfully creamy Peanut Butter Chocolate bars. You’ll create a dessert spread that keeps everyone coming back for more!
Make Ahead Options
These Best Homemade Butter Mints are absolutely perfect for meal prep enthusiasts! You can prepare the dough up to 24 hours in advance, simply mixing all the ingredients as directed and refrigerating the dough until you’re ready to shape the mints. If you choose to roll and cut the mints, you can store them on a parchment-lined baking sheet at room temperature. To maintain their delightful quality, allow them to dry for at least 4 hours or overnight. When you’re ready to serve, just finish by packaging them in an airtight container, ensuring they stay fresh and melt-in-your-mouth delicious. This means you can whip them up ahead of time, saving you precious moments during busy weeks!
What to Serve with Best Homemade Butter Mints
Looking to create a memorable dessert table or simply want a delightful snack to enjoy?
-
Decadent Hot Chocolate: Rich and creamy hot chocolate pairs beautifully with the cool minty flavor, making every sip a cozy indulgence. Add a dollop of whipped cream for extra luxury.
-
Chocolate Dipped Strawberries: The sweetness of ripe strawberries combined with rich chocolate provides a delectable contrast to the refreshing butter mints.
-
Classic Sugar Cookies: Soft, buttery sugar cookies have a mild sweetness that complements the refreshing mint, creating a delightful mix of flavors. Try adding peppermint frosting for an extra kick!
-
Fruit Salad with Citrus Dressing: A bright and zesty fruit salad brings freshness and complements the rich, creamy mints, balancing out the sweetness perfectly.
-
Sparkling Lemonade: The fizzy, tangy lemonade refreshes your palate, making it a perfect drink alongside the rich butter mints. It keeps the mood light and inviting.
-
Vanilla Ice Cream: An all-time favorite, vanilla ice cream serves as a cool contrast to the warm peppermint flavors, making every bite a dreamy experience.
-
Cheesecake Bites: Mini cheesecake bites offer a creamy texture and rich flavor that beautifully contrasts with the lightness of the mints, creating a luxurious dessert experience.
-
Peppermint Tea: Enhance the minty flavor experience with a soothing cup of peppermint tea. It’s the perfect after-dinner drink to continue the theme.
-
Nutty Biscotti: Crisp and crunchy biscotti with nuts make a delightful pairing with the butter mints, adding interesting texture and flavor for a satisfying snack.
Expert Tips for Best Homemade Butter Mints
• Butter Softness: Ensure your butter is at room temperature for easy mixing. Cold butter will lead to uneven texture, affecting your mints.
• Sifting Sugar: Always sift the powdered sugar before adding it to the mix. This prevents lumps and ensures a smooth consistency in your Best Homemade Butter Mints.
• Knead Carefully: When adding food coloring, knead gently to avoid overworking the dough, which could result in a tougher mint texture.
• Room Temperature Drying: Allow the mints to dry in a cool, dry area. Avoid humid rooms which can cause mints to become sticky and lose their shape.
• Storage Tips: Keep your mints in an airtight container to maintain freshness for up to 2 weeks, or refrigerate for up to a month for longer enjoyment.
Best Homemade Butter Mints Recipe FAQs
What type of butter should I use for the Best Homemade Butter Mints?
I recommend using unsalted butter for these mints, as it provides creaminess and richness without added salt. However, if you prefer a slightly different flavor profile, you can use salted butter; just omit the pinch of salt in the recipe.
How should I store my homemade butter mints?
Store your mints in an airtight container at room temperature for up to 2 weeks. If you want them to last longer, keep them in the refrigerator for about 1 month. For longer storage, you can freeze them for up to 3 months. Just ensure they are in a freezer-safe bag with layers separated by parchment paper to maintain their shape.
Can I freeze the Best Homemade Butter Mints?
Absolutely! To freeze your mints, first let them dry fully. Once dried, place them in a single layer on a parchment paper-lined baking sheet in the freezer for about 1 hour. After they are firm, transfer them to a freezer-safe bag, separating layers with parchment to prevent sticking. They will be good for up to 3 months!
Why are my butter mints too sticky or grainy?
If the mints are sticky, it may be because they were not fully dried or were made in a humid environment. Try drying them in a cooler, dry space for better results. For graininess, make sure to sift your powdered sugar before incorporating it to avoid lumps and ensure a smooth texture.
Are these butter mints safe for pets or individuals with dietary restrictions?
While the ingredients in the Best Homemade Butter Mints are generally safe for human consumption, they are not suitable for pets, especially dogs, due to the presence of butter and sugar. If you have allergies, be cautious about the extracts used; consider using pure extracts and check for any allergens to ensure safety for those with dietary restrictions.
Best Homemade Butter Mints for Sweet Nostalgic Moments
Ingredients
Equipment
Method
- In a large mixing bowl, beat ½ cup of softened unsalted butter with a pinch of salt on medium speed until smooth and creamy, about 2 minutes.
- Gradually add in 4 cups of sifted powdered sugar while mixing on low speed until fully integrated and forms a thick mixture.
- Mix in 2 tablespoons of heavy cream, ¼ teaspoon of peppermint extract, and ½ teaspoon of vanilla extract until a smooth dough forms.
- Divide the dough into sections and knead in food coloring until uniform, about 1-2 minutes per section.
- Roll the dough into ropes approximately ½ inch thick and cut them into small pieces, around ½ inch each.
- Place cut mints on a parchment-lined baking sheet, spaced apart, and allow them to dry at room temperature for at least 4 hours, or overnight.
Leave a Reply