
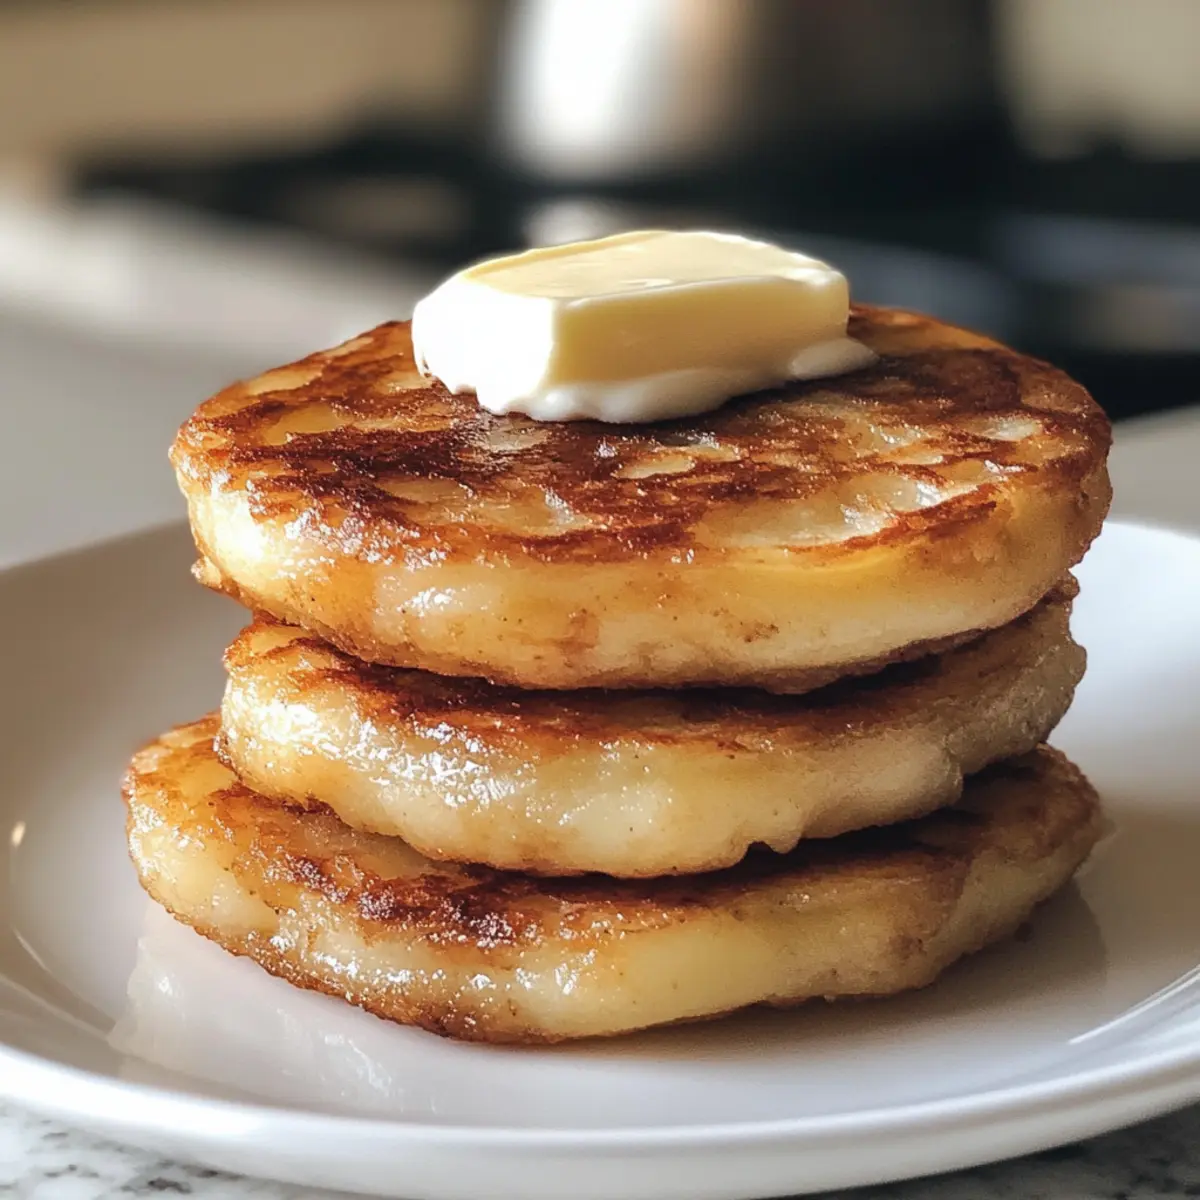
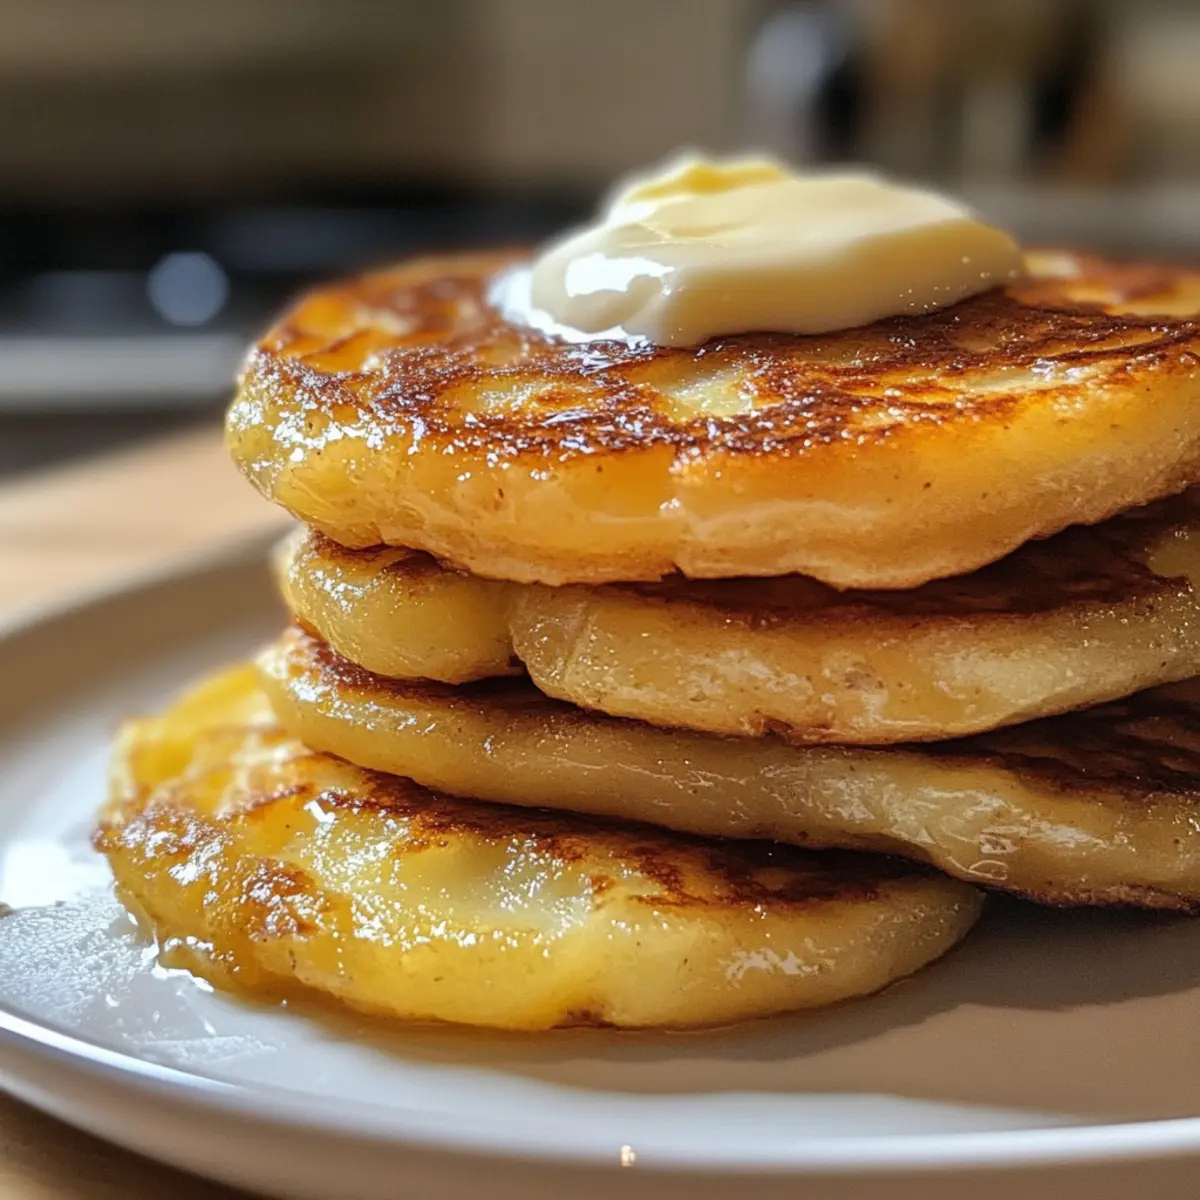
As I stood in my kitchen, the warm aroma of sizzling potatoes wafted through the air, instantly transporting me to the rolling hills of Ireland. That’s the magic behind Authentic Irish Potato Farls—fluffy, savory potato cakes that can transform any breakfast into a cozy feast. With only four ingredients and just 30 minutes of your time, these delightful farls are not only simple to whip up but also perfect for those bustling mornings when you crave something heartier than fast food. They promise a satisfying crunch on the outside while remaining soft and light within, making them an irresistible addition to your breakfast table. Are you ready to taste a slice of Irish comfort right at home? Let’s dive in!
Why are Irish Potato Farls so delightful?
Simplicity, The beauty of these farls lies in their straightforward preparation—with just four ingredients, you can whip up a delicious breakfast in no time.
Versatility, Perfectly pair them with eggs, tomatoes, and bacon for a traditional Irish fry, or enjoy them on their own with butter or your favorite dipping sauce.
Crowd-Pleasing, These fluffy potato cakes are beloved by all, making them a fantastic option for family gatherings or brunch with friends.
Crispy and Fluffy, Experience the wonderful contrast of a crispy exterior enveloping a fluffy, savory interior—simply divine! For additional hearty options, consider trying Steak Potato Soup or Deviled Potatoes New alongside your farls.
Cultural Comfort, Bringing a piece of Ireland to your home, these potato farls not only tickle your taste buds but also fill your heart with warmth!
Authentic Irish Potato Farls Ingredients
Unlock the secrets to a delicious traditional Irish treat!
For the Farls
- Potatoes (Russet, Maris Piper, Roosters) – Choose fluffy, floury varieties for a lighter texture that contributes to the farls’ heavenly fluffiness.
- All-Purpose Flour – This essential ingredient binds the mixture; swap for gluten-free flour if needed for a gluten-free option.
- Sea Salt – Vital for enhancing flavors and bringing authenticity to your Authentic Irish Potato Farls; don’t skip it!
- Black Pepper – Add this spice for a touch of warmth; it’s optional if you prefer a milder flavor.
- Butter (for mixing and cooking) – This ingredient not only enriches flavor but helps achieve that beautiful crispy exterior; feel free to add more for frying!
Step‑by‑Step Instructions for Authentic Irish Potato Farls
Step 1: Prepare Potatoes
Begin by peeling and chopping about 1 pound of fluffy potatoes like Russets. Place them in a pot of salted water and bring to a boil over medium-high heat. Allow the potatoes to cook until tender, about 20-25 minutes. You’ll know they’re ready when a fork easily pierces through them. Drain well and let them cool slightly.
Step 2: Dry and Mash
To ensure your Authentic Irish Potato Farls are light and fluffy, it’s crucial to remove excess moisture. Place the cooked potatoes in a sieve or a colander over a bowl, allowing them to drain for 5 minutes. Once drained, pass the potatoes through a ricer or mash them using a fork until smooth and lump-free. The drier the potatoes, the better the texture.
Step 3: Mix Ingredients
In a mixing bowl, combine the smooth mashed potatoes with 1 cup of all-purpose flour, 1 teaspoon of sea salt, and a pinch of black pepper for flavor. Melt 2 tablespoons of butter and add it to the mixture. Stir with a fork until the ingredients form a soft, cohesive dough. If the dough is too sticky, sprinkle in additional flour gradually until manageable.
Step 4: Shape Dough
Transfer the dough onto a well-floured surface and gently knead it for a few seconds. Flatten the dough into an 8-inch round disc about ½ inch thick. Use a sharp knife to cut the disc into 6 equal wedges, creating traditional farls. Gently separate the pieces and dust with a little more flour to prevent sticking.
Step 5: Cook Farls
Heat 2 tablespoons of butter in a skillet over medium heat. When the butter begins to bubble, carefully add the farls to the pan in a single layer without overcrowding. Cook for about 5 minutes on one side, or until golden brown and crispy, then flip each farl and cook for another 4-5 minutes. They should develop a beautiful, crispy exterior.
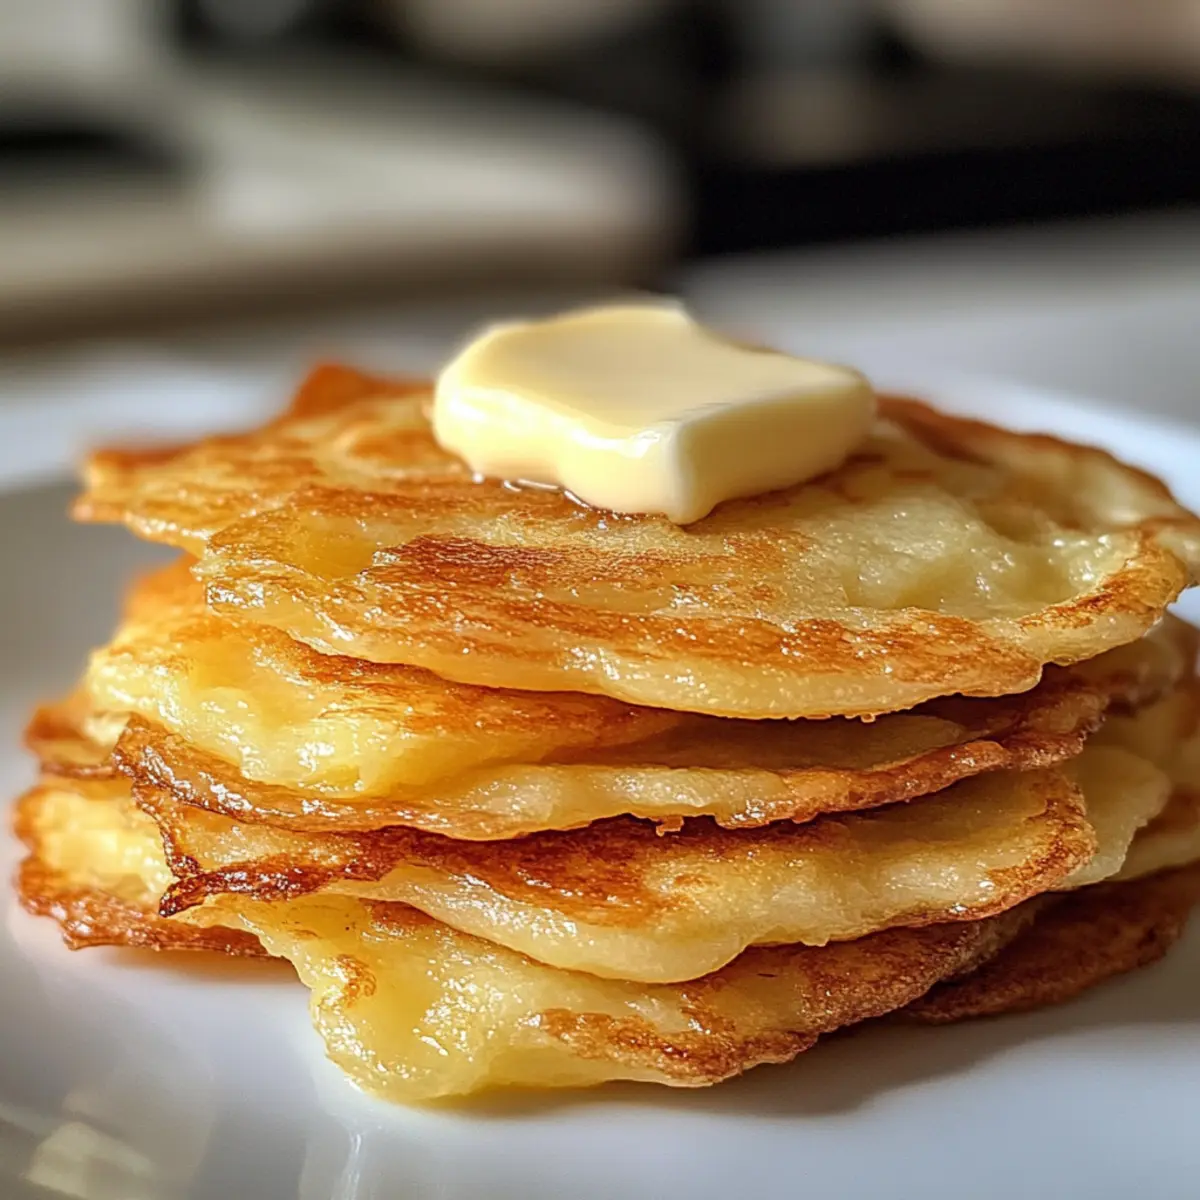
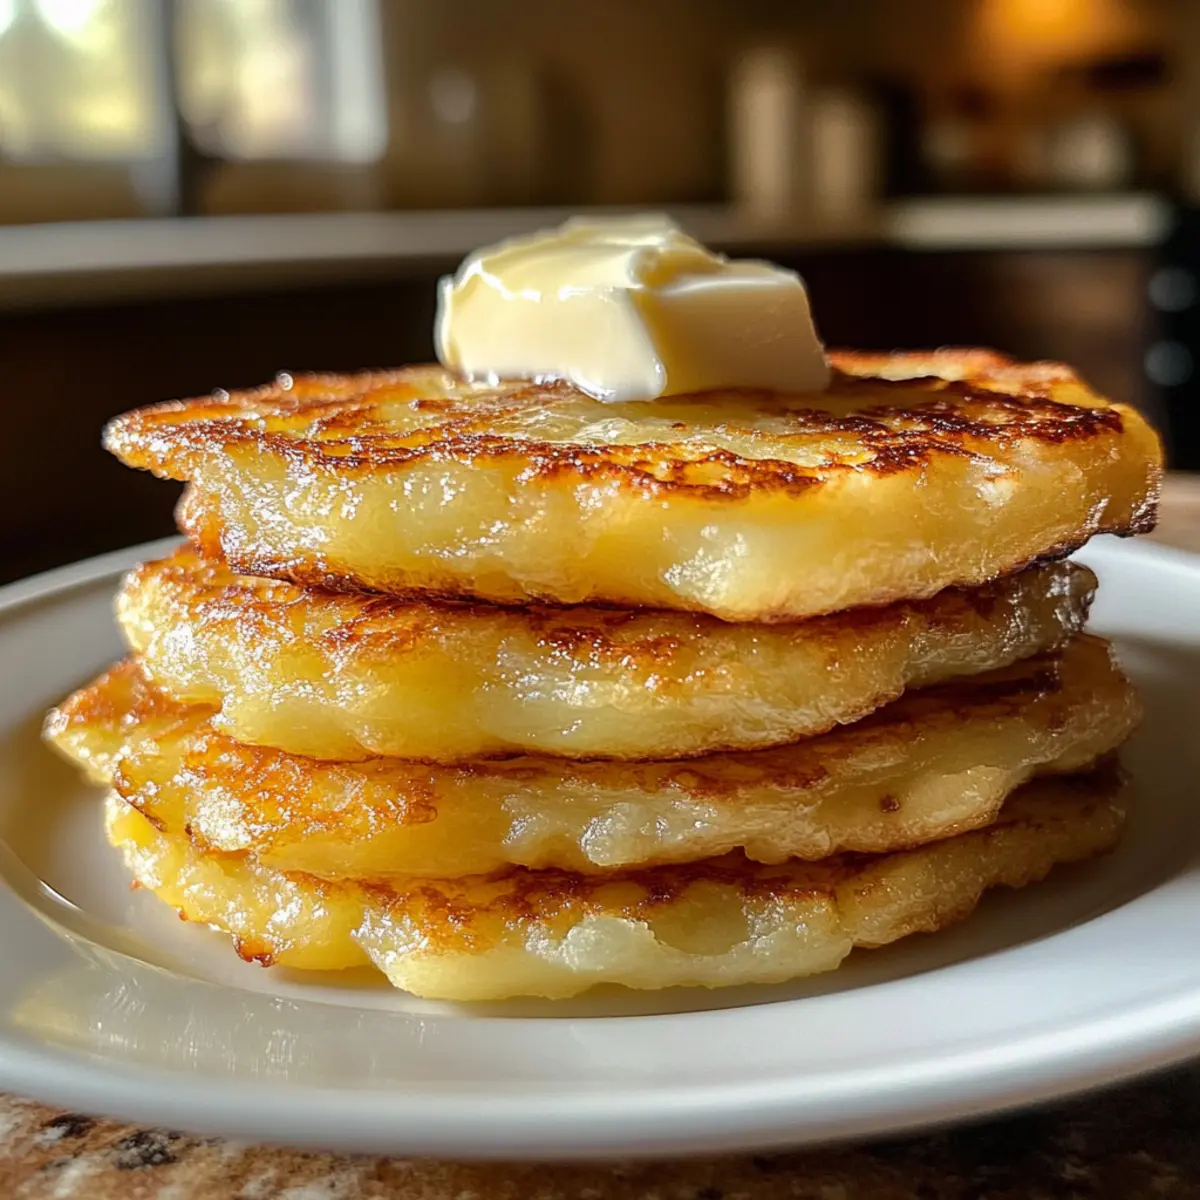
Step 6: Serve
Once your Authentic Irish Potato Farls are golden brown on both sides, remove them from the skillet and place them on a paper towel-lined plate to absorb excess butter. Serve hot alongside a traditional Irish breakfast, or enjoy them on their own slathered with butter. These fluffy potato cakes are sure to be a delightful addition to your meal!
Expert Tips for Authentic Irish Potato Farls
• Choose the Right Potatoes: Use fluffy, floury potatoes like Russets—they yield the lightest, fluffiest farls.
• Drying Is Key: Ensuring potatoes are completely dry before mixing will prevent a soggy dough. Avoid this common mistake for ideal results.
• Don’t Overmix: When combining the ingredients, mix just until a soft dough forms. Overmixing can lead to tough farls.
• Cooking Technique: For a richer flavor, consider frying farls in bacon fat instead of butter, if you’re looking for an indulgent twist on your authentic Irish potato farls.
• Experiment with Flour: If you’re gluten-sensitive, substitute with gluten-free flour for a delicious alternative that still maintains the farls’ traditional charm.
How to Store and Freeze Authentic Irish Potato Farls
Fridge: Store cooked farls in an airtight container for up to 3 days. To maintain their texture, place parchment paper between layers to avoid sticking.
Freezer: You can freeze uncooked farls by placing them in a single layer on a parchment-lined baking sheet until firm, then transfer to a freezer bag. They’ll stay fresh for up to 3 months.
Reheating: To reheat, cook frozen farls directly in a skillet over medium heat for about 8-10 minutes, or until heated through and crispy on the outside. Enjoy your Authentic Irish Potato Farls just like they were freshly made!
What to Serve with Authentic Irish Potato Farls
These delightful potato cakes are perfect for building a wholesome, heartwarming meal that fills your kitchen with lovely aromas.
- Scrambled Eggs: Their creamy, velvety texture contrasts beautifully with the crispy farls, making for a satisfying start to your day.
- Bacon Rashers: Crispy, salty bacon adds a savory depth to your breakfast, harmonizing perfectly with the fluffy farls for a true Irish experience.
- Grilled Tomatoes: The juicy burst of flavor from succulent grilled tomatoes enhances the savory notes of the farls, adding a punch of freshness.
- Sautéed Mushrooms: Earthy and meaty, sautéed mushrooms provide a delightful umami balance that elevates your breakfast plate.
- Baked Beans: Warm, hearty baked beans bring a comforting sweetness that complements the farls’ savory flavor, creating a well-rounded meal.
- Fresh Chives: A sprinkle of finely chopped chives adds a fresh, herbal brightness to your plate, enhancing the overall flavor experience.
- Irish Breakfast Tea: Pair these farls with a robust cup of Irish breakfast tea for a warm drink that rounds out the meal perfectly.
- Fruit Preserves: Sweet berry preserves can be spread atop your farls for a deliciously sweet twist, enticing your taste buds with contrasting flavors.
- Champ: Creamy mashed potatoes with green onions—this comforting Irish dish will deepen the potato experience, making it a double potato delight!
Authentic Irish Potato Farls Variations
Feel free to get creative with your Irish Potato Farls, tailoring them to your taste buds and dietary preferences.
- Dairy-Free: Swap butter with olive oil or vegan butter for a delicious plant-based option.
- Gluten-Free: Use gluten-free flour instead of all-purpose for a friendly twist; just be sure to check the cooking details for the best results.
- Herb-Infused: Add finely chopped fresh herbs like chives or parsley into the dough for a fragrant twist. The aroma while cooking will draw everyone to your kitchen!
- Cheesy Goodness: Stir in grated cheese, such as cheddar or goat cheese, to elevate the flavor profile and add a delightful creaminess.
- Onion-Boosted: Sauté finely chopped onions until golden and mix them into the dough; they will bring a sweet, savory depth to your farls.
- Spicy Kick: Incorporate a pinch of cayenne pepper or crushed red pepper flakes into the dough for a warm, spicy element. This can make your farls uniquely exciting!
- Sweet Potato Variation: Use mashed sweet potatoes instead of regular potatoes for a naturally sweet flavor and a beautiful color. This version is so vibrant and flavorful, you’ll want to make it again!
With these variations, you can enjoy your farls in diverse and delightful ways. And if you’re craving something seasonal, pair them with a warm bowl of Pear Potato Soup or a hearty Korean Potato Salad for a comforting meal!
Make Ahead Options
Authentic Irish Potato Farls are a wonderful choice for meal prep, saving you precious time during busy mornings. You can prepare the dough up to 24 hours in advance by mixing the mashed potatoes with flour, salt, and butter, then sealing it tightly in an airtight container in the refrigerator. For longer storage, you can freeze the formed farls, separating them with parchment paper to prevent sticking for up to 3 months. When you’re ready to enjoy, simply thaw (if frozen) and cook them on a skillet over medium heat, adding a bit more butter for that crispy finish. These make-ahead options ensure your farls are just as delicious and ready to impress!
Authentic Irish Potato Farls Recipe FAQs
How do I choose the best potatoes for Potato Farls?
Absolutely! For the fluffiest and lightest farls, opt for floury potato varieties like Russets, Maris Piper, or Roosters. These types provide the perfect starch content, ensuring an airy texture. Avoid waxy potatoes, as they can lead to denser farls.
What is the best way to store leftover Potato Farls?
You can store cooked farls in an airtight container in the refrigerator for up to 3 days. To keep them from sticking, place parchment paper between layers. If you find your farls getting a bit soggy, simply reheat them in a skillet to restore that lovely crispy texture!
Can I freeze Potato Farls, and how do I do it?
Definitely! To freeze uncooked farls, lay them in a single layer on a parchment-lined baking sheet and place them in the freezer until firm, about 1 hour. Once firm, transfer them to a freezer bag, ensuring to remove as much air as possible. They can be stored for up to 3 months. When you’re ready to enjoy them, simply cook from frozen in a skillet, which takes about 8-10 minutes until they are hot and crispy.
What if my Potato Farls turn out soggy or dense?
If your farls come out soggy or dense, it often means the potatoes weren’t properly dried. Ensure that after boiling, you drain them well and allow excess moisture to escape by letting them rest in a sieve for about 5 minutes. Additionally, avoid overmixing the dough; it should come together softly without being tough. If you experience stickiness, add small amounts of flour until you achieve the right consistency.
Are Potato Farls suitable for gluten-free diets?
Yes, absolutely! You can make these delightful farls gluten-free by substituting all-purpose flour with your favorite gluten-free blend. Just be sure to choose a blend that mimics the properties of all-purpose flour for the best results in texture and taste. Enjoy the delightful Irish flavor without the gluten!
Fluffy Authentic Irish Potato Farls You’ll Crave Daily
Ingredients
Equipment
Method
- Peel and chop the potatoes and boil in salted water until tender, about 20-25 minutes.
- Drain the potatoes and let them cool slightly. Remove excess moisture by draining in a sieve for 5 minutes.
- Mash the potatoes until smooth, then mix with flour, salt, black pepper, and melted butter until a soft dough forms.
- Knead the dough lightly, flatten it into a round disc about ½ inch thick, and cut into 6 wedges.
- Cook the farls in a skillet with butter over medium heat until golden brown, about 5 minutes per side.
- Drain on paper towels and serve hot with your choice of sides.
Leave a Reply