
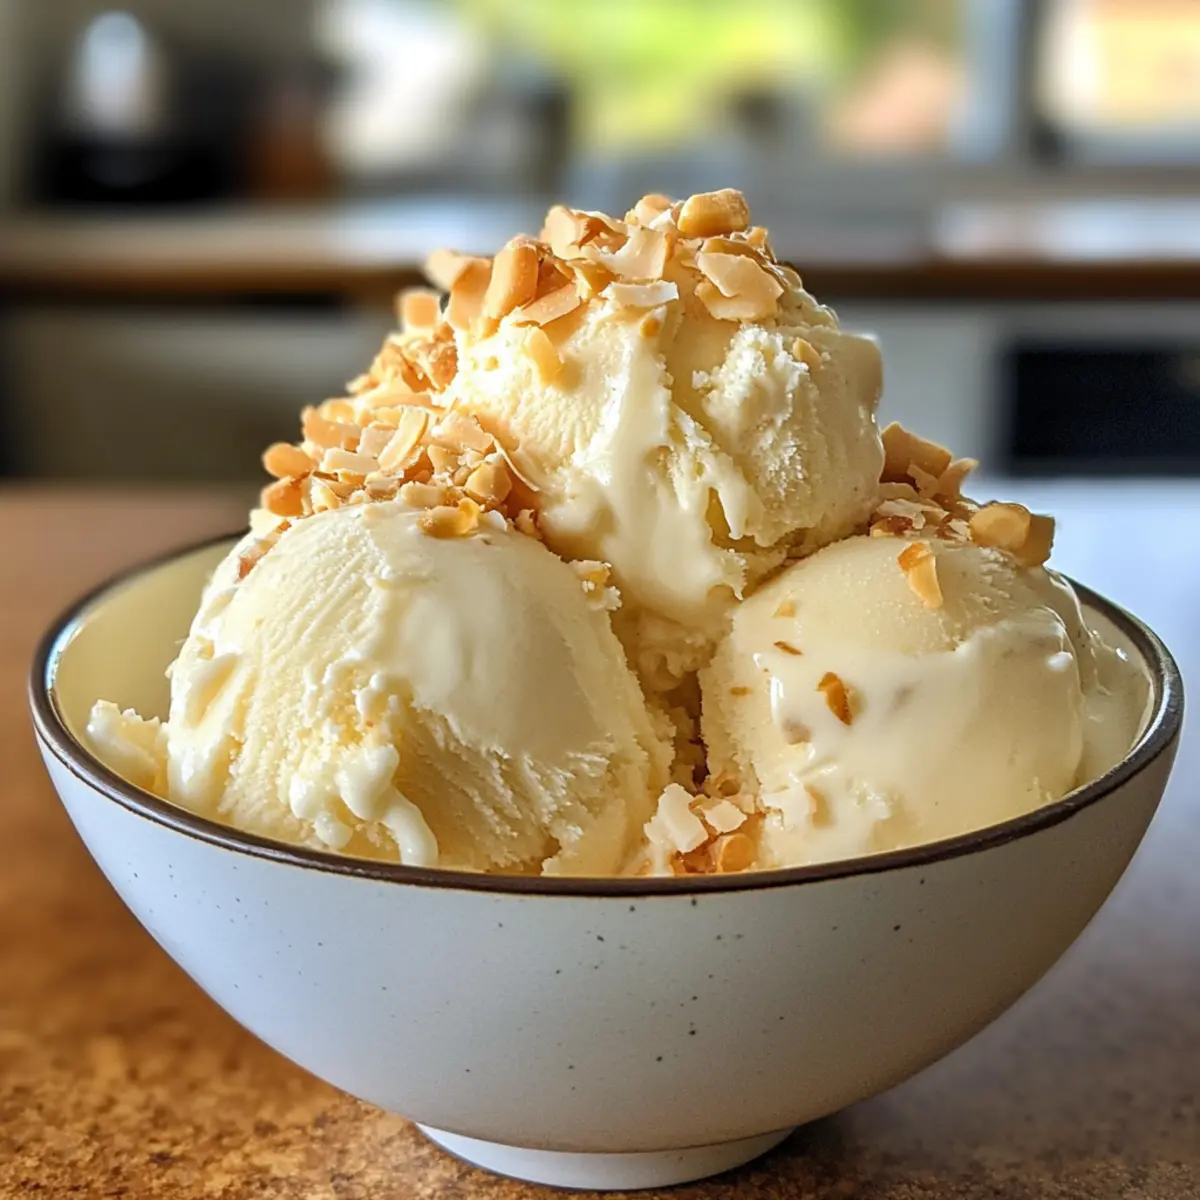
On a sweltering summer day, nothing beats the allure of a cold, creamy treat. My homemade Thai Coconut Milk Ice Cream is calling your name! With its velvety texture and rich coconut flavor, this indulgent dessert captures the essence of tropical paradise without the need for an ice cream machine. What I love most about this recipe is its incredible versatility—you can easily customize the sweetness to match your cravings or explore exciting flavor twists, from chocolate to fresh tropical fruits. Plus, it’s vegan-friendly and gluten-free, making it a delightful option for everyone. So, are you ready to transform your kitchen into a Thai dessert sanctuary? Let’s dive into this easy, no-fuss recipe together!
Why is Homemade Ice Cream So Irresistible?
Homemade ice cream is a treat that brings joy with every scoop. No machine required means you can whip this up anytime without hassle. Customizable sweetness allows you to tailor it to your taste buds, making it a perfect indulgence for everyone! Tropical flavors transport you to paradise, while being vegan-friendly and gluten-free ensures no one is left out. For more delicious variations, check out my recipes for Pumpkin Cream Cheese or explore refreshing desserts like Iced Pumpkin Cream. Enjoy this creamy delight—you deserve it!
Thai Coconut Milk Ice Cream Ingredients
Dive into the deliciousness of homemade ice cream with these simple ingredients!
For the Base
- Coconut Milk – Gives the ice cream a luscious, creamy texture with tropical flavor; opt for full-fat for an indulgent result.
- Evaporated Milk – Contributes extra creaminess; substitute with coconut cream for a stronger coconut taste.
- Cornstarch – Thickens the mixture; make sure it’s completely dissolved to ensure a smooth, creamy texture.
- Sweetened Condensed Milk – Adds a rich sweetness; feel free to adjust the amount based on your desired sweetness for the perfect Thai coconut milk ice cream.
- Salt – Enhances the overall flavors; a pinch goes a long way in balancing the sweetness.
- Vanilla Extract – Provides an aromatic depth of flavor; it’s optional, but I highly recommend it for that extra touch.
Optional Add-ins
- Flavorings (like cocoa powder) – For a delightful chocolate twist; just mix in before freezing.
- Fruits (such as mango or berries) – Toss in your favorites for a fruity variation that brightens up the flavor.
Now that you’ve gathered all the essentials, you’re ready to embark on a delightful ice cream adventure!
Step‑by‑Step Instructions for Thai Coconut Milk Ice Cream
Step 1: Heat the Coconut Mixture
In a medium saucepan, combine the coconut milk and evaporated milk over low heat, warming gently until the mixture is warm but not boiling—about 5 minutes. Stir occasionally to blend the flavors and prevent scorching. You’ll know it’s ready when steam begins to rise, creating a cozy atmosphere in your kitchen.
Step 2: Whisk in the Cornstarch
Gradually sprinkle the cornstarch into the warm coconut milk mixture while continuously whisking. This step is crucial to ensure that the cornstarch dissolves completely, creating a smooth, lump-free consistency. Continue to whisk for an additional 3-4 minutes until the mixture thickens slightly and begins to resemble a creamy sauce.
Step 3: Combine the Sweetness
Remove the saucepan from heat, and stir in the sweetened condensed milk, vanilla extract, and a pinch of salt. Mix thoroughly until everything is fully combined, and the sweets begin to meld into the coconut base—about 2 minutes. The flavor profile at this stage should be rich and inviting, setting the tone for your delicious Thai coconut milk ice cream.
Step 4: Cool and Freeze
Pour the mixture into an airtight container, allowing it to cool to room temperature for about 15-20 minutes. Once cooled, cover the container and place it in the freezer. During the first 2-3 hours, stir the mixture every 30-45 minutes to break up any ice crystals, which ensures a creamy texture that is the hallmark of perfect Thai coconut milk ice cream.
Step 5: Final Freezing
After stirring for the initial hours, let the ice cream freeze completely for about 6 hours, or ideally, overnight. At this point, it should be firm yet still scoopable. When ready to serve, check for a creamy texture, visually reminiscent of a velvety dessert.
Step 6: Prepare for Serving
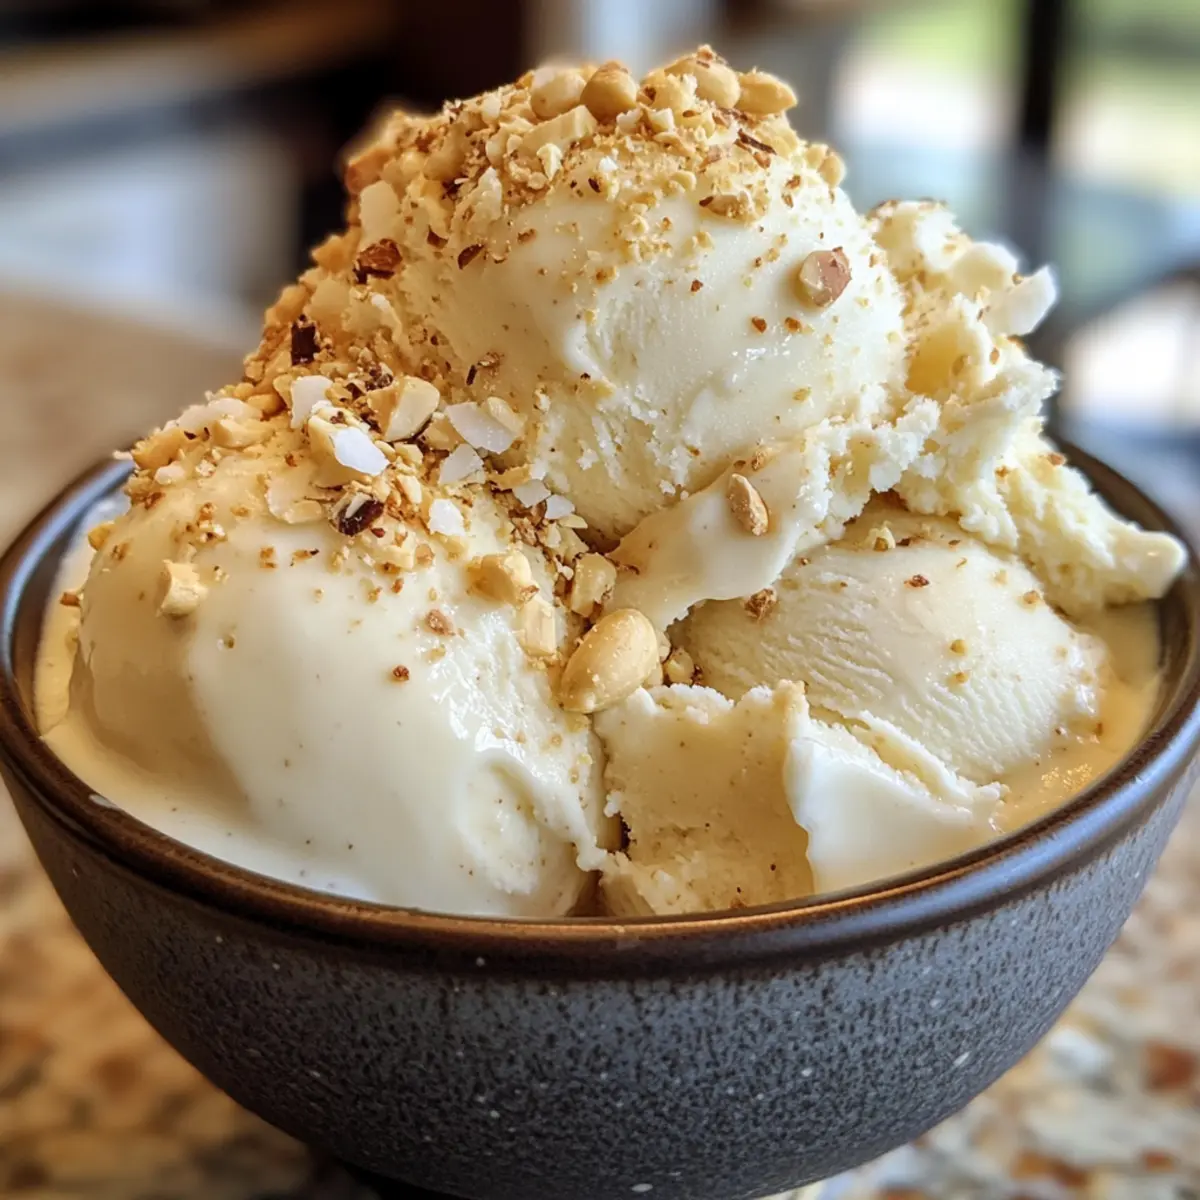
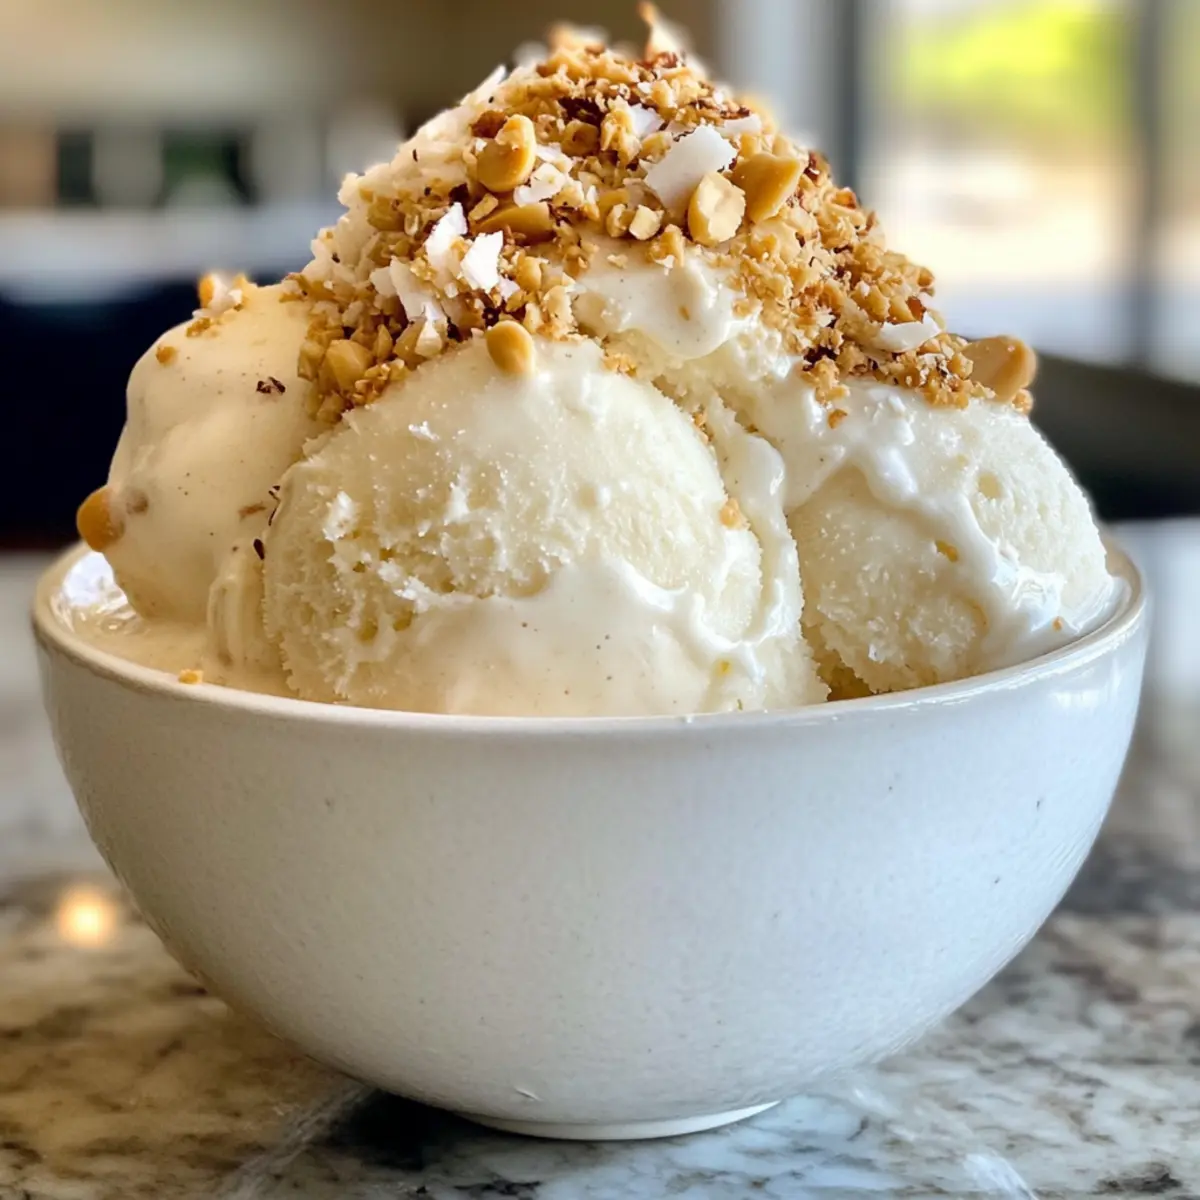
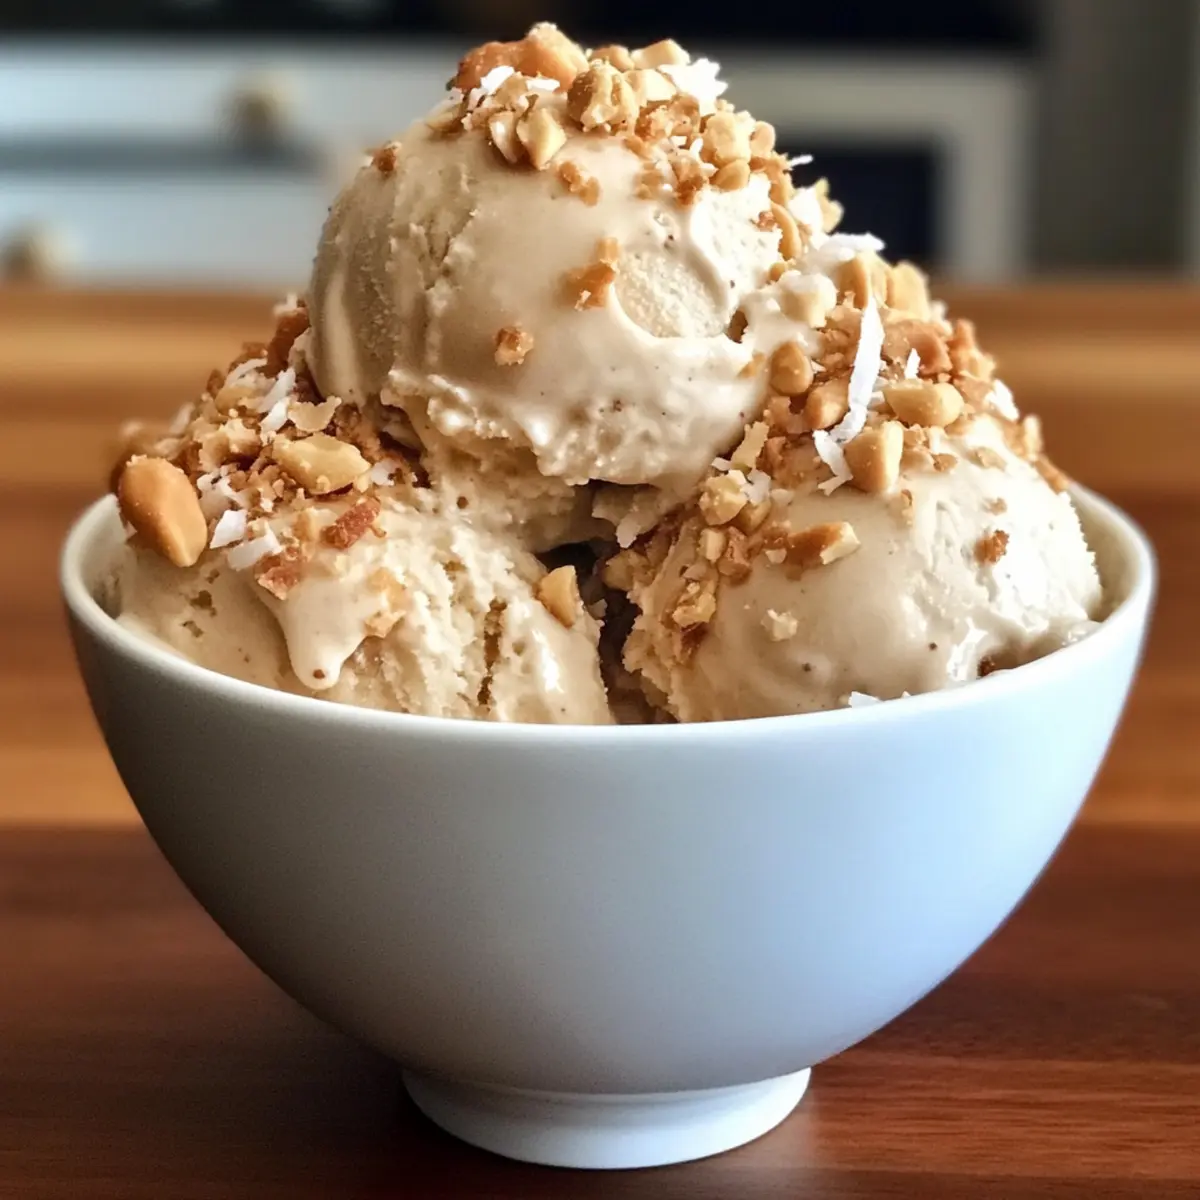
Before you scoop your delicious Thai coconut milk ice cream, let it sit at room temperature for about 5 minutes. This softening step is essential for easier scooping, making each serving a delight to dishing out. Consider topping your ice cream with roasted peanuts or coconut flakes for an added crunch that elevates your dessert experience!
Make Ahead Options
These delightful Thai Coconut Milk Ice Cream preparations are perfect for busy weeknights! You can prepare the ice cream base up to 24 hours in advance. Simply follow the initial steps of heating and combining the ingredients, then cool the mixture and transfer it into an airtight container before refrigerating. This allows the flavors to meld beautifully and ensures a rich, creamy texture when frozen. When you’re ready to enjoy, just pour the chilled mixture into the freezer, stirring every 30-45 minutes for the first few hours. This will keep it luxuriously smooth and just as delicious as if you made it fresh!
Expert Tips for Thai Coconut Milk Ice Cream
- Creaminess Boost: Stir the mixture every 30-45 minutes during the initial freezing phase to prevent ice crystals from forming, ensuring creamy Thai coconut milk ice cream.
- Perfect Sweetness: Taste the mixture before freezing and adjust the amount of sweetened condensed milk based on your preference for sweetness; it’s vital for a delightful final product.
- Silky Texture: Make sure the cornstarch is fully dissolved in the warm milk mixture to avoid any graininess; a smooth base leads to a decadent ice cream experience.
- Easier Scooping: Let the ice cream sit at room temperature for about 5 minutes before serving. This makes scooping much easier while retaining its creamy texture.
- Flavor Variations: Don’t be afraid to get creative! Add cocoa powder for a chocolate twist or mix in fruits like mango or berries for a refreshing fruity flavor before freezing.
Thai Coconut Milk Ice Cream Variations
Feel free to let your creativity shine and tailor this recipe to your taste!
- Vegan-Friendly: Replace sweetened condensed milk with maple syrup or agave nectar for a deliciously vegan treat. Enjoy the flexibility of flavors with a comforting sweetness!
- Chocolate Twist: Add cocoa powder to the base for a rich chocolate variation. A burst of flavor that chocolate lovers will adore, this option is perfect for satisfying those cravings!
- Fruity Delight: Toss in fresh fruits like mango, strawberries, or raspberries before freezing. This adds a zingy twist, making your ice cream reminiscent of a tropical fruit salad!
- Nutty Crunch: Mix in roasted diced peanuts or toasted coconut flakes for added texture. The delightful crunch perfectly complements the creamy base, bringing extra joy to every scoop.
- Spicy Kick: Consider adding a pinch of cayenne pepper or chili powder if you love a touch of heat! This unexpected twist enhances the tropical flavors while exciting your palate.
- Herbal Infusion: Infuse your coconut milk with fragrant herbs like mint or basil. Simply steep the herbs in the warm milk before combining, creating a refreshing twist that tantalizes the taste buds.
- Creamy Enhancer: For an ultra-creamy version, substitute coconut milk with a mix of coconut cream and heavy cream. This decadent combination gives a luxurious texture that elevates your ice cream experience!
Make sure to check out my other delicious desserts like Coconut Cream Pie for more ways to enjoy creamy flavors or try the refreshing Iced Pumpkin Cream during your dessert adventures!
What to Serve with Thai Coconut Milk Ice Cream
On a warm day, a scoop of creamy ice cream is just the beginning of a delightfully indulgent feast.
-
Fresh Tropical Fruit: Serve with sliced mango, pineapple, or berries to enhance the refreshing coconut flavor while adding vibrant colors and textures to your dessert.
-
Chocolate Brownies: The rich and fudgy texture of brownies pairs perfectly with the velvety coconut ice cream, creating a harmonious blend of sweet and satisfying flavors.
-
Peanut Butter Cookies: A crunchy, nutty cookie makes for a delightful contrast against the soft, creamy ice cream, offering multiple textures and a satisfying finish.
-
Coconut Flakes: Sprinkle toasted coconut flakes over the ice cream for an added crunch and deeper coconut flavor, making each bite more exciting.
-
Fruit Sorbet: For a lighter dessert on hot days, serve a refreshing sorbet alongside the ice cream, providing a fruity alternate experience that complements the creamy coconut.
-
Mint Tea: A calming cup of mint tea alongside your dessert is not only refreshing but also cleanses the palate, setting the stage for each creamy scoop to shine.
-
Churros: These delicious, fried pastries dusted with cinnamon sugar provide a sweet, crispy contrast to the smooth texture of the Thai coconut milk ice cream, making for a truly delightful dessert experience.
Storage Tips for Thai Coconut Milk Ice Cream
- Freezer: Store your Thai coconut milk ice cream in an airtight container to prevent freezer burn. It can last up to 2 weeks, retaining its creamy texture and flavor.
- Reheating: If your ice cream becomes too hard, let it soften at room temperature for about 5 minutes before scooping. This method avoids ice crystals while making it easier to serve.
- Flavor Retention: To preserve the flavors and creaminess, avoid keeping it near strong-smelling foods in the freezer, as ice cream can absorb odor.
- Airtight Seal: For longer storage, consider layering plastic wrap on top of the ice cream before sealing the container, which further protects your homemade treat from air exposure.
Thai Coconut Milk Ice Cream Recipe FAQs
How do I select the right coconut milk?
Absolutely! When choosing coconut milk, go for full-fat options for that incredible creaminess. Look for cans without added preservatives or stabilizers, as these can affect the texture and flavor of your ice cream. If you prefer a stronger coconut taste, try substituting with coconut cream instead.
What is the best way to store my Thai Coconut Milk Ice Cream?
To keep your homemade Thai coconut milk ice cream fresh, store it in an airtight container in the freezer. This will help prevent freezer burn and maintain its delightful texture. It can last up to 2 weeks, but I recommend enjoying it within the first week for optimal flavor and creaminess.
Can I freeze leftover Thai Coconut Milk Ice Cream?
Absolutely! To freeze it properly, let the ice cream harden completely in the container after the initial mixing. For the best results, store it in an airtight container and cover it with plastic wrap before sealing the lid to reduce air exposure. The ice cream can be safely frozen for up to 3 months, just remember to let it soften for a few minutes before scooping!
What should I do if my ice cream is too icy or grainy?
Very! If you find that your Thai coconut milk ice cream is icy or grainy, it could be due to not fully dissolving the cornstarch or not stirring enough during the initial freezing phase. Make sure to whisk the cornstarch thoroughly into the warm milk to avoid lumps. During freezing, stir every 30-45 minutes for the first 3 hours to break up ice crystals. If it freezes too hard, let it sit at room temperature for about 5 minutes before scooping to achieve that creamy texture.
Can I customize this recipe for dietary restrictions?
Absolutely! For a vegan-friendly version, simply swap the sweetened condensed milk for maple syrup or agave nectar. If anyone has allergies, be sure to check ingredients for any additives. The recipe is already gluten-free, making it a worry-free treat for those with gluten sensitivities. Enjoy experimenting with flavors while keeping dietary needs in mind!
How long should I let the ice cream soften before serving?
For the best scooping experience, it’s recommended to let the Thai coconut milk ice cream sit at room temperature for about 5 minutes before serving. This helps reach a delightful texture that is neither too hard nor too melty—just creamy enough for a perfect scoop!
Creamy Thai Coconut Milk Ice Cream You Can Make at Home
Ingredients
Equipment
Method
- In a medium saucepan, combine the coconut milk and evaporated milk over low heat, warming gently until the mixture is warm but not boiling—about 5 minutes.
- Gradually sprinkle the cornstarch into the warm coconut milk mixture while continuously whisking.
- Remove the saucepan from heat, and stir in the sweetened condensed milk, vanilla extract, and a pinch of salt.
- Pour the mixture into an airtight container, allowing it to cool to room temperature for about 15-20 minutes.
- After 2-3 hours of stirring every 30-45 minutes, let the ice cream freeze completely for about 6 hours, or ideally, overnight.
- Before serving, let the ice cream sit at room temperature for about 5 minutes to soften.
Leave a Reply