
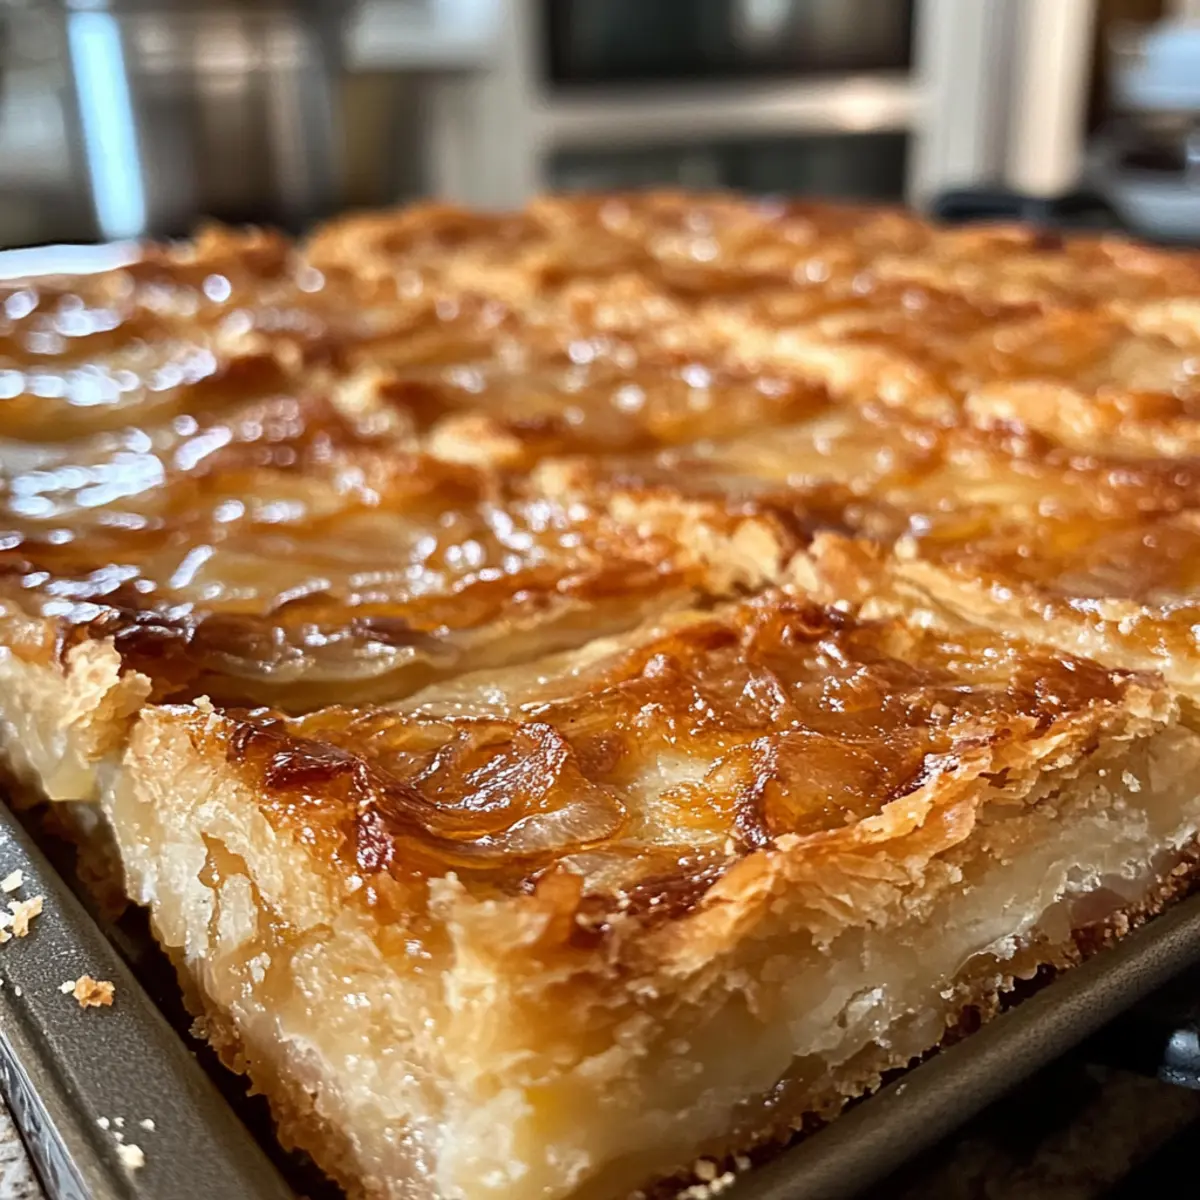
A waft of sweet, caramelized onions filled the air as I savored my first bite of Grandma’s Onion Squares. It’s one of those comfort food appetizers that transports you straight to cozy family gatherings, where laughter dances around the kitchen and everyone reaches for seconds. With a buttery, flaky crust cradling a creamy onion filling, these savory squares are a delightful combination of texture and flavor. They’re not just incredibly satisfying to make, but they also adapt beautifully for gluten-free diets, ensuring no one misses out on this deliciousness. Whether you’re hosting a party or simply want to elevate your weeknight meals, these squares promise to warm hearts and appease appetites. Ready to discover the true spirit of homemade comfort? Let’s dive in!
Why are Grandma’s Onion Squares so irresistible?
Comforting, Homemade Goodness: Each bite of Grandma’s Onion Squares evokes nostalgia, reminding you of home-cooked meals.
Perfect for Gatherings: These savory squares are the ultimate crowd-pleasers, making them an excellent choice for parties or family dinners.
Versatile Adaptations: Easily switch up ingredients with some sautéed spinach or feta cheese to fit your taste or dietary needs.
Effortless Creation: The simple steps make this dish approachable for everyone, turning kitchen time into a joyful experience.
Delicious Leftovers: Enjoy them warm or cold as leftovers – they’re scrumptious either way!
Easy Pairing: These squares complement a fresh salad or a warm bowl of soup beautifully, round off your meal!
Transform your next meal with these delectable squares, and don’t forget to check out our other favorites, like Bowls Caramelized Onion and German Onion Pie.
Grandma’s Onion Squares Ingredients
• Let’s create something delicious!
For the Crust
- All-Purpose Flour – Provides structure for the crust; substitute with gluten-free flour blend for a gluten-free option.
- Baking Powder – Adds leavening for a fluffy texture; essential for lightness.
- Salt – Enhances flavor; adjust to your taste for a perfect balance.
- Butter (softened) – Creates a rich, flaky crust; coconut oil works as a dairy-free alternative.
For the Filling
- Sliced Onions – The main flavor component; caramelize for the sweetest taste and depth.
- Cream Cheese – Adds creaminess to the filling; Neufchâtel cheese can be a lighter alternative.
- Sour Cream – Contributes tanginess and richness; can substitute with Greek yogurt for a healthier twist.
- Eggs – Binds the filling and adds moisture; essential for consistency.
- Cheddar Cheese – Provides a sharp flavor; feel free to swap with mozzarella or Swiss for a different profile.
- Pepper – Enhances the overall flavor; fresh ground pepper is recommended for the best taste.
Step‑by‑Step Instructions for Grandma’s Onion Squares
Step 1: Prepare the Crust
In a large mixing bowl, combine all-purpose flour, baking powder, and salt. Cut in softened butter until the mixture resembles coarse crumbs, ensuring even distribution. Firmly press this crumbly dough into a greased 9×13-inch baking dish to form an even layer. This will create the perfect base for Grandma’s Onion Squares.
Step 2: Bake the Crust
Preheat your oven to 350°F (175°C). Bake the crust in the preheated oven for 12-15 minutes or until it develops a lightly golden color. Keep an eye on the edges to prevent over-browning. Once done, remove it from the oven and let it cool slightly while you prepare the filling.
Step 3: Caramelize Onions
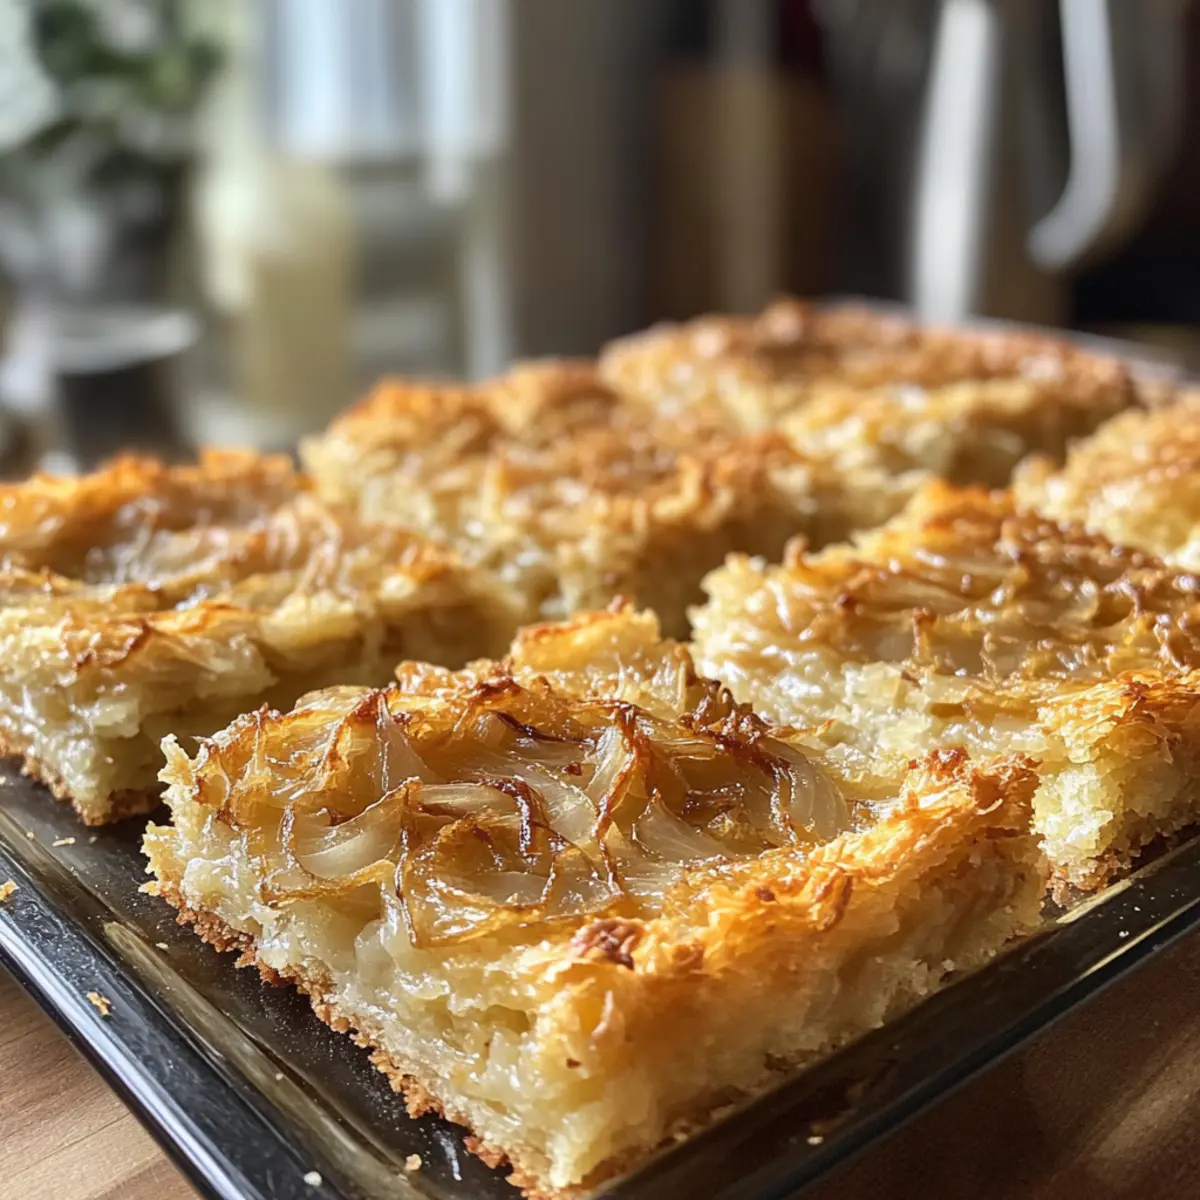
In a skillet, melt a tablespoon of butter over medium heat. Add the sliced onions and sauté for 10-15 minutes, stirring occasionally until they are soft and golden brown. This process enhances their sweetness, resulting in a rich and flavorful filling for your Grandma’s Onion Squares. Once caramelized, set them aside to cool.
Step 4: Make Filling
In a large mixing bowl, combine cream cheese, sour cream, eggs, and cheddar cheese. Using a hand mixer or spatula, blend until smooth and creamy. Fold in the cooled caramelized onions gently to ensure even distribution throughout the filling. This mixture will be the heart of your savory squares.
Step 5: Combine and Bake
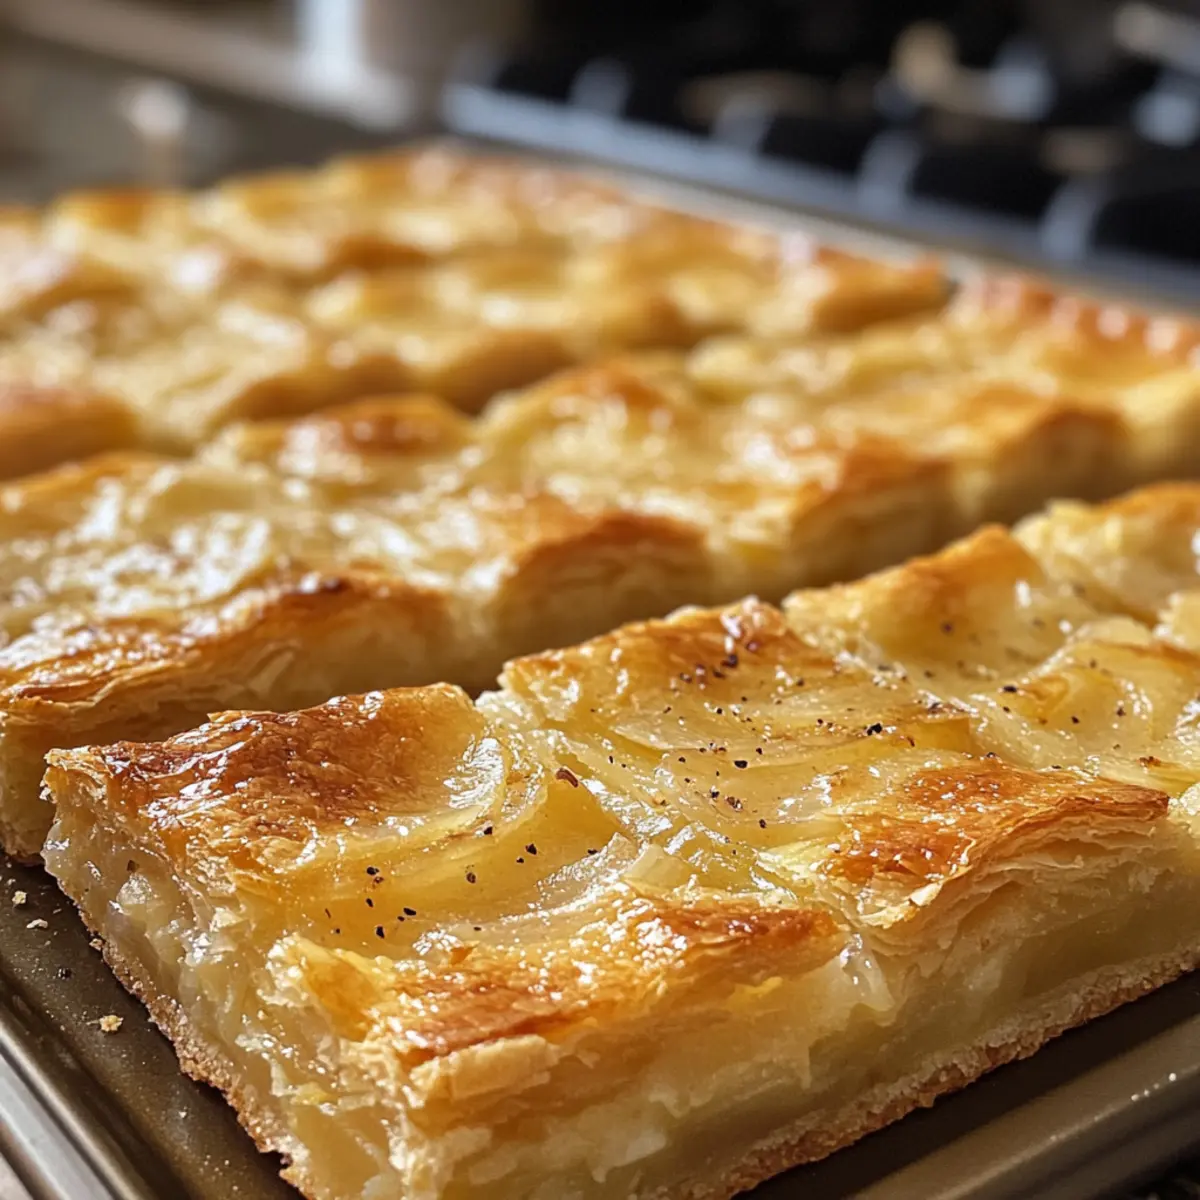
Pour the prepared filling into the baked crust, spreading it evenly with a spatula for a uniform finish. Return the dish to the oven and bake for an additional 25-30 minutes, or until the filling is set and lightly golden on top. The edges should be bubbling, signaling that Grandma’s Onion Squares are nearly ready.
Step 6: Cool and Serve
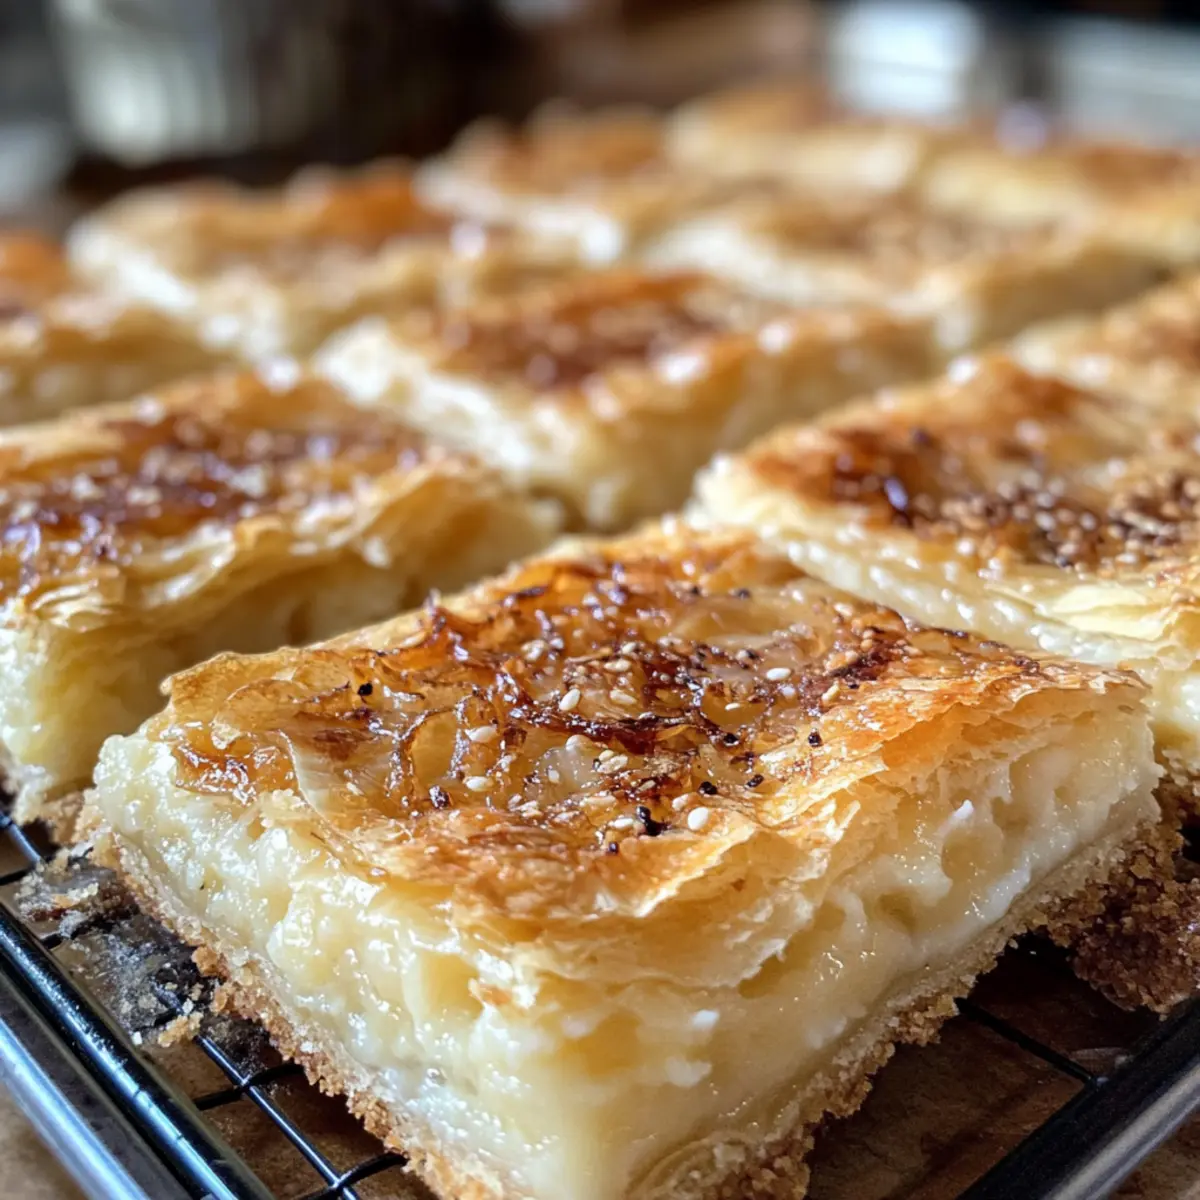
Remove the baking dish from the oven and allow the squares to cool for about 10-15 minutes. This step is essential for clean cuts when slicing them into squares. Once cooled, slice into even portions and serve warm or at room temperature, delighting friends and family with these comforting, homemade treats.
Expert Tips for Grandma’s Onion Squares
-
Caramelize Carefully: Ensure your onions are well caramelized to develop their sweet flavor; watch them closely to avoid burning.
-
Cool Before Cutting: Allow the squares to cool slightly before slicing to achieve clean edges; patience pays off for presentation!
-
Baking Time Variations: If using gluten-free flour in your Grandma’s Onion Squares, keep an eye on the baking time as it may vary slightly.
-
Check for Doneness: The filling should be fully set and golden when done; use a toothpick in the center to ensure it’s cooked through.
-
Flavor Enhancements: Try adding sautéed spinach or mushrooms to the filling for an extra layer of flavor and nutrition in your squares.
Grandma’s Onion Squares Variations
Feel free to get creative and tweak Grandma’s Onion Squares to suit your taste buds!
-
Spinach Boost: Add 1 cup of sautéed spinach to the filling for a nutritious twist. The earthy taste of spinach pairs beautifully with the sweetness of caramelized onions.
-
Cheese Alternatives: Swap cheddar with feta or goat cheese for a tangier flavor profile. Both options offer a delightful contrast and enhance creaminess.
-
Add Bell Peppers: Incorporate diced bell peppers for sweetness and color in the filling. They brighten up the dish while adding a satisfying crunch.
-
Mushroom Medley: Fold in 1 cup of sautéed mushrooms for an earthy depth. They complement the onions perfectly, creating an indulgent, umami-rich filling.
-
Gluten-Free Option: Use a gluten-free flour blend for the crust to cater to gluten-sensitive eaters. Just keep an eye on the baking time, as it may need slight adjustments.
-
Spicy Kick: Mix in crushed red pepper flakes or some sliced jalapeños for heat. It’s a great way to spice things up if you enjoy a little fire in your food.
-
Herb Infusion: Add fresh herbs like thyme or chives to the filling for a fragrant bouquet. The herbs elevate the flavor and add an aromatic touch that’s truly irresistible.
-
Bite-Sized Appetizers: Cut the squares into smaller pieces for a delicious party appetizer. They’re perfect for entertaining and a fun addition to any spread.
What’s not to love about a little creative cooking? For more delightful ideas, you can check out our delicious Savory Slow Cooker Lipton Onions Potatoes for a warm, comforting side dish.
Make Ahead Options
These Grandma’s Onion Squares are perfect for meal prep enthusiasts looking to save time during busy weeknights! You can prepare the crust and filling up to 24 hours in advance. Simply make the crust and allow it to cool before wrapping it tightly in plastic wrap; this will keep it fresh and prevent it from drying out. Next, prepare the filling and store it in an airtight container in the refrigerator. To finish, when you’re ready to serve, simply spread the filling over the pre-baked crust and bake for an additional 25-30 minutes until set and golden. By prepping ahead, you’ll have a delightful comfort food appetizer ready with minimal effort, just as delicious as if made fresh!
How to Store and Freeze Grandma’s Onion Squares
Fridge: Store leftover Grandma’s Onion Squares in an airtight container for up to 3 days. This keeps them fresh and ready to be enjoyed later.
Freezer: For longer storage, freeze the squares before baking by cutting them into pieces and wrapping individually in plastic wrap, followed by foil. They can stay frozen for up to 3 months.
Reheating: To reheat, simply thaw in the fridge overnight, then bake at 350°F (175°C) for about 15-20 minutes to restore their flaky texture. Enjoy warm for the ultimate comfort!
Room Temperature: Allow Grandma’s Onion Squares to cool to room temperature before covering and storing. This prevents moisture from causing sogginess.
What to Serve with Grandma’s Onion Squares?
The perfect meal isn’t just about the main dish; it’s about creating a harmonious dining experience that tantalizes all your senses.
-
Simple Green Salad: A crisp salad with mixed greens and a light vinaigrette cleanses the palate and adds freshness, balancing the richness of the squares.
-
Creamy Tomato Soup: This classic comfort food complements the savory flavor with its warmth and creaminess, making for a cozy combination.
-
Roasted Vegetables: Seasonal veggies like carrots and bell peppers, roasted to perfection, introduce varied textures and flavors, offering a delightful contrast to the squares.
-
Herbed Quinoa: Fluffy quinoa seasoned with fresh herbs provides an earthy element and keeps the meal light, pairing well with the savory notes of the onion squares.
-
Sautéed Spinach: Tender, garlicky spinach adds a burst of color and is a nutritious side that enhances the dish without overpowering it.
-
Sparkling Water with Lemon: Refreshing and light, this drink brightens up the meal, enhancing the flavors while keeping the focus on your Grandma’s Onion Squares.
Come together for an inviting dining experience that celebrates comfort food in its finest form!
Grandma’s Onion Squares Recipe FAQs
How do I know if my onions are ripe enough for caramelizing?
Absolutely! To ensure your onions are at their best, look for ones that are firm, with smooth skin and no dark spots. Sweet onions, like Vidalia or Walla Walla, are excellent for caramelizing due to their high sugar content, which enhances that delightful sweetness.
How should I store leftovers of Grandma’s Onion Squares?
You can store any leftover squares in an airtight container in the refrigerator for up to 3 days. It’s best to allow them to cool completely before placing them in the container to prevent moisture buildup, which can make them soggy.
Can I freeze Grandma’s Onion Squares?
Very! To freeze, cut the squares after they’ve cooled and wrap each piece tightly in plastic wrap, then foil, to prevent freezer burn. They can be kept in the freezer for up to 3 months. When you’re ready to enjoy them, thaw in the fridge overnight and reheat in the oven at 350°F (175°C) for about 15-20 minutes until warmed through.
What should I do if my filling doesn’t set properly?
If your filling doesn’t set as it should, it could be due to under-baking or having too much liquid. Ensure your eggs are well-beaten and thoroughly mixed into the filling. You can fix a runny filling by baking it a bit longer, keeping an eye on the top to avoid over-browning. If the squares appear too soft in the center when you first check, continue to bake in 5-minute increments until firm.
Are there any dietary considerations for Grandma’s Onion Squares?
Yes! For those with gluten sensitivities or dietary restrictions, you can easily swap out the all-purpose flour with a gluten-free flour blend. Additionally, for dairy-free options, use coconut oil in place of butter and a dairy-free cream cheese alternative. Always check labels for potential allergens and make adjustments as needed.
How can I enhance the flavor of my Grandma’s Onion Squares?
To take your squares to the next level, consider adding sautéed vegetables like spinach or bell peppers into the filling mixture. You can also experiment with different cheeses, such as feta or goat cheese, to introduce a tangy twist, enriching the overall flavor profile of this comforting dish.
Delicious Grandma’s Onion Squares for Cozy Gatherings
Ingredients
Equipment
Method
- In a large mixing bowl, combine all-purpose flour, baking powder, and salt. Cut in softened butter until the mixture resembles coarse crumbs. Firmly press this dough into a greased 9x13-inch baking dish.
- Preheat your oven to 350°F (175°C). Bake the crust for 12-15 minutes or until lightly golden. Remove from the oven and let cool slightly.
- In a skillet, melt a tablespoon of butter over medium heat. Add sliced onions and sauté for 10-15 minutes until golden brown. Set aside to cool.
- In a large mixing bowl, combine cream cheese, sour cream, eggs, and cheddar cheese. Blend until smooth and creamy. Fold in the caramelized onions.
- Pour the filling into the baked crust and spread evenly. Return to the oven and bake for an additional 25-30 minutes until set and lightly golden.
- Remove from the oven and allow to cool for about 10-15 minutes before slicing into squares. Serve warm or at room temperature.
Leave a Reply